User Manual
Rev 9.0 Page 19 HV Diagnostics
Description
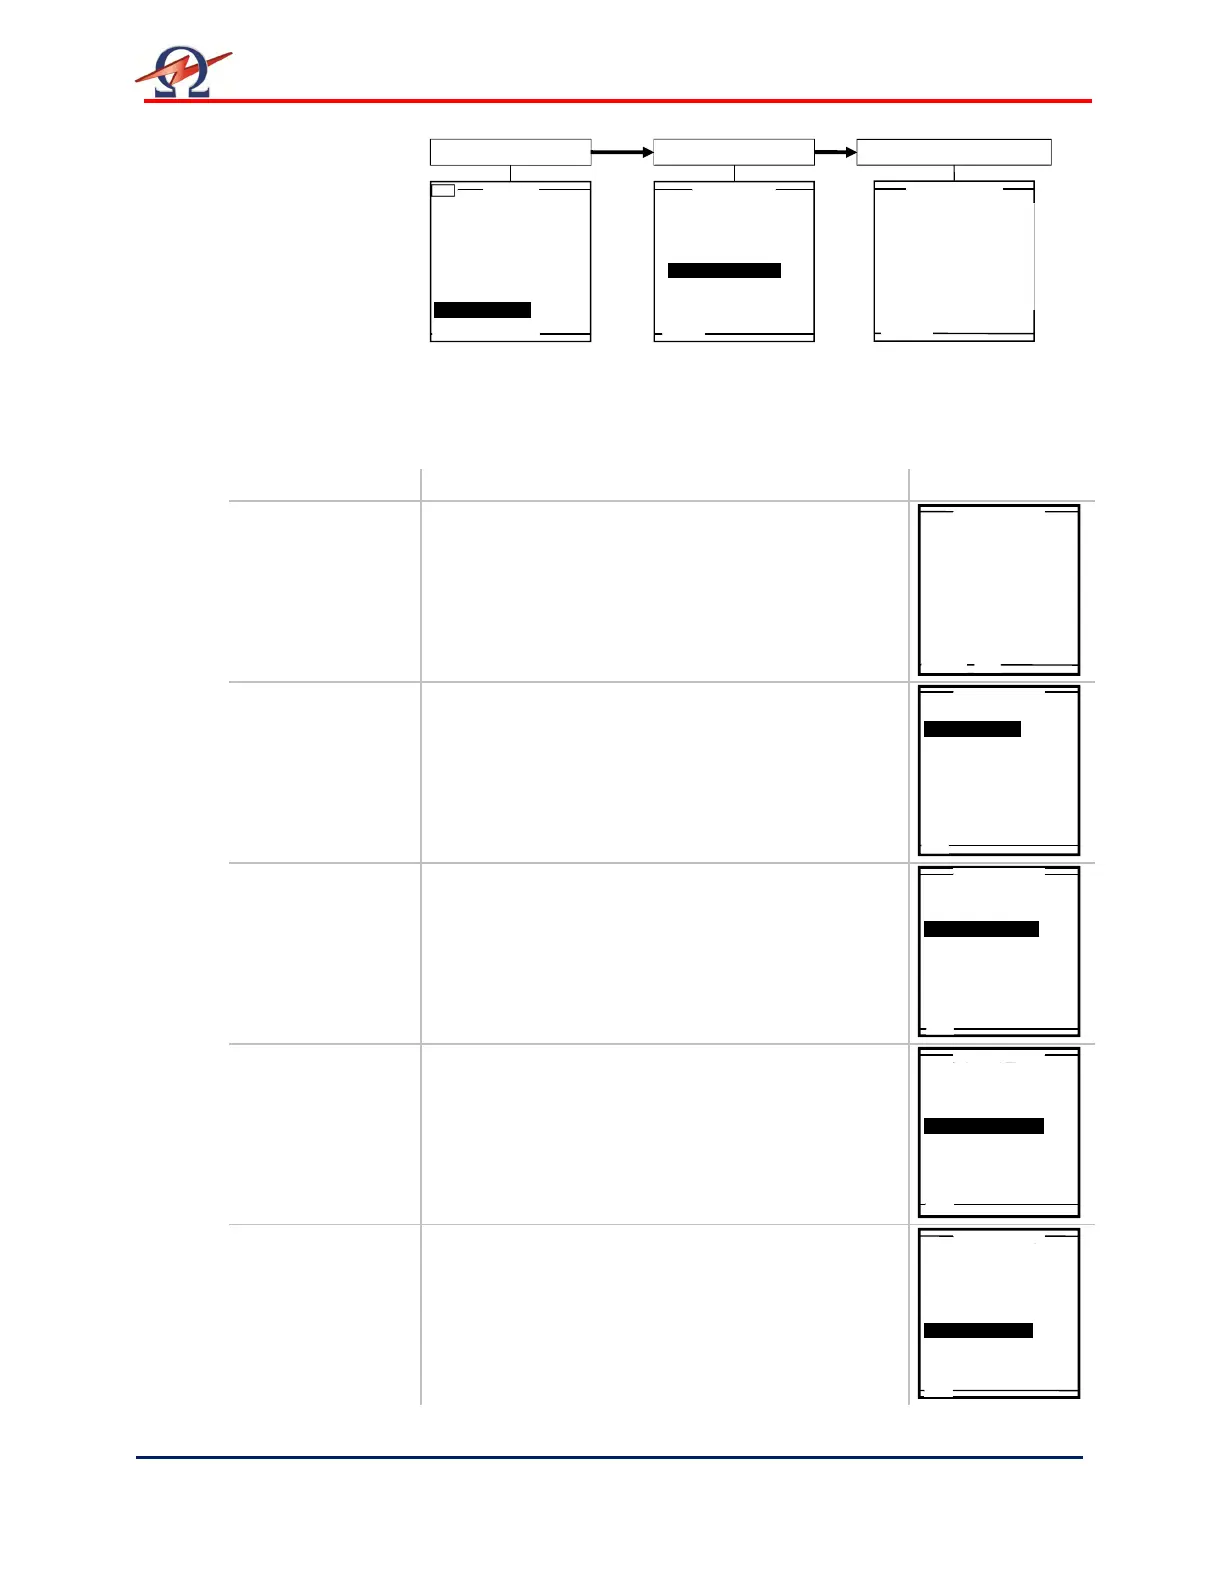
Setting Options Example
Set Date and
Time
Select “Set Date and Time“ from “Instrument
Settings “ menu to arrive at appropriate screen.
“Clock Format” selected here appears in reports
and on the Main Menu display hereafter:
• 24h
• am/pm
Reporting
“Reporting” type selected here is generated when
report mode is active in testing hereafter.
• Extended (detailed report information can be
entered)
• Basic (only Report Title is entered prior to test
start)
Startup
“Startup” default screen selected here appears as
1
st
screen when HVA is turned ON hereafter.
• Main Menu
• Manual Mode
Distance Unit
“Distance Unit” selected here sets the units for
entering cable length when creating test
parameters and reporting information hereafter.
• Feet
• Meter
Language
“Language” selected here appears as display
hereafter.
• English
Main Menu
Use Last Test Seq.?
(T)
Start a New Test
Manual Mode
Reports & Setup
Reports &Setup
Store Rep. to USB
Edit Auto Test Seq.
Instrument Settings
Display Contrast 4
Service
Instrument Settings
Reporting: Basic
Startup: Main Menu
Distance Unit: Meter
Language: English
USB Flash: YES
System Info
Month
Year
Minutes
Hours
Clock Format:
3
2009
28
10
24h
Set Date and Time
Reporting: Basic
Startup: Main Menu
Distance Unit: Meter
Language: English
USB Flash: yes
System Info
Set Date and Time
Reporting: Basic
Startup: Main Menu
Distance Unit: Meter
Language: English
USB Flash: yes
System Info
Set Date and Time
Reporting: Basic
Startup: Main Menu
Distance Unit: Meter
Language: English
USB Flash: yes
System Info
Reporting: Basic
Startup: Main Menu
Distance Unit: Meter
Language: English
USB Flash: yes
System Info
 Loading...