-
-
-
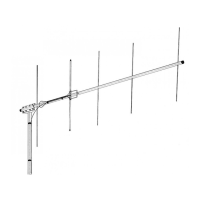
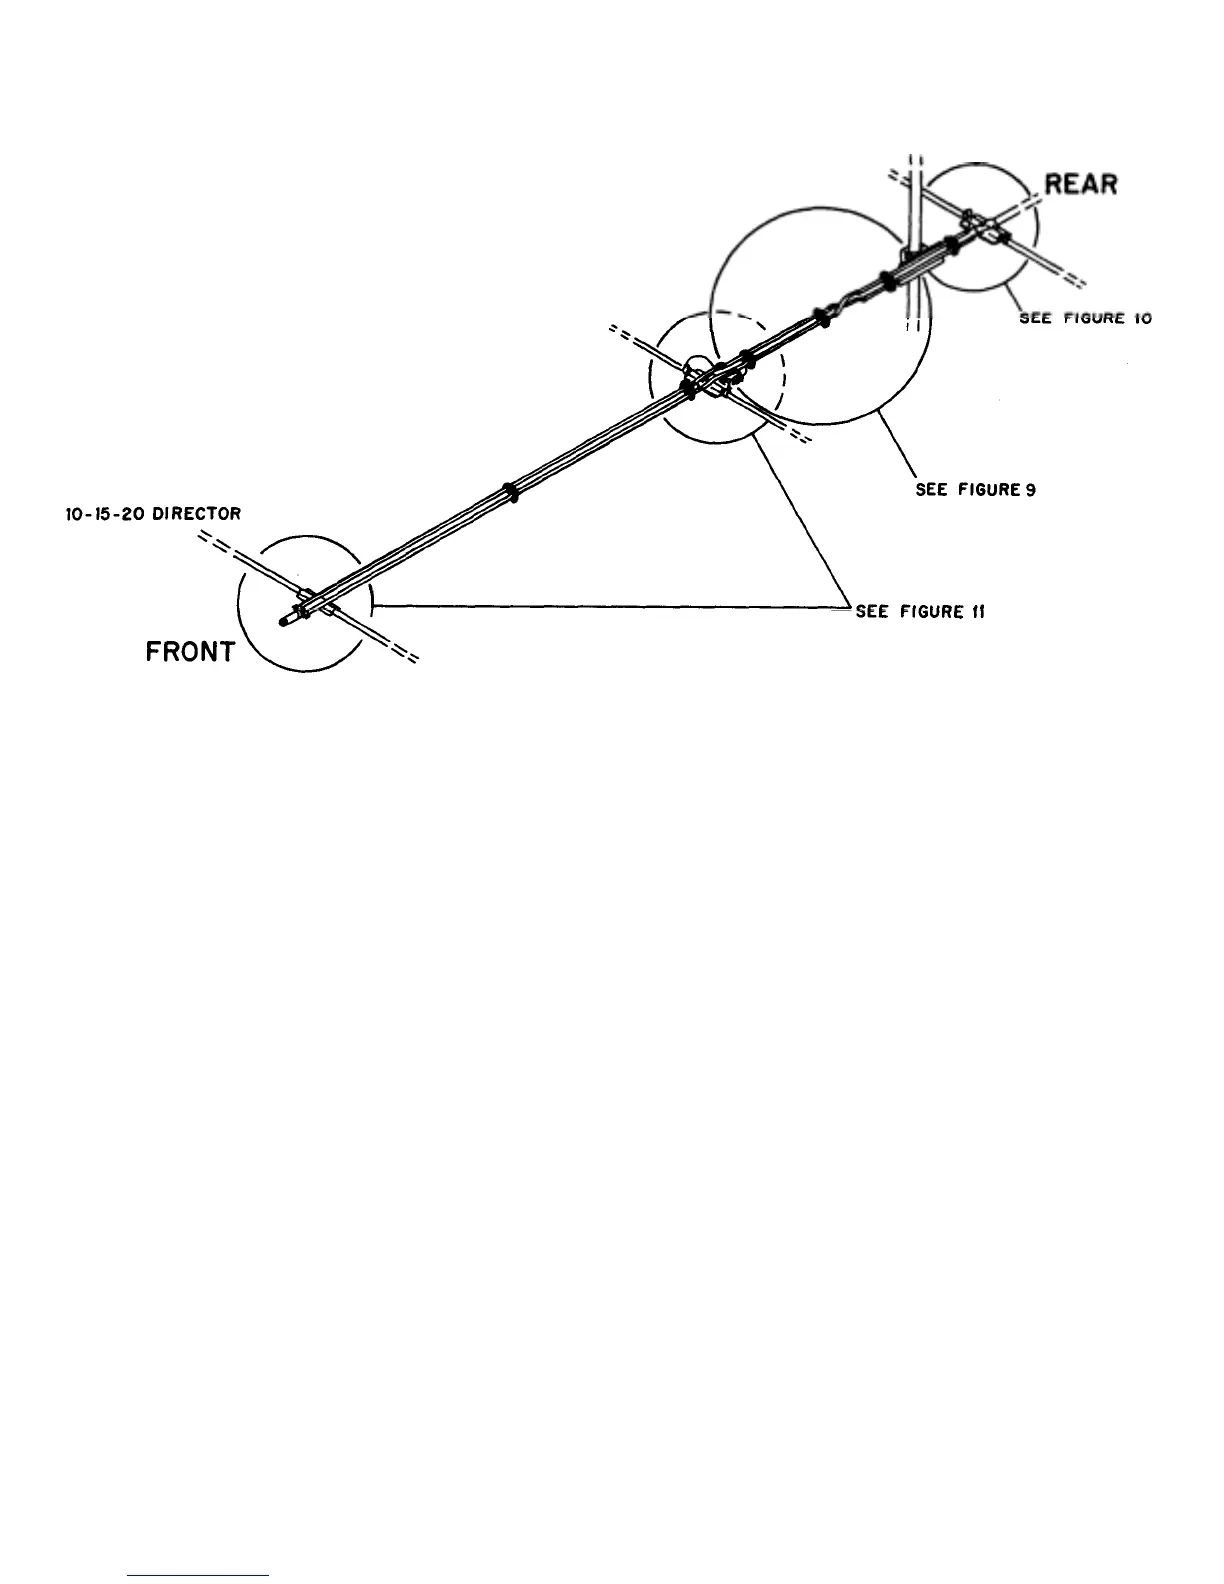
Figure 8
Overall View of Beta Match and Phasing Tubes
Phasing Line Select the four (4)
3/"
x 23" phasing tubes (Item No. 63), two (2) crossover.
straps
Assembly
(Item No. 43), four (4) beta support clamps (Item No. 49), four (4) beta
support insulators (Item No. 54), four (4) beta top insulators (Item No. 55), and associated hardware as
shown in Figure 9. Assemble the rear pair of phasing tubes to the boom as shown in Figures 9 and 10.
Position the rear ends of the
3/d"
x 23" tubes 3'h inches from the center of the Rear Driven Element
bracket. Position the tubes so that the drilled holes are away from the boom. Rotate this assembly on
the boom so that the tubes will just clearthe mast bracket. Tighten the four (4) #10-24 x 2" bolts which
hold this assembly to the boom.
Select the two (2) crossover straps and install on the previously installed
phasing tubes with '/<"-20 x
3/"
bolts, lockwashers, and square nuts. DO NOT
ti
hten com
letel
at this time. See Fi
ure 9.
Select the remaining two (2) phasing tubes, two (2) beta support clamps, two
(2) beta support insulators, two (2) beta top insulators, and associated
hardware as shown in Figure 9. Assemble the front pair of phasing tubes to
the boom as shown in Figure 9. Rotate thetubes so that the drilled holes are
away from the boom. Slide the assembly on the boom until the crossover
straps can be attached. The ends of the phasing tubes should be about 3'/+s
inches apart. Attach the crossover straps to the front phasing tubes and
tighten the'/<"-20 x
3
/4
"
bolts at this time. Loosen and rotate the two
assemblies on the boom and install the top two (2) mast bracket bolts (
5
/,s"-
18 x 5", Item No. 16) as shown in Figure 9. Rotate the two (2) assemblies
back into place and position them so that the phasing tubes are 3/4 of an inch
from the top flange of the mast bracket. You should be able to insert your
fingers between the phasing tube and mast bracket and run them along the
phasing tube. Tighten the #10-24 x 2" bolts which hold the assemblies to the
boom.
 Loading...