FOR OUR OVERSEAS CUSTOMERS: The United States uses English units
of measurement. Please see Parts List in back of this manual for assistance
in identif
in
the hardware and components supplied with this product.
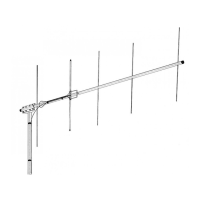
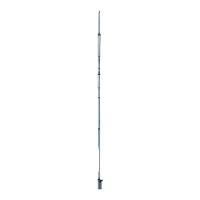
Choose a large, clear area to assemble the TH5/MK2. The area must be at
least 19
ft.
x 31
ft.
6 in. (5.8 m x 9.6 m). You may wish to use sawhorses or
chairs to support the boom during assembly. A concrete driveway is an
excellent area for assembly. If you assemble this antenna over a grassy area,
precautions should be taken so that hardware is not accidentally lost during
TOOLS:
The followin
tools are re
uired for eas
assembl
of the TH5/MK2:
Qt
T
e
1 Tape Measure, 12 foot
2 Adjustable Wrench, 8 inch
1 Nut Driver, 7/16 inch
1 Nut Driver, 3/8 inch
1 Nut Driver, 5/16 inch
When unpacking your antenna, check inside of all tubing for parts (traps,
smaller tubing, etc.). To conserve space, these smaller articles are sometimes
put inside larger pieces. Check all parts against the Parts List to make sure no
parts are missing. The hardware supplied with this antenna is bagged by
thread size for
our convenience.
All tubing supplied with the TH5/MK2 telescopes together. Make all
measurements to the
iven dimensions
lus or minus
no more than an 1 /8
The assembly of this antenna will be easier if you read this manual completely
through at least three (3) times before beginning assembly. Allow at least 6
hours for assembl
. Double and tri
le check
ALL
dimensions after assembl
.
NOTE: An extra Figure 6 has been inserted in this manual for use when
assemblin
the antenna.
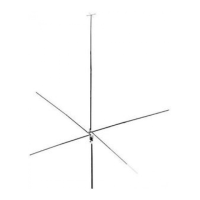
The position of the elements onto the boom begins at the center of the
antenna and progresses outward. Followthe instructions as outlined on page
5 and referto Fi
ure 6 for assistance.
-3-/
-4-
blank