3-19
MAINTENANCE
Service Manual
9-96
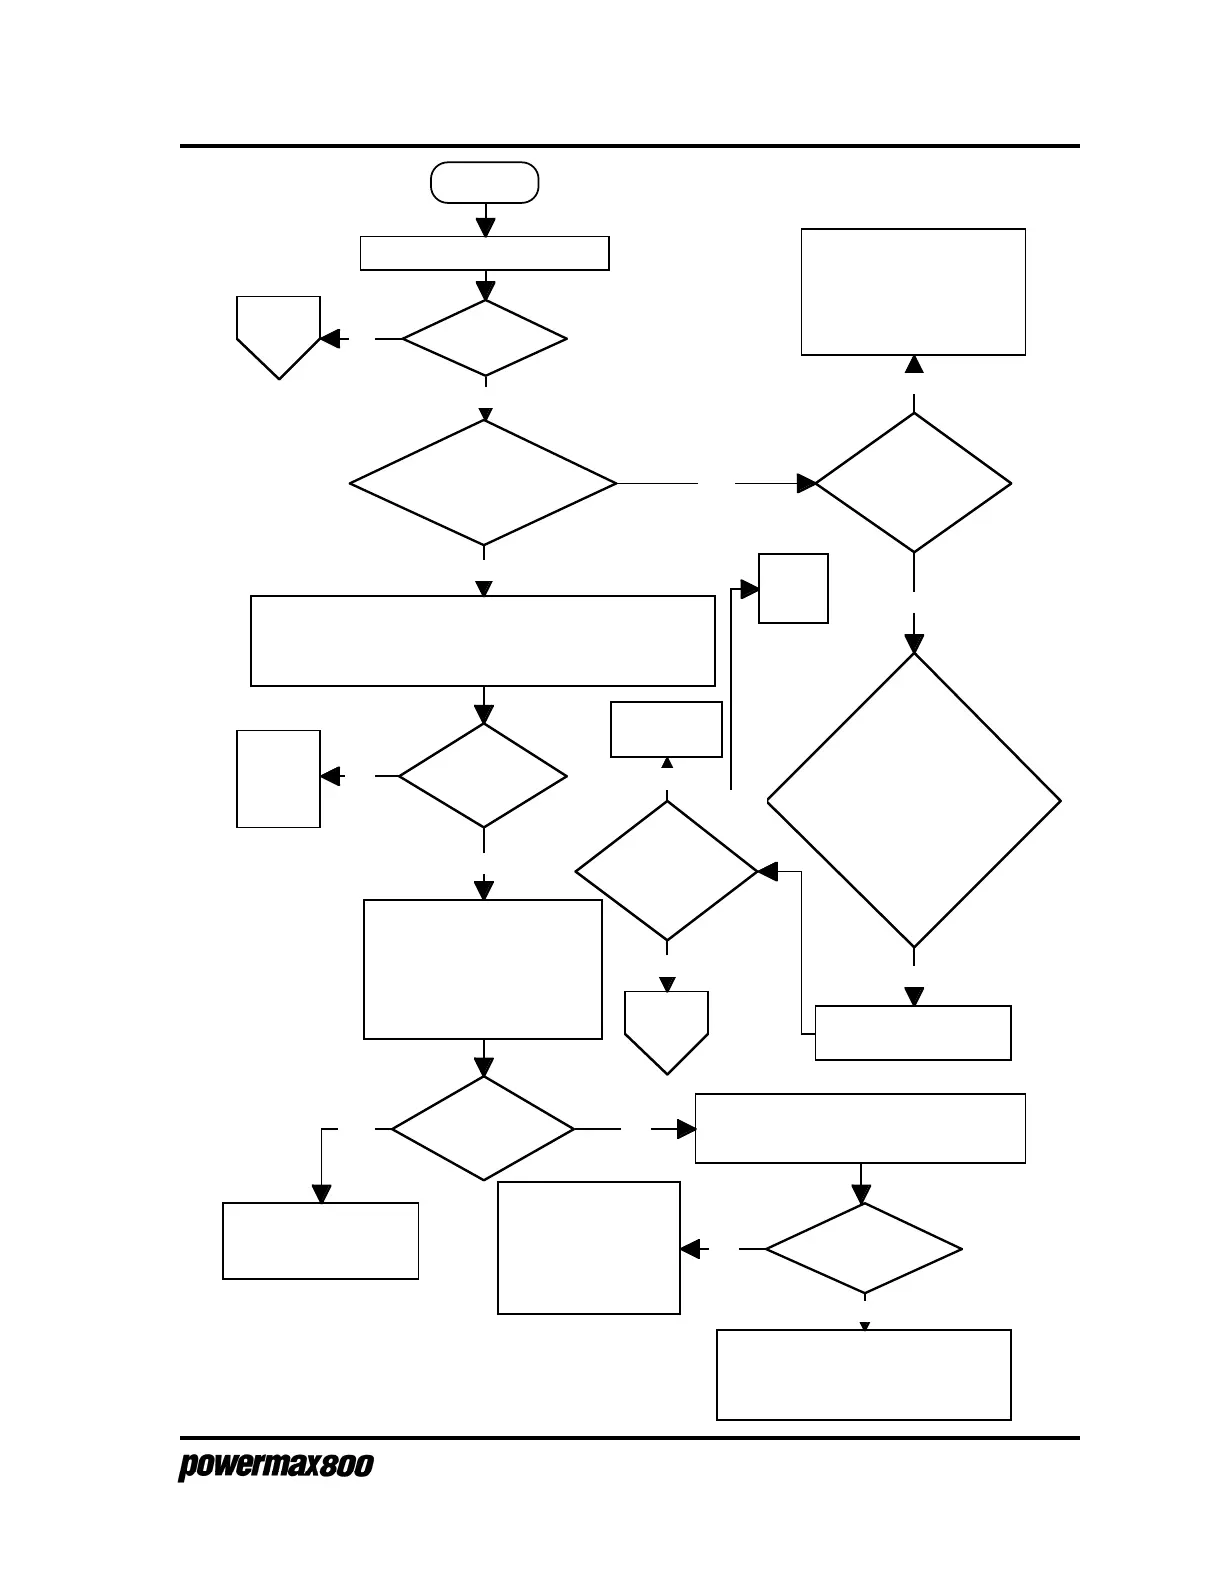
Start
Set power switch S1 to ON (1).
S1 shuts OFF
?
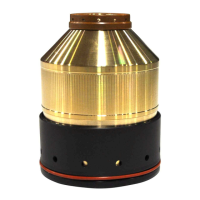
At torch, check that retaining cap is on tightly and that
consumables are properly installed. Loosen retaining cap and
listen for cap sense microswitch to open (click). Tighten
retaining cap and listen for switch to close
.
Microswitch
opens & closes
?
To
page 3-20
Meter
indicates 0 ohms
?
Disconnect torch lead. Measure resistance
between pins 2 & 8 of torch lead plug.
See Torch Check, Cap
Sensor Circuit later in this
section.
Yes No
Meter
indicates 0 ohms
?
Replace torch main
body and switch or
torch lead. See also,
Torch Check, Cap
Sensor Circuit later in
this section.
Check connectors, wires W94 and W95
and solder joints. Repair as needed.
See also, Torch Check, Cap Sensor
Circuit later in this section.
Replace
torch main
body and
switch.
LINE VOLTAGE LED
lights briefly
before shutdown
?
Yes
No
Power supply
linked for proper
line voltage?
Correct voltage links. See
label in linkbox and
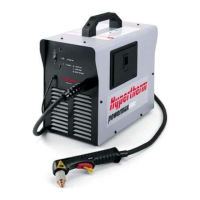
Powermax800 Operator
Manual (IM227) Section 3.
Note: 400V CE power supplies
have no link box
Yes
No
Is line voltage for:
200V > 235V?
208V > 239V?
230V > 270V?
240V > 276V?
400V > 470V?
480V > 552V?
600V > 690V?
Yes
No
Correct
supply
voltage
Replace Control Board
and repeat test
No
With retaining cap tightened,
disconnect connector JP8 at
Control PCB (Fig 4-2). Measure
resistance between JP8
sockets 9&10. Ensure cap
sense microswitch is closed.
Yes
Control board
replacement fix
problem
?
Yes
To
page 3-20
Yes
Replace
Power Board
No
No
Yes
No