44
Date & Time
11 M 15 H 14 M15 D 20XXY
OK
Back
9'&
9$&
39 $&/RDG
'&/RDG
:
:
:
:
:
$&21
(&2
*Q O G
5G V VK P I U
&C V C
:DUQLQJV
$&21
%DWWHU\
$C E M
$K
(QHUJ\$YDLODEOH
9
9ROWDJH
$
'LVFKDUJHFXUUHQW
7HPSHUDWXUH
39
9$&
'&/RDG
$&/RDG
%DWWHU\
9'&
6HWWLQJV
$&)& $&)&
:
:
:
:
:
8QDWWHQGHG21
3KDVH
6SOLW3
6LQJOH
'DWH7LPH
%ULJKWQHVV
,QIRUPDWLRQ
$ERXW
3RZHU*HQHUDWHG
$OHUW+LVWRU\
$OHUWV )G PG T CNR C TC O G V GT U
YKH K
YKH K
ÿ
#
9 QT M KP I/ Q F G
Brightness
Back
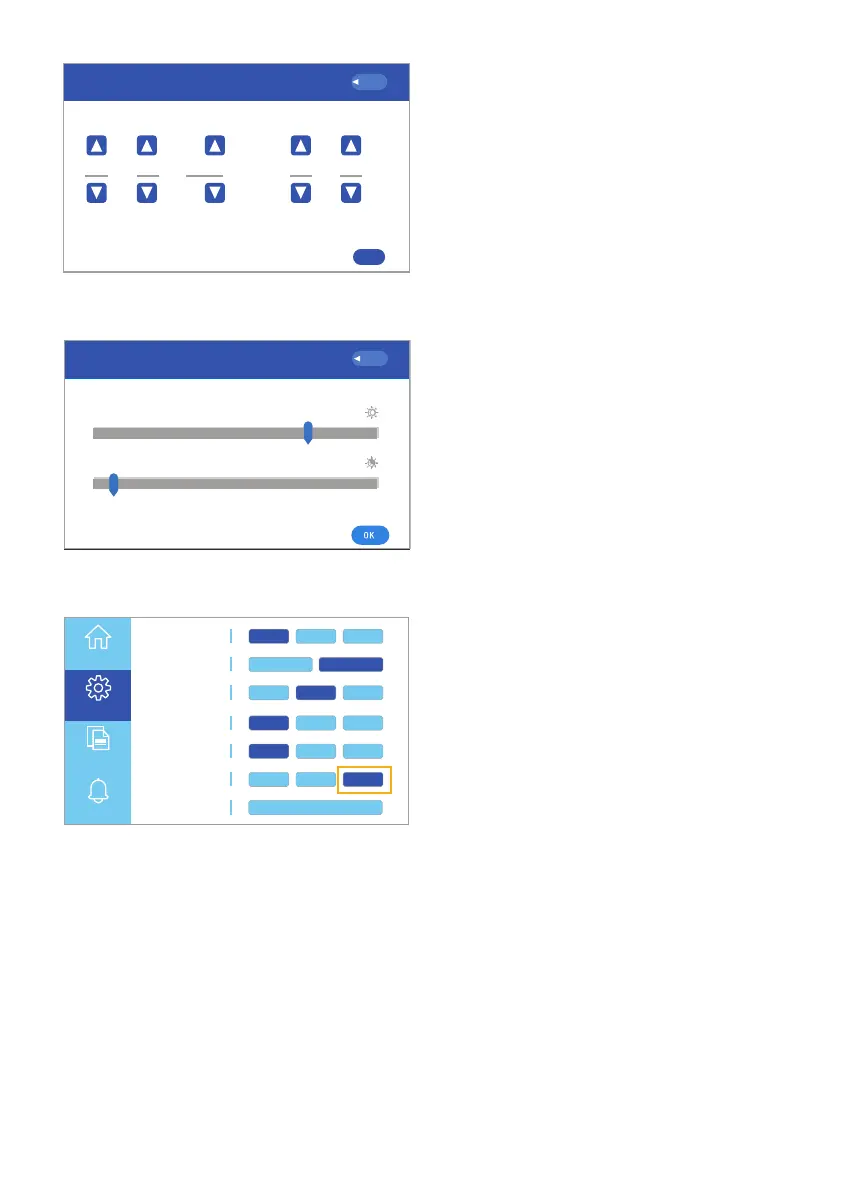
Fig. 6.30 Setup date and time
Fig. 6.31 Setup brightness
1. Selecting Date/Time:
Allows you to set the date and
time on the unit. Click the up and
down arrows to set each setting.
Click OK to confirm or, Back to
cancel (Fig. 6.30).
2. Selecting Brightness
Allows you to set the brightness of
the touchscreen The slider with
the clear sun button sets the
brightness during operation. The
slider with the partially filled sun
button sets the brightness when
the unit is on standby (Fig. 6.31).
3. Selecting Sound:
Turn the sound on or o (Fig. 6.32).
Note: The sound is turned ON
when the sound button is
highlighted.
Working Mode UPS AC F.C. Bat First
Unattended 90% ON OFF
Language English España
Display Settings
Date/Time Brightness
Sound
WiFi
Reset
ON OFFEnergy Saver
Parallel Mode Single P. Split P. 3 Phase
Home
Settings
Information
Alerts
中文
Fig. 6.32 Sound button