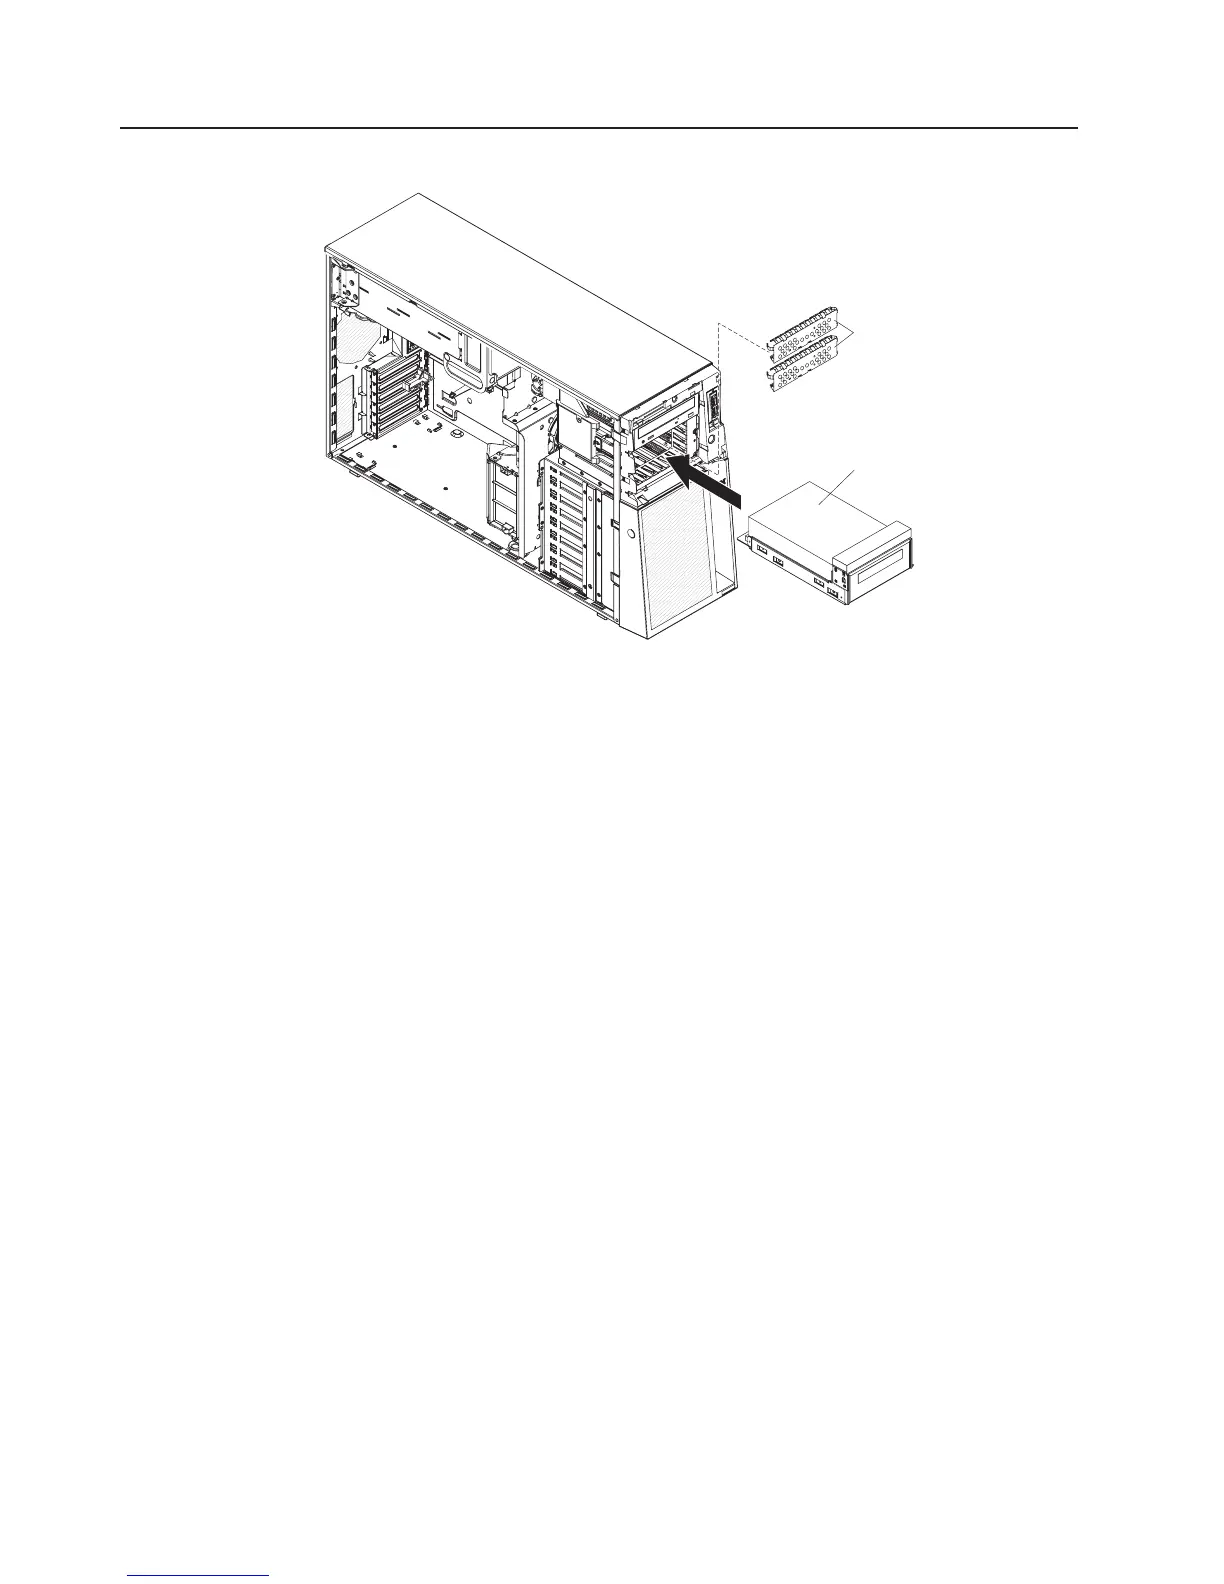
Installing a full-high tape drive
Tape drive
EMC shields
To install a full-high tape drive, complete the following steps:
1. Read the safety information that begins on page v and “Installation guidelines”
on page 21.
2. Turn off the server and peripheral devices, and disconnect the power cords and
all external cables necessary to replace the device.
3. Unlock and remove the left-side cover (see “Removing the left-side cover” on
page 24).
4. Press on the bezel retention tab at the center-left-edge of the bezel, and rotate
the left side of the bezel away from the server; then, pull the bezel away from
the server.
5. Connect the full-high tape drive cable to the system board.
6. Slide the drive into the server and connect the IDE cable to the drive.
7. Using the supplied screws, secure the drive to the server chassis.
8. Replace the left-side cover and bezel; then, lock the side cover and bezel.
9. Reconnect the external cables and power cords.
If you have other optional devices to install or remove, do so now. Otherwise, go to
“Completing the installation” on page 46.
28 IBM System x3500 Type 7977: User’s Guide

 Loading...


