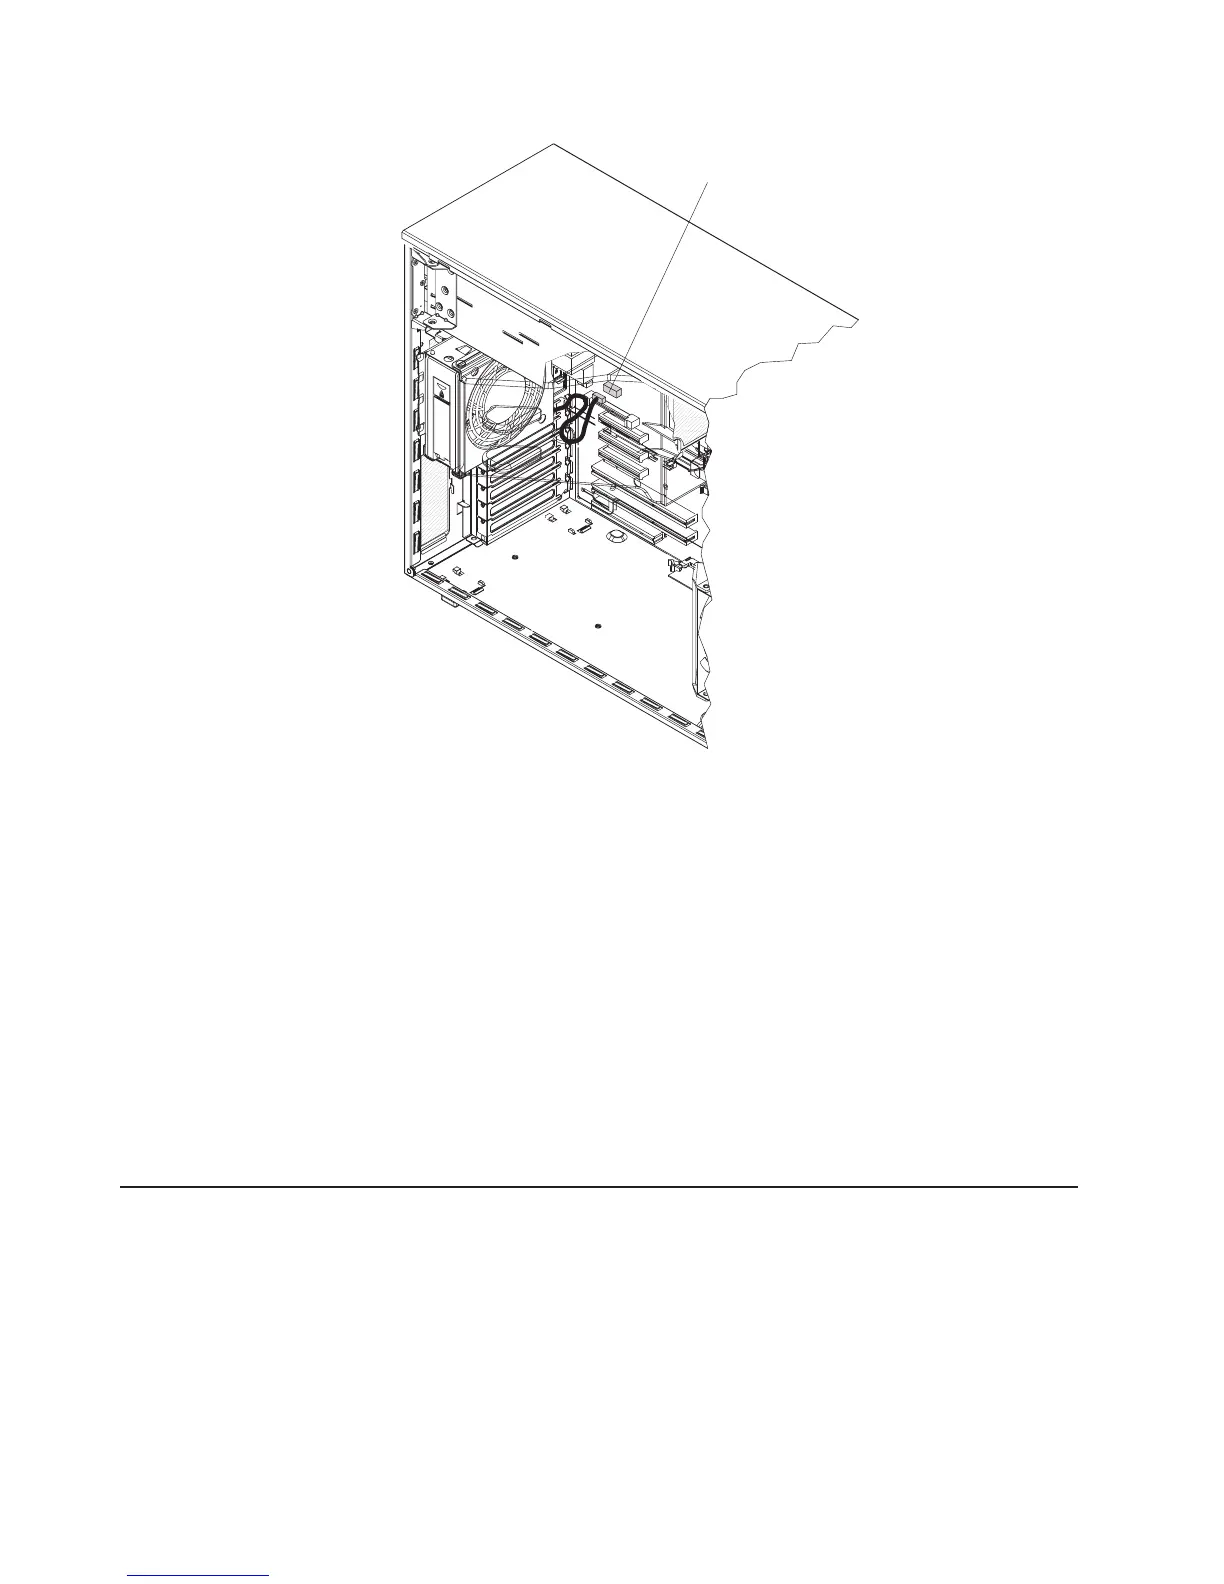
Rear Fan
Connector
c. Connect the fan power cable to the connector on the system board.
12.
Install the adapters.
13. Install the left-side cover.
14. Install the power supplies into the server. Push each power supply until it stops
and clicks into place.
15. Connect one end of each power cord into the connector on the back of each
power supply, and connect the other end of each power cord to a properly
grounded electrical outlet.
16. Make sure that the ac power LED on the top of each power supply is lit,
indicating that the power supply is operating correctly. If the server is turned
on, make sure that the dc power LED on the top of the power supply is lit also.
17. Reconnect the external cables.
If
you have other optional devices to install or remove, do so now. Otherwise, go to
“Completing the installation.”
Completing the installation
To complete the installation, complete the following steps:
1. Insert the bezel hinges into the slots on the server chassis and close the bezel.
2. Position the left-side cover over the server with the handle away from you.
3. Place the bottom edge of the cover onto the bottom edge of the server.
4. Rotate the top edge of left-side cover toward the server; then, press down on
the cover until it clicks into place.
5. Rotate the bezel to its fully closed position.
6. Using the supplied key, lock the left-side cover and bezel.
46 IBM System x3500 Type 7977: User’s Guide
 Loading...


