2001 NEW
43
5
MENU SCREEN
1
2
3
4
5
6
7
8
9
10
11
12
13
14
15
16
17
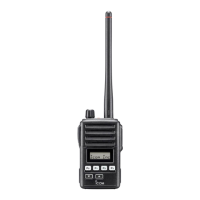
Quick Reference
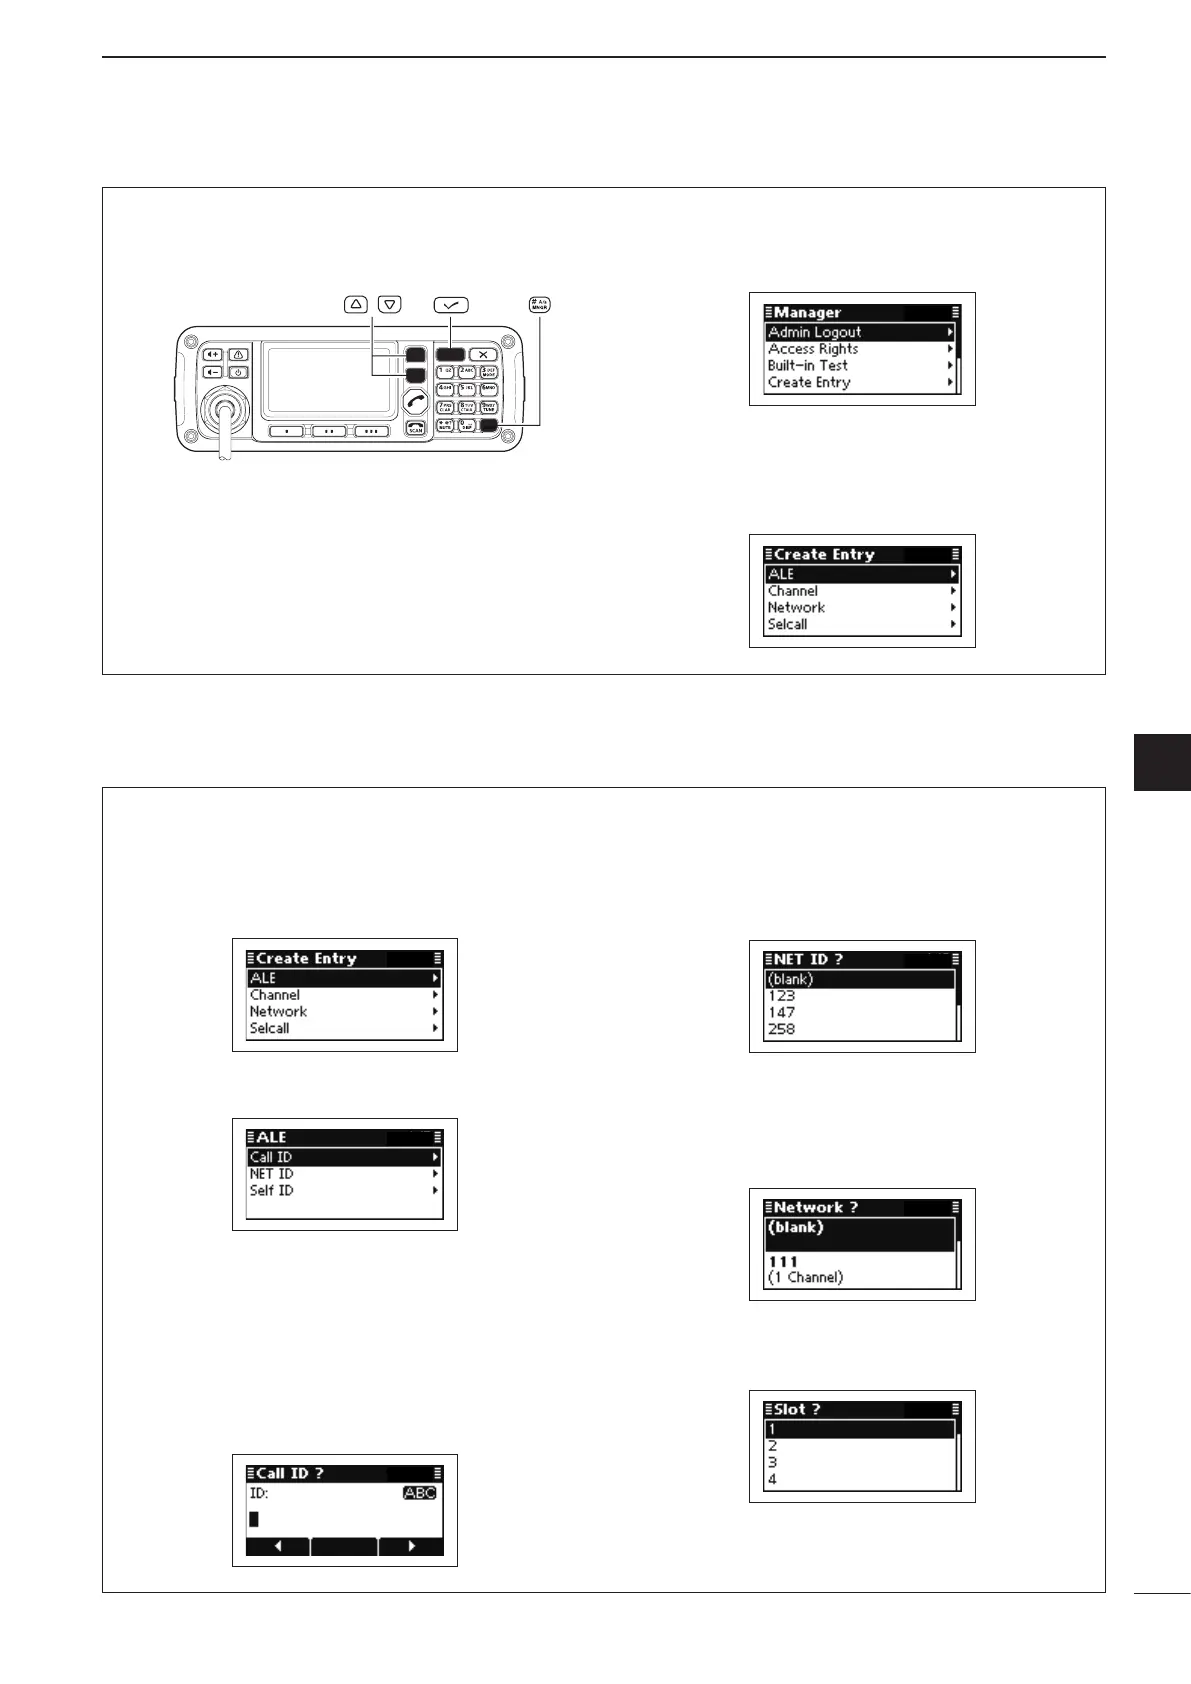
D Create Entry
You can create new ALE, Channel, Network or Selcall
items.
q Push [MNGR](#) to enter the Manager Menu
screen.
• “Admin Logout” is automatically selected.
w Push [r] or [s] to select “Create Entry,” and then
push [4].
e Create the desired entry as follows.
• “ALE,” “Channel,” “Network” or “Selcall” can be select-
ed.
• ALE
Call IDs, NET IDs and Self IDs can be created.
Making a Call ID or Self ID
q Push [r] or [s] to select “ALE,” and then push
[4].
w Push [r] or [s] to select a Call ID or Self ID, and
then push [4] to enter the input mode.
e Push the keypad keys to enter the desired ID, and
then push [4].
• Up to 15 characters can be entered.
• Usable characters are A to Z, 0 to 9, ? and @.
• Push [A/a](#) to toggle between the Alphabet (Upper
case letter) input mode and Number input mode.
• Push [8] to delete the character, symbol or number to
the left of the cursor.
• Push [t](§) or [u](§§§) to move the cursor.
r If the entered ID belongs to a specified NET ID,
push [r] or [s] to select the NET ID, and then
push [4].
• If the entered ID does not belong to any network, select
(blank) and push [4].
t If the entered ID is used with a specified Network
group, push [r] or [s] to select the Network, and
then push [4].
• If the entered ID is not used with any network group,
select (blank) and push [4].
y If a NET ID is selected in step r, select Slot num-
ber.
• Selectable number are 1 to 20.
u Push [4] to save the ID and exit.
 Loading...