10
4
16
15
14
13
12
11
10
9
8
7
6
5
3
2
1
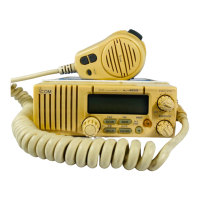
SCAN OPERATION
4
10
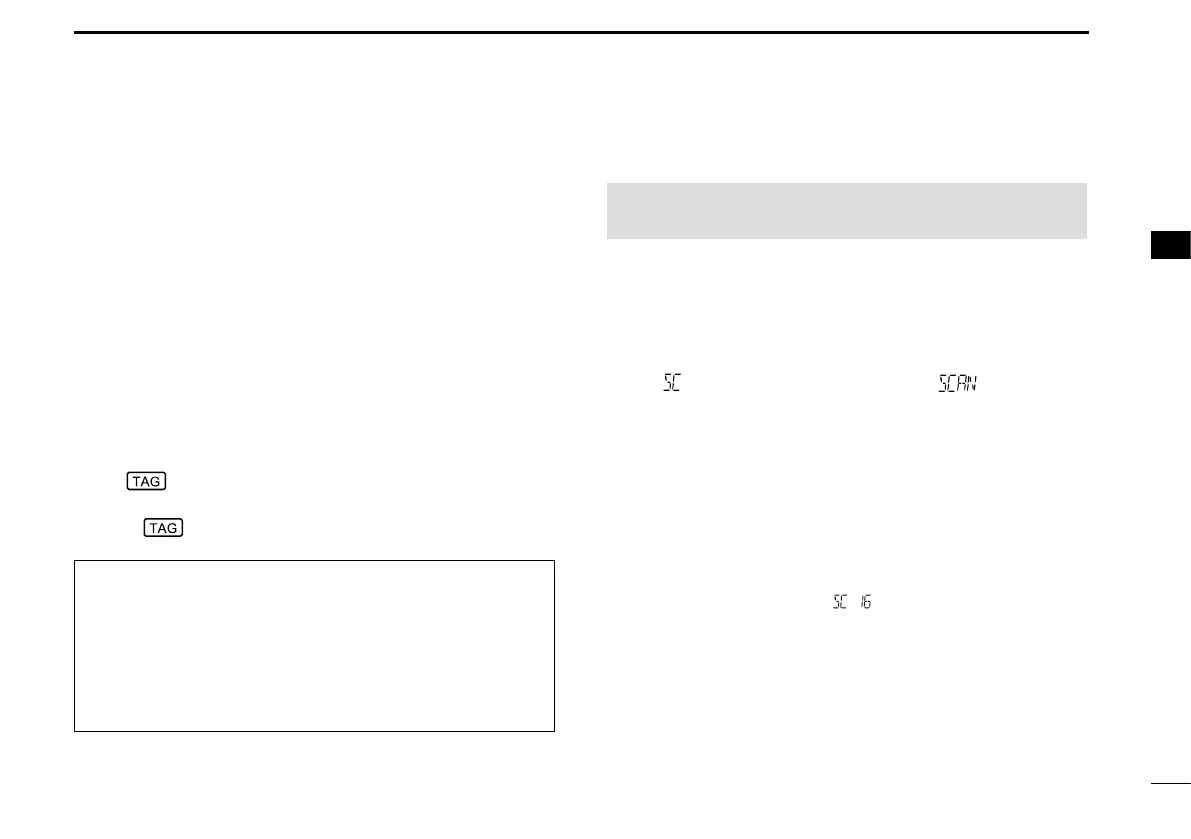
■ Setting TAG channels ■ Starting a scan
For more efcient scanning, you can set the desired
channel as a TAG channel or remove it from the
TAG channels. Channels that are not tagged will
be skipped during a scan. TAG channels can be
independently assigned to each channel group.
1. Push [Ù] and [Ú] on the transceiver at the same
time to select the desired channel group.
2. Select the desired channel to be set as a TAG
channel.
3. Hold down [SCAN] for 1 second to set the
displayed channel as a TAG channel.
• “ ” is displayed.
LTo clear the TAG channel setting, repeat step 3.
• “
” disappears.
TIP: Clearing (or setting) all TAG channels
While holding down [HI/LO] on the microphone, push
[SCAN] for 3 seconds (until a long beep changes
to 2 short beeps) to clear all TAG channels in the
selected channel group.
L Repeat the procedure to set all channels as TAG
channels.
NOTE: Select the scan type from "Normal (default)"
or "Priority." (p. 13)
1. Push [Ù] and [Ú] on the transceiver at the same
time to select the desired channel group.
2. Set the TAG channels as described to the left.
3. Confirm the squelch is closed to start a scan.
4. Push [SCAN] to start a Priority or Normal scan.
• “ ” blinks during a Priority scan, “ ” blinks
during a Normal scan.
L When a signal is detected, scan pauses until the
signal disappears or resumes after pausing
5 seconds, according to the Scan resume timer
setting. (p. 13) (Channel 16 is still monitored
during Priority scan.)
L Push [Ù] or [Ú] to check the scanning TAG channels,
to change the scanning direction or resume the scan
manually.
L A beep sounds and “
” blinks when a signal is
received on Channel 16 during Priority scan.
5. Push [SCAN] again to stop the scan.