MACH+ heat recovery units— User and installer manual
© Ideal Clima-page 13 of 20
8.2 POSITIONING
All MACH+ models are designed for indoor installation.
Do not install the unit outdoors and prevent it from being exposed to weather conditions such as rain,
hail, moisture and frost.
It is necessary that the machine is accessible for periodic maintenance (Filter Change, Exchange
package cleaning, etc.) and that it is entirely removable for any extraordinary maintenance. For this
purpose, hatches or hatches must be provided to access machines installed in suspended ceilings or
vaults.
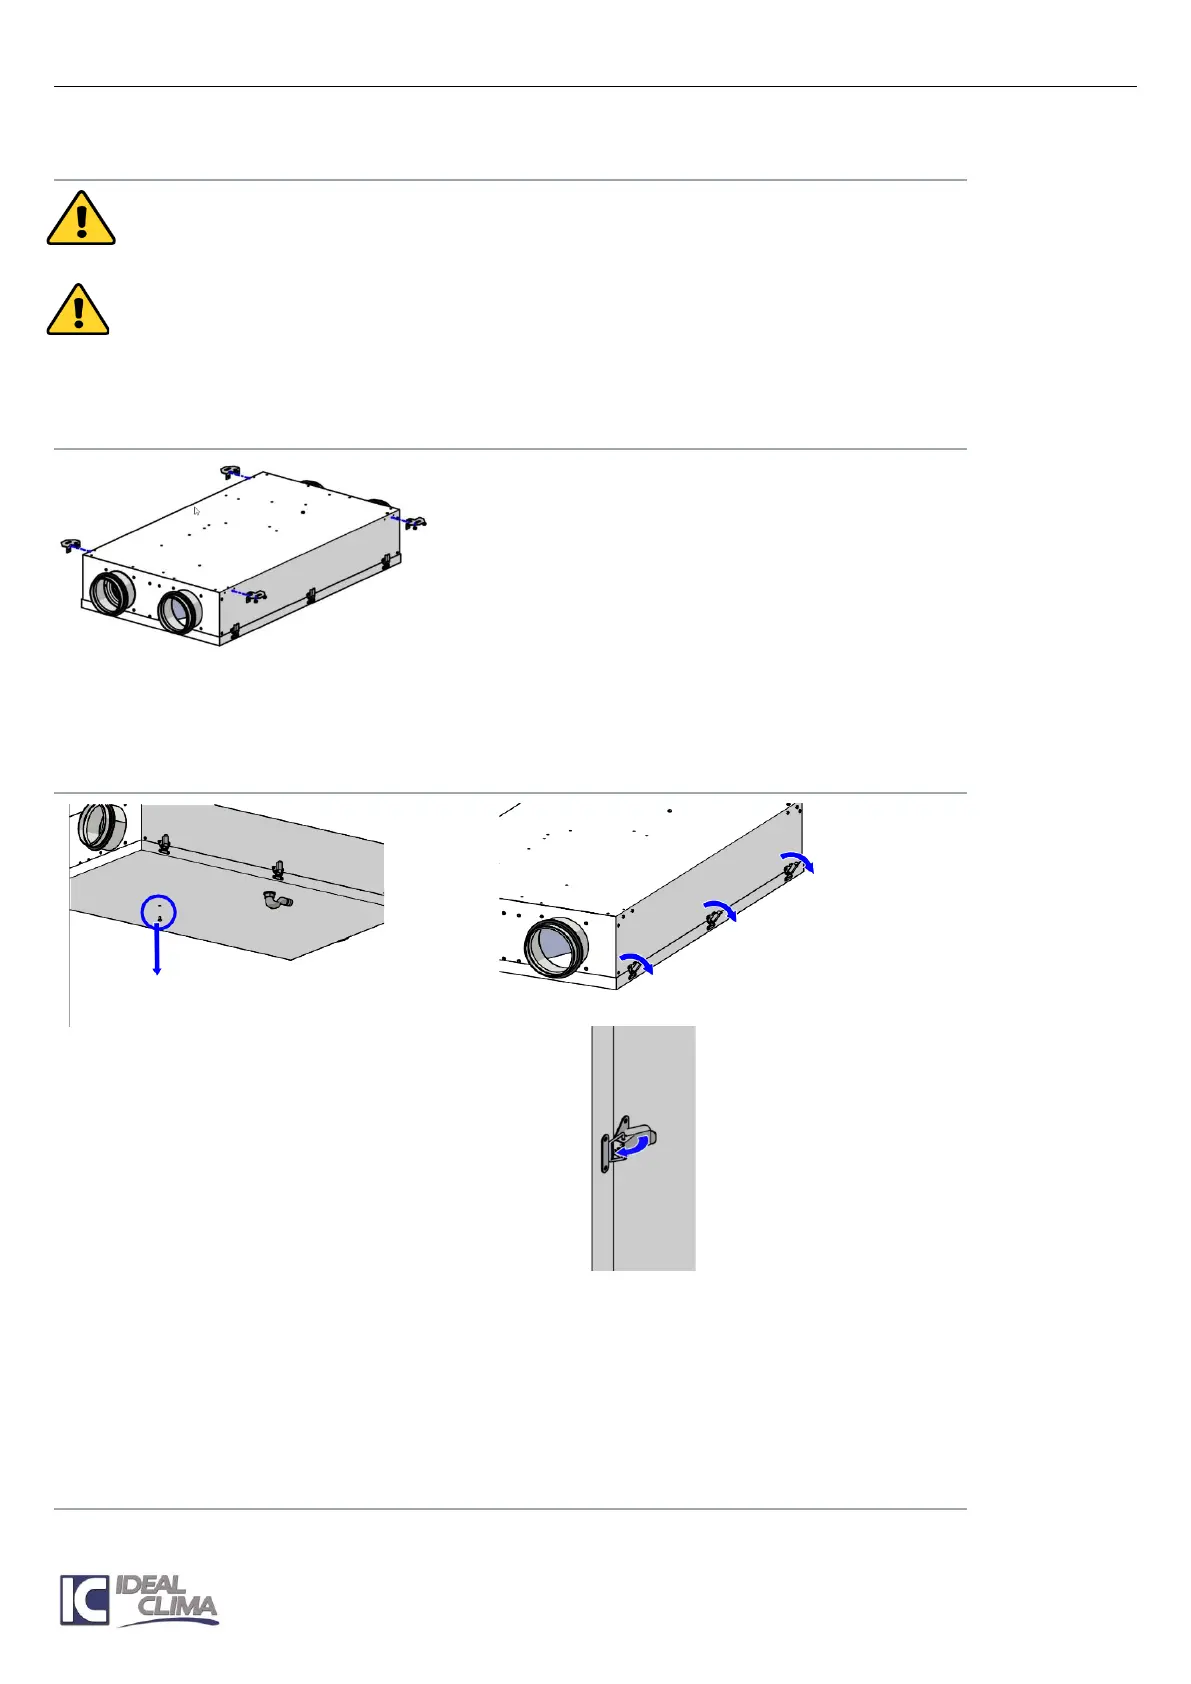
8.3 PREPARATION
Remove the recuperator from the packaging box, pick up the
accessories contained inside the recovery unit itself (envelope with
power cable, n°4 or 6 fixing brackets, tapping screws and, for MACH+
160 and MACH+ vertical, the condensate drain connection). The bag
of accessories can be reached by a mouthpiece, without opening the
hatch. For the MACH+ series with automatic free-cooling are also
found in the bag the LED warning light and the RJ45 plug necessary for
the alarm wiring dirty filters.
Attach the brackets to the machine, each with three screws, in the most suitable position. Only for MACH+160,
the position is predetermined by a special hole of the mantle. The preparation of vertical models is similar to
that of horizontal models
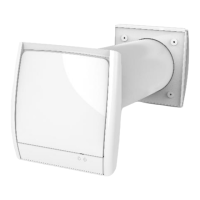
8.4 DOOR OPENING
The door of the recovery unit is opened for installation and for extraordinary and ordinary maintenance.
The sequence, identical for horizontal MACH+ and Vertical Mach+, is as follows:
- Remove the safety screws that are on the outside of the door (1 or 2 according to the models)
- Open all hinges, with the utmost care to avoid the fall of the internal components as well as the door
itself.
- Perform the planned operations inside.
- Close the door, with hinges, so that it fits perfectly on the recovery unit, leaving no air passages.
- Apply safety screws
8.5 PREDISPOSITION FOR CONDENSATE DRAIN CONNECTION