English
18
3 Setup your DAW
The AXE I/O is compatible with any Windows-based DAW that supports ASIO or any Mac-based DAW that uses
Core Audio. After installing AXE I/O Control Software and connecting the hardware, you can start using your
AXE I/O with the your DAW.
It is possible that your DAW may not automatically select the AXE I/O as its default I/O device. In this case, you
must manually select the AXE IO as the audio hardware on your DAW’s Audio Setup page. Please refer to your
DAW’s documentation (or Help files) if you are unsure where to select the ASIO/Core Audio driver.
Once the AXE I/O is set as the preferred Audio Device in your DAW, all 2 inputs and 5 outputs will appear in your
DAW’s Audio I/O preferences.
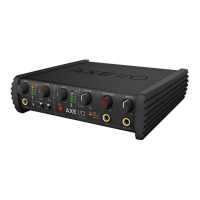
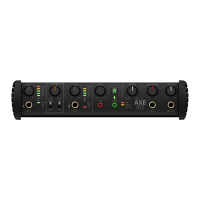
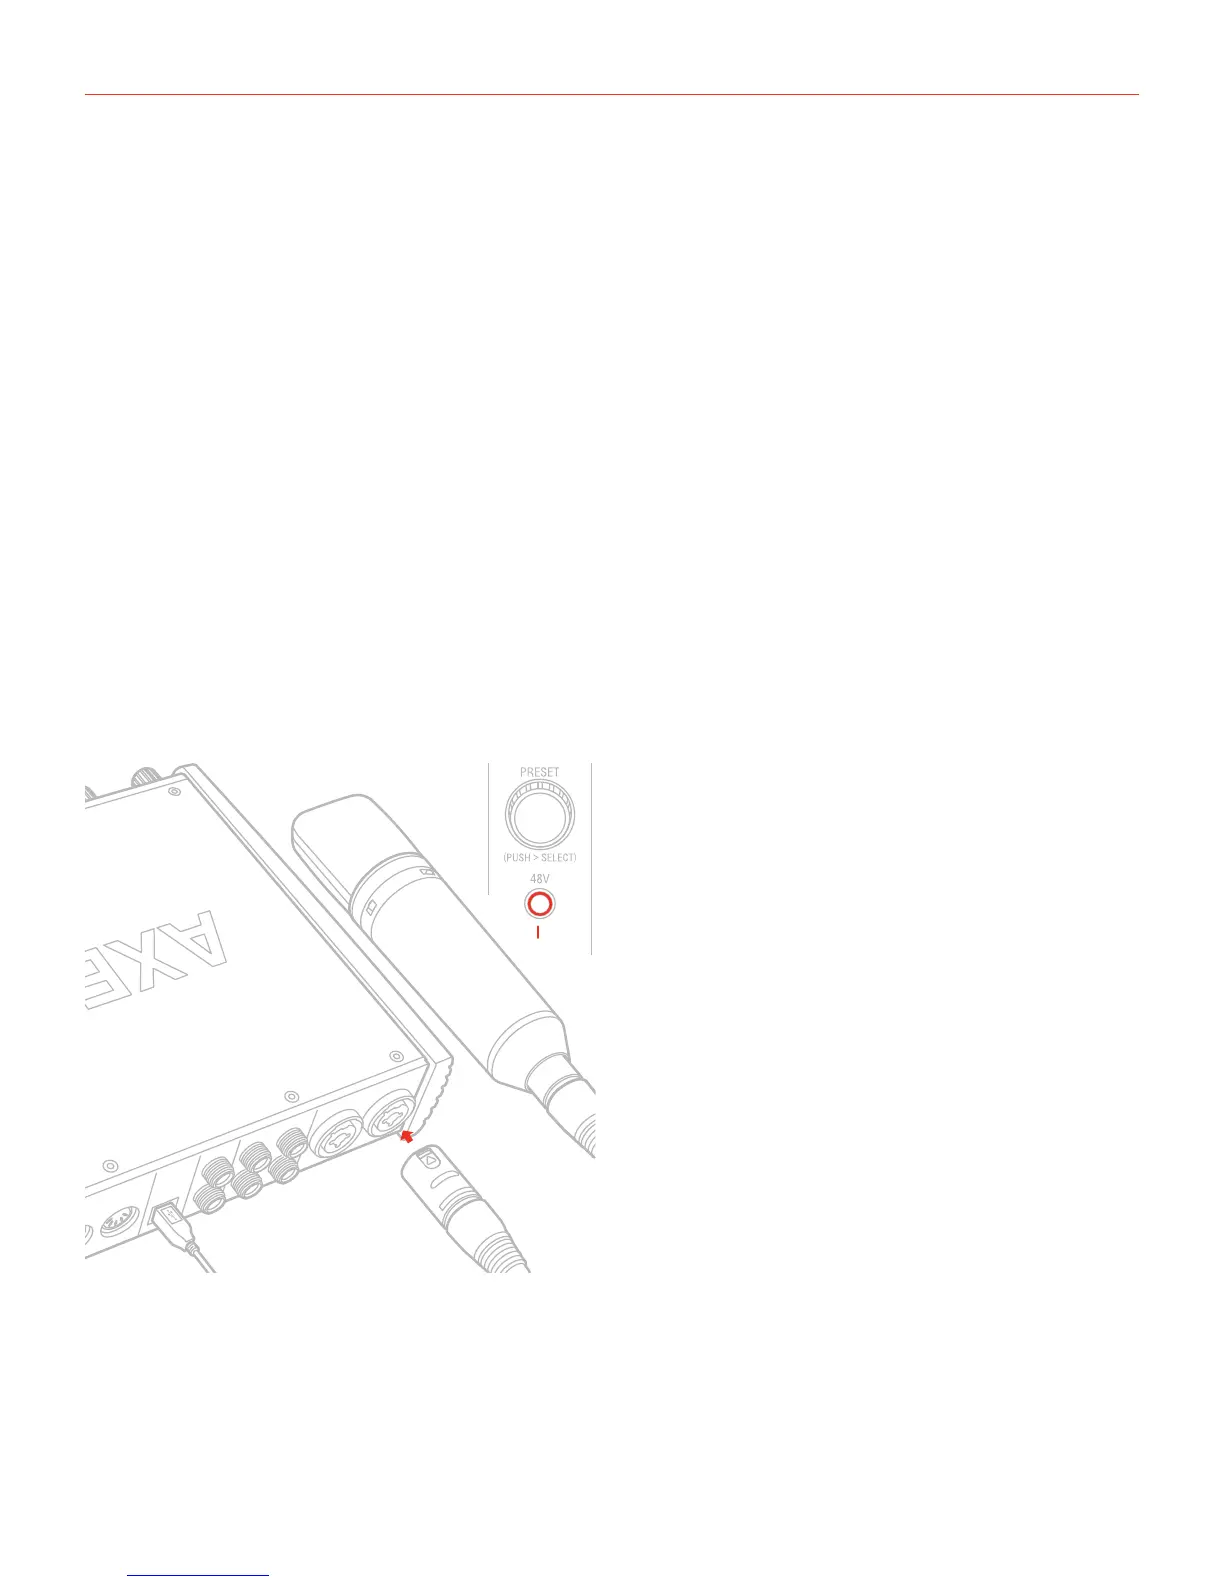
4 Connecting microphones
Always connect microphones to AXE I/O with XLR-to-XLR balanced cables. This will ensure a pristine and clean
performance from your microphone with AXE I/O.
NOTE: In your audio software, select the appropriate AXE I/O input (1 or 2) as the source of the track you will be
recording to. Adjust the channel gain knob until you have a sufficient audio signal without clipping.
4.1 Condenser microphones
48V ON
1
2
XLR
Most condenser microphones require external phantom power. If phantom power is ON, switch it OFF, and then
connect your microphone. Turn phantom power ON only after the microphone is connected. Once it’s turned
ON, check that the phantom power LED has become red.
 Loading...