Fig. 6 – Substitute leakage current measurement
Step 1 - preparation for measurement
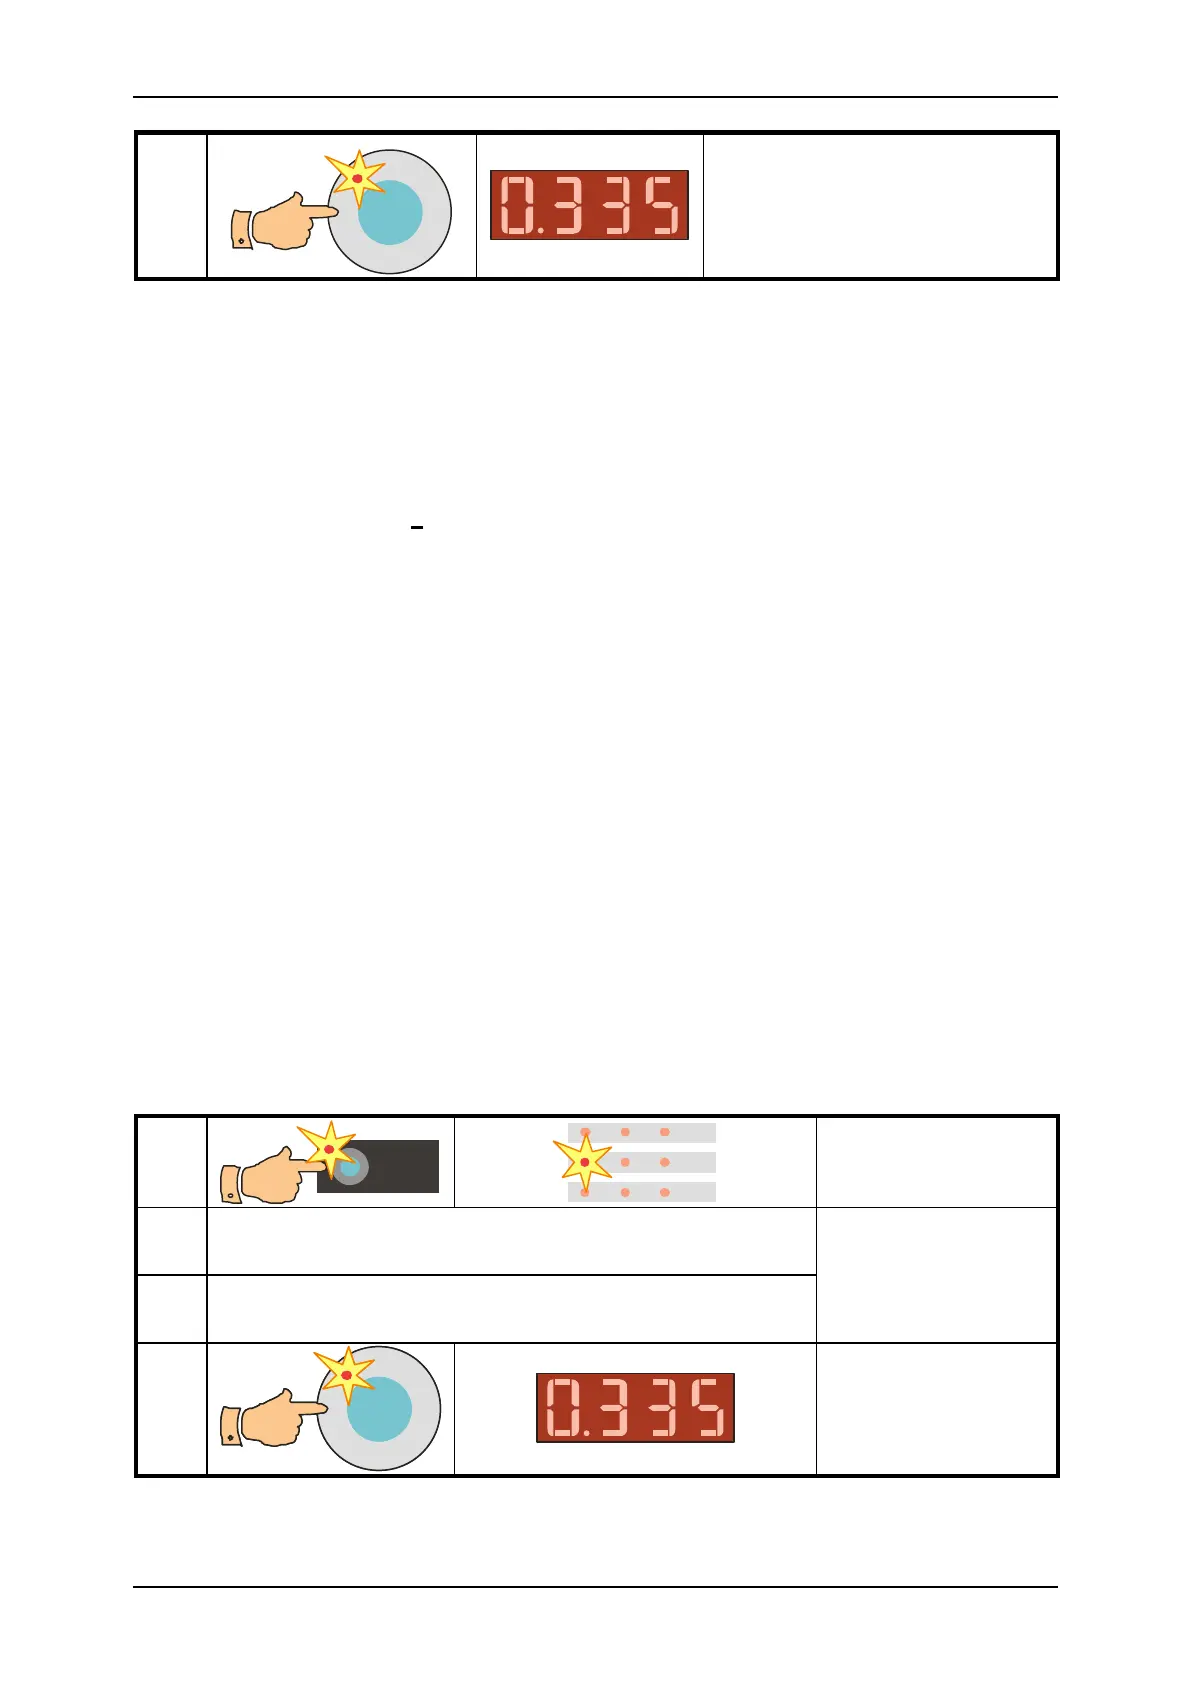
• Select the I
SUB
function: pres the I
SUB
key and release it. Symbol „- -“ is displayed
and indicators (I
SUB
) and (mA) light up.
• Connect tested appliance:
- One-phase appliance with movable power supply cord – plug in its mains plug
to test socket 1.
- Three-phase appliance with movable power supply cord – connect PE pin of its
plug to the instrument’s PE terminal by means of optional test lead P2012 +
crocodile clip P4012. Then connect remaining current-carrying conductors by
means of test lead P2011 + test tip P3011 to the instrument’s R
ISO
+ I
SUB
terminal (placed on rear panel).
- Hard-wired appliance – firstly disconnect appliance from mains! Connect its
point of PE connection to the instrument’s PE terminal by means of optional
test lead P2012 + crocodile clip P4012. Then connect remaining current-
carrying conductors by means of test lead P2011 + test tip P3011 to the
instrument’s R
ISO
+ I
SUB
terminal (placed on rear panel).
Step 2 – measurement
• Switch on tested appliance’s mains switch.
• Press the START key; measurement starts to run (see chapter 4.1. for measurement
control details). Measurement is indicated by the (START) indicator.
• After finishing of measurement (the (START) indicator turns off) the last measured
value of substitute leakage current is displayed.
4.4.2. Protective class II appliances – substitute touch leakage current