OPERATIONS
Operating from the Front Panel
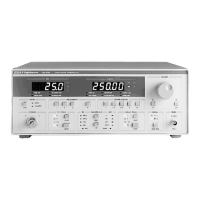
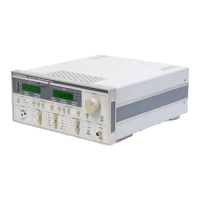
7/01 LDC-3700 Series 21
CHAPTER 2
voltage) measurement values or set point values. The display enunciator, mW will illuminate when
P
PD
is selected.
Adjust the Constant Power set point of the controller to 1.00 mW. To do this, set the instrument to
"LAS" mode by pressing the appropriate push button in the "ADJUST" section of the front panel.
Turn the adjust knob clockwise to increase the set point (as indicated on the LASER display), or
counterclockwise to decrease the set point. When the ADJUST knob is turned, the controller
automatically changes to set point mode indicated by the display mode enunciator flashing. Before
adjusting the set point check the LASER display for proper display mode. The display mode
determines which set point is being adjusted. Adjust the set point to 1.00 mW. Pressing the SET
switch in the LASER DISPLAY section will also change the controller to set point mode. Make sure
that the mW enunciator next to the display is illuminated before adjusting the set point. After an
adjustment has been made, and the (LASER DISPLAY) SET switch and ADJUST knob are
released, the SET mode will time out in three seconds. The new set point will be stored in non−
volatile memory. If the original display mode differed from the newly adjusted set point, the LASER
display will revert to the original display mode (I, I
PD
, or P
PD
).
Before the laser output is enabled, the power limit for the laser under test should be set. In Constant
Power mode, this is accomplished by setting a Power limit, LIM P value. The LDC−3700B Controller
uses the responsivity value entered to calculate a power limit. This is a software limit only.
To set the Constant Power limit, use the SELECT push button in the PARAMETER/LASER section
to select LIM P. When the LIM P is indicated by the accompanying LED, the LASER display will
indicate the limit set point in mW. Press and hold the SET push button and rotate the adjust knob
clockwise to increase the limit set point value, or counterclockwise to decrease the limit set point
value. Set the limit to 1.50 mW. When the desired value is reached, release the SET push button to
store the new limit value.
The LIM P is the absolute limit of optical power, as detected by the unit via the monitor PD feedback
loop. In order for this limit to be meaningful, the monitor photodiode responsivity (CAL PD) must be
adjusted correctly. This limit is a software limit only. The LASER output is normally turned off if this
limit is reached (See LASer:ENABle:OUTOFF command in Chapter 4 for instructions on disabling
LASER DISPLAY
I
I
PD
P
PD
VSET
TEC
LAS
ADJUST
T
LIM I
SAV
CONST
GAIN
LIM T
HI
TEC
LIM I
CAL PD
LIM I
LIM
RECA LL
SET
SELECT
PARA M ETE
LASER
Artisan Technology Group - Quality Instrumentation ... Guaranteed | (888) 88-SOURCE | www.artisantg.com
 Loading...