Figure 5 Registering IAR for evaluation (based on v. 8.42)
2.3 Verify installation by quick hands-on
The starter kit is now ready to use after a successful environment setup (USB driver installation, SDL
installation, and IAR installation). To verify the installation and setup is complete, quickly walkthrough the
following steps:
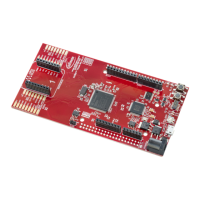
1. Connect the USB cable from the PC to the starter kit, LED2 and LED3 should be ON.
2. After power-up, LED1 and LED4 will start blinking from the pre-installed firmware on the kit.
3. Start IAR EWARM and open the SDL template workspace file:
tviibe1m\tools\iar\flash\tviibe1m_flash_cm0plus_template
4. Select the workspace revision starter_kit from drop-down list under Workspace.
5. Click Project from top menu and select Rebuild All.
6. Check for the successful build from the Build tab at the bottom left corner in IAR window.
7. The kit is already running a pre-installed firmware on it so we can connect to target CPU (TRAVEO™ T2G) by
selecting Attach to Running target option from the Project menu.
8. The debug log shows the interface and device information in the Debug tab at the bottom left corner.
9. Click pause to check the CPU execution, LED1 will stop blinking due to the pause action.
10. Now click the stop debugging button to detach the target.
11. Close the IAR window and reset the starter kit using switch SW2.
Note: In case of problems, see Troubleshooting.

 Loading...