28 29
3. Short press the Menu Button to toggle between the two
options: W (warm) and C (cool).
4. Long press the Menu
Button to return to the home screen.
NOTES:
• Cool mode provides a brighter, higher-contrast image and warm
mode provides a softer image and reduces eye strain.
• The red hot, rainbow, and ironbow color palettes do not support
image hue.
Pixel Defect Correction
Automatically correct
defective pixels
Defective pixels are pixels
that do not change
correctly compared to the
other image pixels—they
are either brighter or
darker than surrounding
pixels. The FINDERV2 has
a tool that automatically
corrects defective pixels
on the sensor using its
internal software.
1. Long press the Menu
Button to enter the
main menu.
2. Short press the Up
or Down
Button to
select the pixel defect
correction
menu
item.
3. Short press the Menu
Button to open the
pixel defect popup window.
4. The popup has two options,
and . Select to automatically
correct any defective pixels on the sensor or select
to cancel.
is selected by default.
5. Short press the Menu
Button to select to confirm the
defective pixel correction. The screen will display “Correcting the
blind pixels” while the correction is in progress and will display
“Correction finished” when complete; OR
6. Short press the Down
Button to select and short press the
Menu
Button to confirm cancellation of the pixel correction
and return to the main menu.
A
M
17 : 1 6/2023/10/15
×1.0
M
C W
×1.0
M
17 : 1 6/2023/10/15
3. Short press the Menu Button to toggle between the two
options: M (meters), and Y(yards).
4. Long press the Menu
Button to return to the home screen.
Next Page
Go to the next page of
the main menu
1. Long press the Menu
Button to enter the
main menu.
2. Short press the Up
or Down
Button to
select the next page
menu item.
3. Short press the Menu
Button to go to the next page of the main menu.
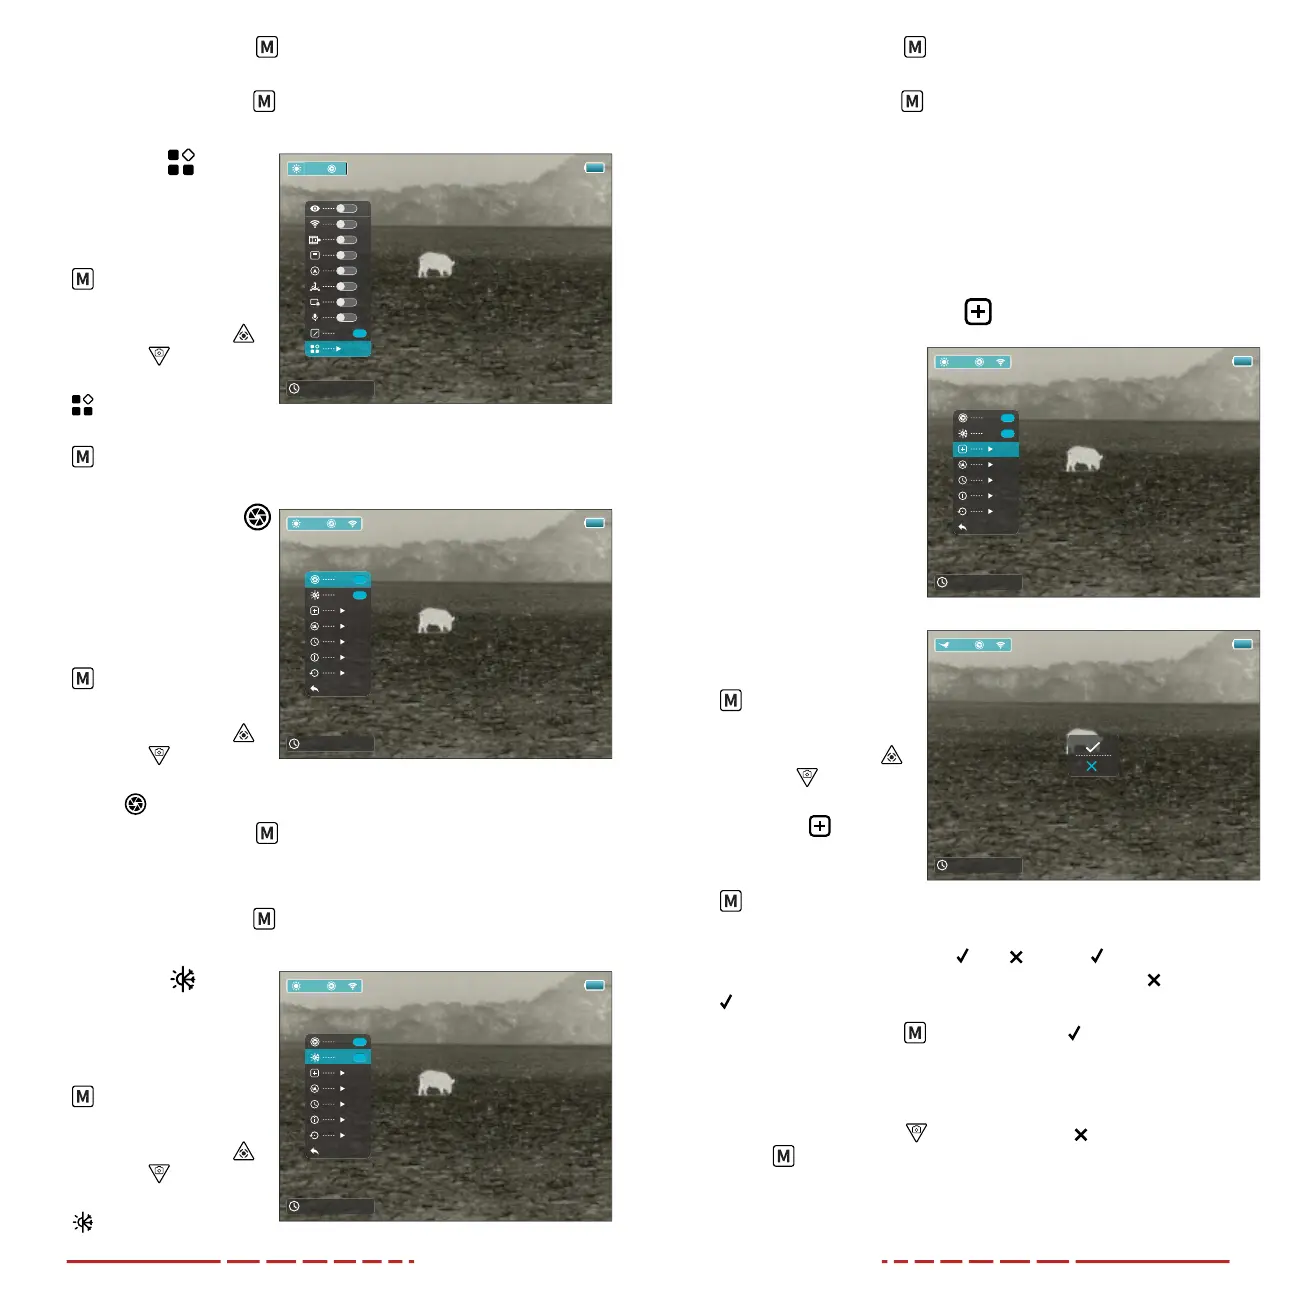
Calibration Mode
Select the
non-uniformity
correction mode to
automatic or manual
1. Long press the Menu
Button to enter the
main menu.
2. Short press the Up
or Down
Button to
select the calibration
mode
menu item.
3. Short press the Menu
Button to toggle between the two
options: A (automatic) and M (manual).
4. The selected NUC mode, A or M, appears in the status bar.
5. Long press the Menu
Button to return to the home screen.
Image Hue
Set the image hue mode
to warm or cool
1. Long press the Menu
Button to enter the
main menu.
2. Short press the Up
or Down
Button to
select the image hue
menu item.
17 : 1 6/2023/10/15
OFF
OFF
OFF
OFF
OFF
O N
OFF
OFF
OFF
A
×1.0
M
Y
M
Y
A
C
M
W
17 : 1 6/2023/10/15
×1.0
M
A
M
17 : 1 6/2023/10/15
×1.0
M
C W
 Loading...