brightness of screen, contrast of image, image modes, digital zoom and etc.
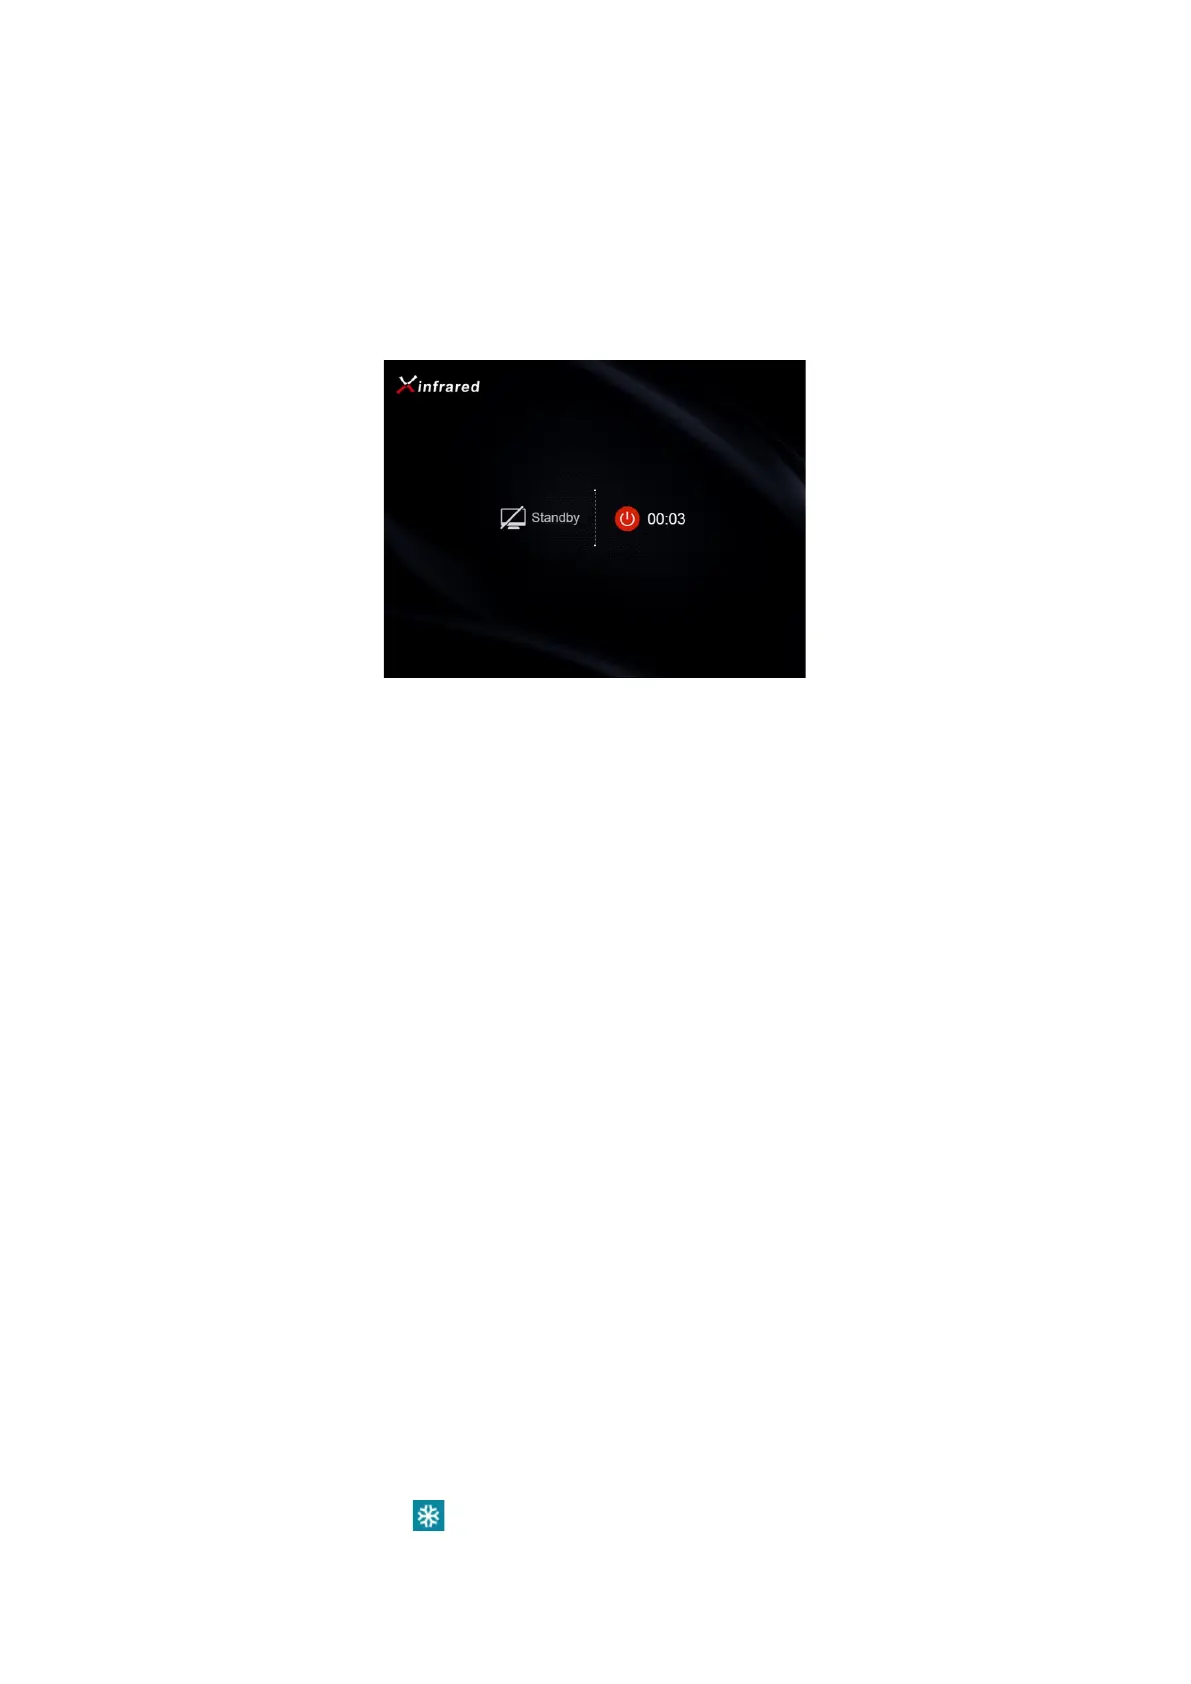
➢ Hold on Power Button for about 0.5 seconds, there will be prompts of standby and count
down of switch off. While count down over, release Power Button to switch off the scope. If
you release the button before counting down finalize, the scope will turn into standby mode.
➢ In standby mode, press Power Button to wake up the scope.
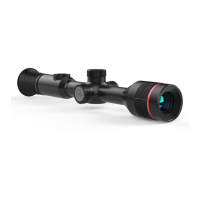
9. Zeroing
Rico series require zeroing in “Freeze” method, follow zeroing steps below in operating temperature:
➢ Mount the scope on rifle;
➢ Set a target on the distance that already known;
➢ Refer to instructions in Step 8 about turn on the scope, adjust the scope;
➢ Select Correction Type (Refer to “Reticle - Zeroing Profile” in Main Menu);
➢ Hold down M button to enter Advanced Menu, select “Zeroing”; press M button to enter
submenu.
➢ Base on pre-set distance to target, select or add new distance for zeroing (Refer to Advanced
Menu function: “Zeroing - Zeroing Range - Set Zeroing Distance “);
➢ Press M button to enter Zeroing interface (Refer to Advanced Menu function: “Zeroing - Zeroing
Range - Set Zeroing Distance “), the cross reticle will reveal in the center of screen, and the
location of reticle will appear in the top left corner of screen.
➢ Aim and shoot the target;
➢ Once shooting done, watch the location of impact; if the location of impact and aiming (The
center dot of cross reticle) are not aligned:
➢ Keep the Scope still, hold down both ↑button and ↓button, then image freezes, meanwhile
a symbol of freeze will appear on the left of the screen.
 Loading...