
R
Robin RoseJul 30, 2025
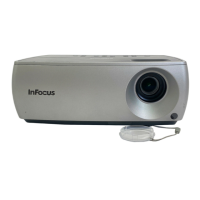
How to fix InFocus IN2102 Projector when it's too hot?
- BBrian NunezJul 30, 2025
If your InFocus Projector is too hot, ensure that the vents aren’t blocked. Turn off the projector and wait one minute, then turn it on again. Contact Technical Support if the problem persists.