Installation manual
Installation 37
3-2-6
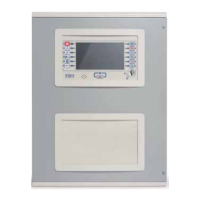
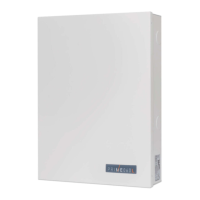
Installing the Alien/G keypad
1. Prepare the placement area on order to flush-mount the device, taking care not to dam-
age any electrical wiring, gas or water papers, etc.
2. Insert the supplied flush-mount box (Table 3-4: Alien/G - mounting possibilities, A) into
the wall recess and secure it in place.
3. Pull the wires through the most suitable wire entry.
4. Place the backup battery and Alien/G power supply in the most suitable position inside
the box.
5. Connect to the mains network.
6. Open the Alien/G casing by first removing the safety screw and then pushing the enclo-
sure clasp open.
7. Pass the wires through the wire entry on the back of the Alien/G.
8. Fit the screws into the screw locations (Table 3-4: Alien/G - mounting possibilities, D)
and attach the Alien/G securely to the flush-mount box.
After securely mounting the Alien/G, make sure that the microswitch is closed.
9. Complete all the connections.
10. Close the Alien/G.
A
B
C
D
E
E
Table 3-4: Alien/G - mounting possibilities
A
Flush-mount box
(included)
B
Power supply
(optional)
C
Backup battery
(optional)
D
Screw locations
A
B
C
D
D
D
D
 Loading...