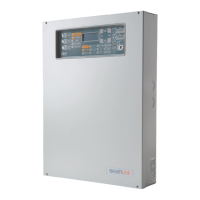
Installation manual
Installation 29
Chapter
3
Installation
3-1
Installing the control panel
3-1-1
Wall-mounting
The control panel should be located in a hidden place that can be accessed by authorized
building occupants only.
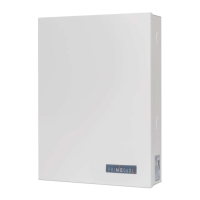
1. Locate the fixing holes at the corners of the back of the metal enclosure of the control
panel (Table 2-5: Control panels - description of parts, K).
2. Using the metal enclosure, mark the fixing screw locations on the wall. Be sure not to
drill in the vicinity of electrical wiring or plumbing/gas pipes, etc.
3. Insert the screw anchors (recommended size 6mm).
4. Pull the wires through the wire entry.
5. Using the screws, attach the backbox to the wall.
Note
The cable gland must be flame class rating V-1 or higher.
3-1-2
Connecting the Mains power supply
The control panel must be powered through a separate line coming from the Mains box. The
line must be protected by a safety-standards compliant circuit breaker (trip switch).
The circuit breaker (trip switch) must be located externally to the apparatus and should be
easily accessible. The distance between contacts must be at least 3mm. The manufacturer
strongly advises the use of a magnetothermic switch with C intervention curve and nominal
(maximum) current - 16A.
The protective earthing system must be compliant with all safety standards and laws in force.
DANGER!
Ensure that the Mains is switched Off during the mains connection phase. Danger of electric
shock.
1. Pull the power-supply wires through the wire entry [A].
2. Connect the primary power-supply to the appropriate terminals [B] (Table 2-5: Control
panels - description of parts, F).
Follow the indications on the label [C] located near the mains terminal board.
For a safety standard compliant installation the phase wire must be connected to the “L”
terminal and the neutral wire to the “N” terminal.
3. Ensure that very low safety voltage or signal wires do not come into contact with dan-
gerous voltage points.
Using a plastic cable tie, bunch the wires together and secure them to one of the wire
hooks on the backplate of the enclosure [F].
Note
The end of a stranded wire must not be consolidated with soft soldering in points where the wire is
subjected to contact pressure.
4. Crimp the earth wire to the ring terminal [E] (included).
5. Using the nut, attach the ring terminal wire to the earth screw [F] (Table 2-5: Control
panels - description of parts, H) of the control panel.
6. Ensure that terminal “ ” of the power supply module [G] and the frontplate [H] are
connected to earth.
 Loading...
