Service Manual
AT235
13
3.3.2 Checklist for calibration
1
Use this list to ensure no aspect of the calibration is forgotten.
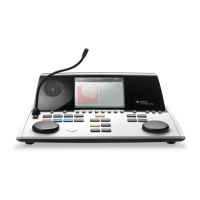
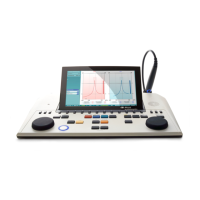
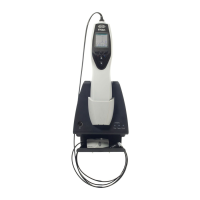
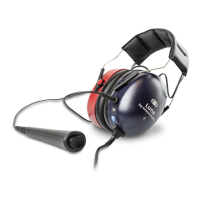
MECHANICAL INSPECTION PASS / FAIL
Plug - verify that plugs appear intact and undamaged
Cables - verify that the cable insulation appears intact
Display - verify that display is intact and undamaged. The tilt function should also work
properly
Keyboard - verify proper tactility function of keys
Rotary - verify that the dial functions without hinder
Headband - check proper tension
Headphone cushions - make sure that the cushions are functional
Probe tip - verify that the probe tip is intact and undamaged. If damaged, replacement
of the tip is recommended. Check that the probe tip is not blocked in any way
Probe "handle" - verify that it is undamaged
Masking devices - check that they are intact
Headset - check that it is intact
2
Instrument indicators - upon switch-on of the instrument, make sure that the light
indicators are properly illuminated
Key test – check all keys incl. the rotary button for functionality from Patient response /
Keyboard (the on/off key is exempted)
Patient response – connect and check unit functionality from Patient response /
Keyboard
Probe switch button - verify that instrument and the probe interact properly using the
button/LED test function
Probe indicator - using the Diode test
3
, verify proper diode function
Linearity of attenuator- test according to Attenuator test
Puretone - by means of an oscilloscope, make sure that the sinus tone is clean
Routing - verify that signals function with the remaining output options
Unwanted noise - control whether there is unwanted noise on any of the chosen
transducers
Crosstalk - verify that crosstalk is less than -70 dB
USB host - verify USB functionality by printing on a MPT3 printer
Tone switch - can be verified from the audiometer mode by tapping the enter button
lightly
Puretone - by means of an oscilloscope connected to the coupler amplifier output OR a
hearing test. Making sure that the sinus tone is clean, test at various frequencies,
especially at low frequencies
Calibration - verify that all units are compatible and correctly calibrated
Volume measurement - follow description in Volume test
1
Post calibration and before operation, the instrument should be checked for normal function
2
Conducted with the calibration utility
3
Under the tympanometer tab