1 Device Description
This section will give you an overview of the InvizBox Go device.
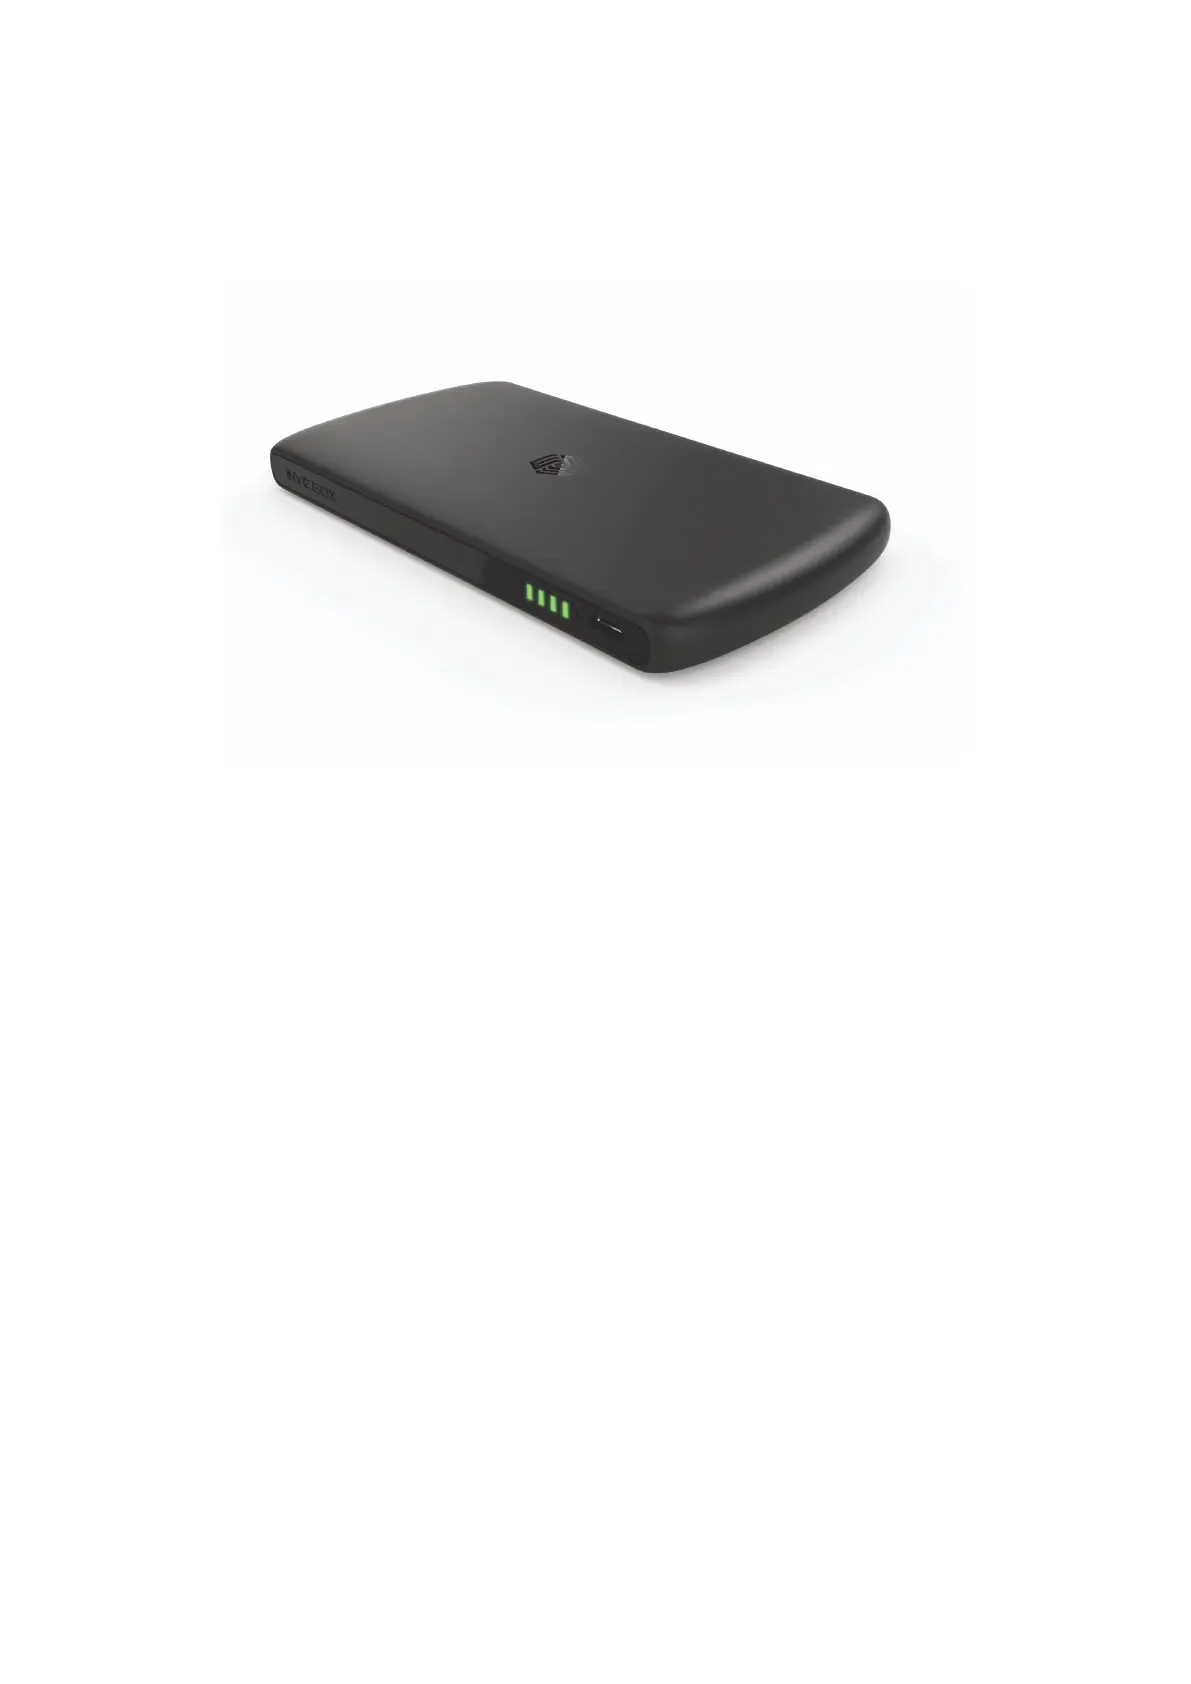
1.1 Start/Stop Button
The start/stop button is in fact the logo on the top part of the casing. In order to press that button, just
press the logo on the casing until you feel the button being pressed underneath (this gets easier with a bit
of practice). In order to know if you've successfully pressed that button, keep an eye on the battery lights
which will come on (or off).
1.2 Charging the InvizBox Go
One side of the InvizBox Go is dedicated to the battery and charging. On that side of the casing, you can
find:
• a micro USB port which you can use to charge your InvizBox Go
• a battery shaped LED display to let you know the battery state
1.3 Using the InvizBox Go as a charger
On the other side of the InvizBox Go casing you can find a USB port. This port is used when you're using
your InvizBox Go as a charger.
Just plug your usual devices to this port to charge them.
Section 1 Device Description Page 5