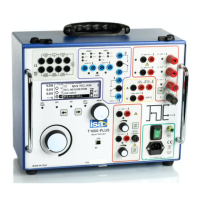
For the sake of clearness, the above picture refers to the case of
two turns: the pair of cable passes two times the transformers
central hole.
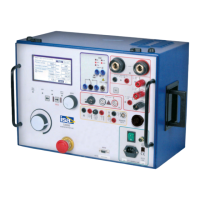
BEFORE STARTING THE TEST, VERIFY THAT THE CT
SECONDARY CIRCUIT IS CLOSED: THE CT GENERATES HIGH
VOLTAGE IF THE PRIMARY CURRENT IS INJECTED AND THE
SECONDARY IS OPEN!
Press the test start button (56), and adjust the primary current to
the desired value by the adjustment knob (6): as you do, the light
of the first transformer turns on. The screen shows:
. The primary current;
. The secondary current;
. The transformer’s ratio;
. The ratio percentage error with respect to the nominal;
. The polarity, as OK or KO;
You will notice that the % error does not change very much as a
function of the test current.
If you can’t succeed in getting the desired current, stop the test,
adjust back to zero the test set current adjustment knob, and
switch to position 2 the selection switch of the coarse adjustment
box. As soon as you start the test again, a little less than the
current that you had adjusted will be generated into the CT, and
the light of the second transformer turns on. You can now further
increase this value, up to the desired current. If you don’t reach
the current, continue the procedure passing to selections 3 and 4.
NOTE: don’t move the coarse current adjustment selector
with the test on: some high level magnetization current will be
injected; transformers lights will turn on.
If you don’t succeed to reach the desired test current, the causes
can be:
. Some oxidation or dirt on the CT bar: it should be cleaned,
before starting again. This is the most common cause of such
problems: consider that one milliOhm of surface contact
resistance is sufficient to impair the adjusted current (because aT
2000 A it asks a power of 4000 VA!);