6A–92 ENGINE MECHANICAL
5. Install the connecting rod cap.
• Fit the lower connecting rod bearing to the
connecting rod cap.
• Apply engine oil to the circumference of each
piston ring, piston and crankpin.
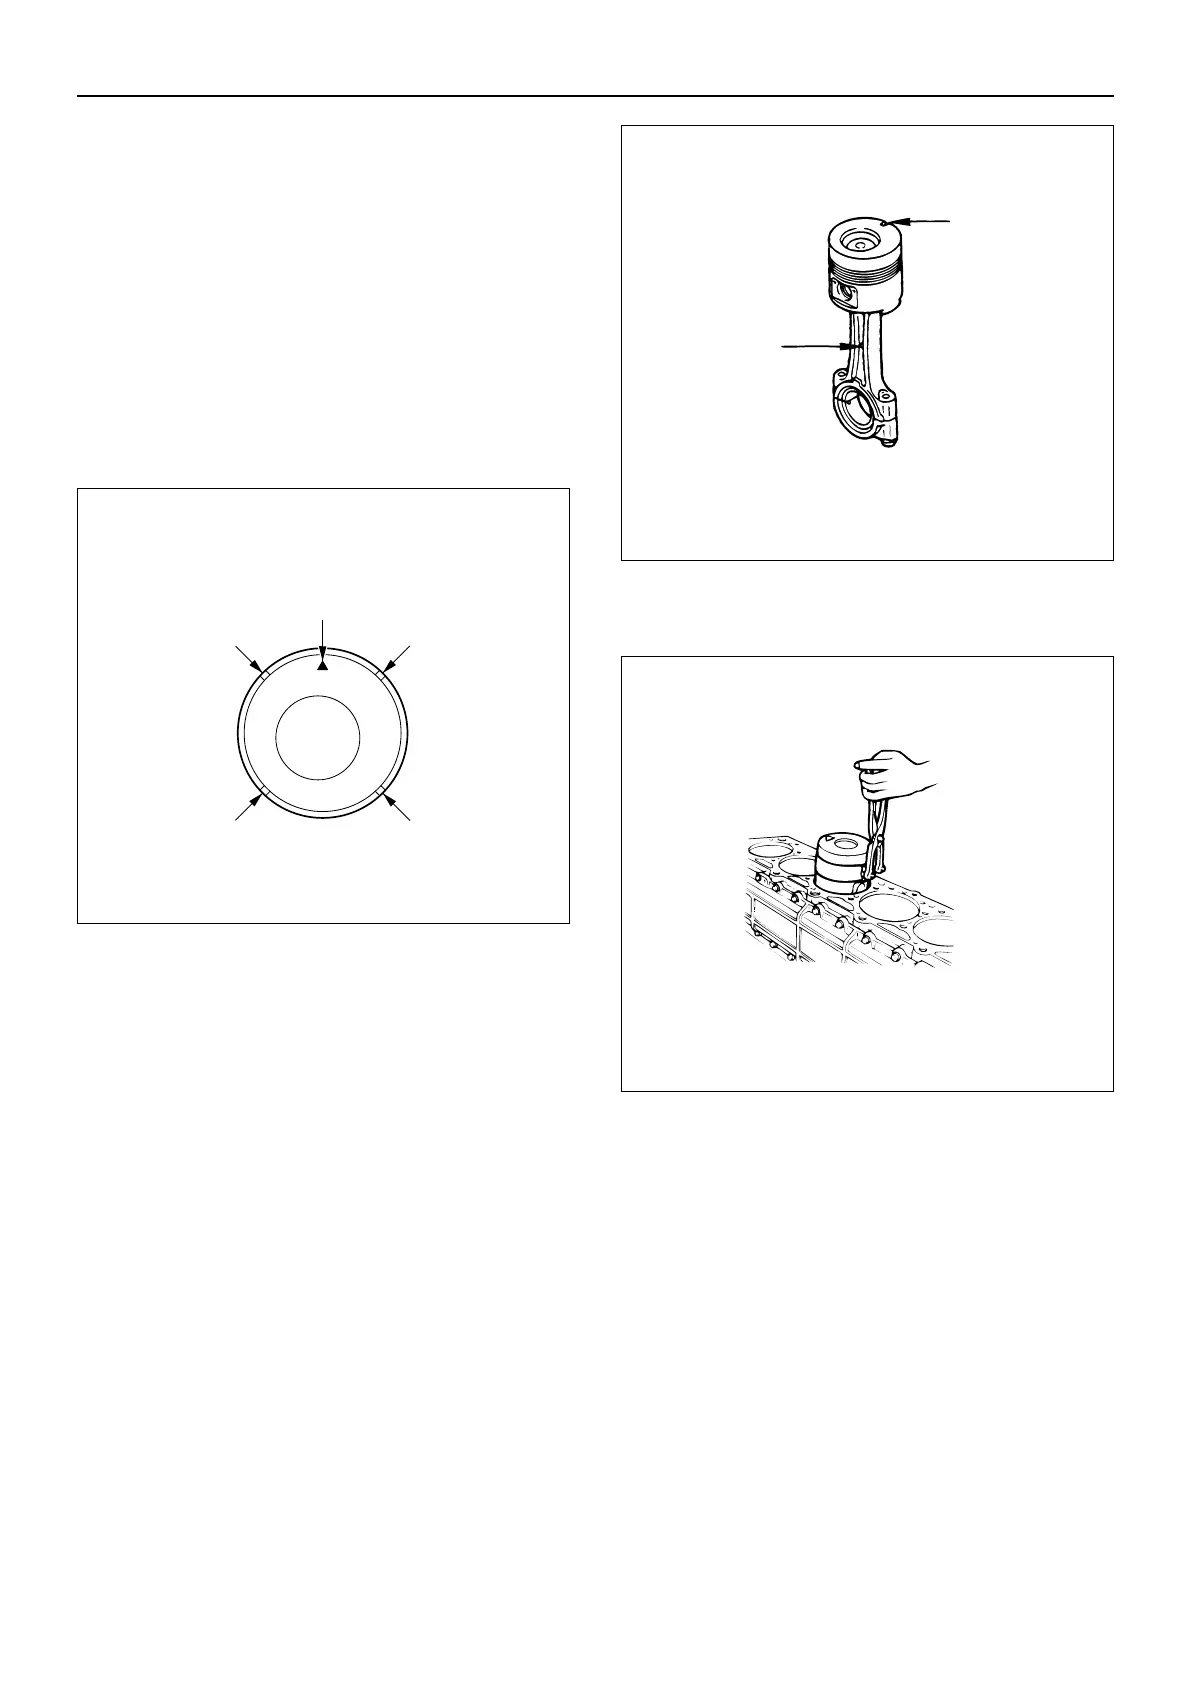
• Position the piston ring gaps as shown in the
illustration.
Gap position
(1) 1st compression ring
(2) 2nd compression ring
(3) 3rd compression ring
(4) Oil ring
(5) Coil expander
• Apply molybdenum disulfide grease to the two
piston skirts.
This will facilitate smooth break-in when the engine
is first started after reassembly.
• Apply engine oil to the upper connecting rod
bearing.
• Apply engine oil to the cylinder wall.
• Position the front mark (1) on the piston head so
that it is facing the front of the engine.
• Use a piston ring setting tool to compress the
piston rings.
• Use a hummer grip to push the piston in until the
connecting rod marks contact the crankpin.
As the same time, rotate the crankshaft until the
crankpin is at bottom dead center.
CAUTION: Do not bend or damage the oil jet.
 Loading...