6D3–6 STARTING AND CHARGING
1. Scratch setting marks between the front and rear
brackets and the alternator body (2 locations). This
will ensure installation to its original position.
2. Remove the 4 through bolts.
3. Use the blade of a screwdriver to pry the front
bracket and the stator apart.
4. Carefully separate the front bracket, pulley, and rotor
from the stator and rear bracket.
NOTE:
• Do not push the screwdriver blade too deeply into
the stator. Coil damage will result.
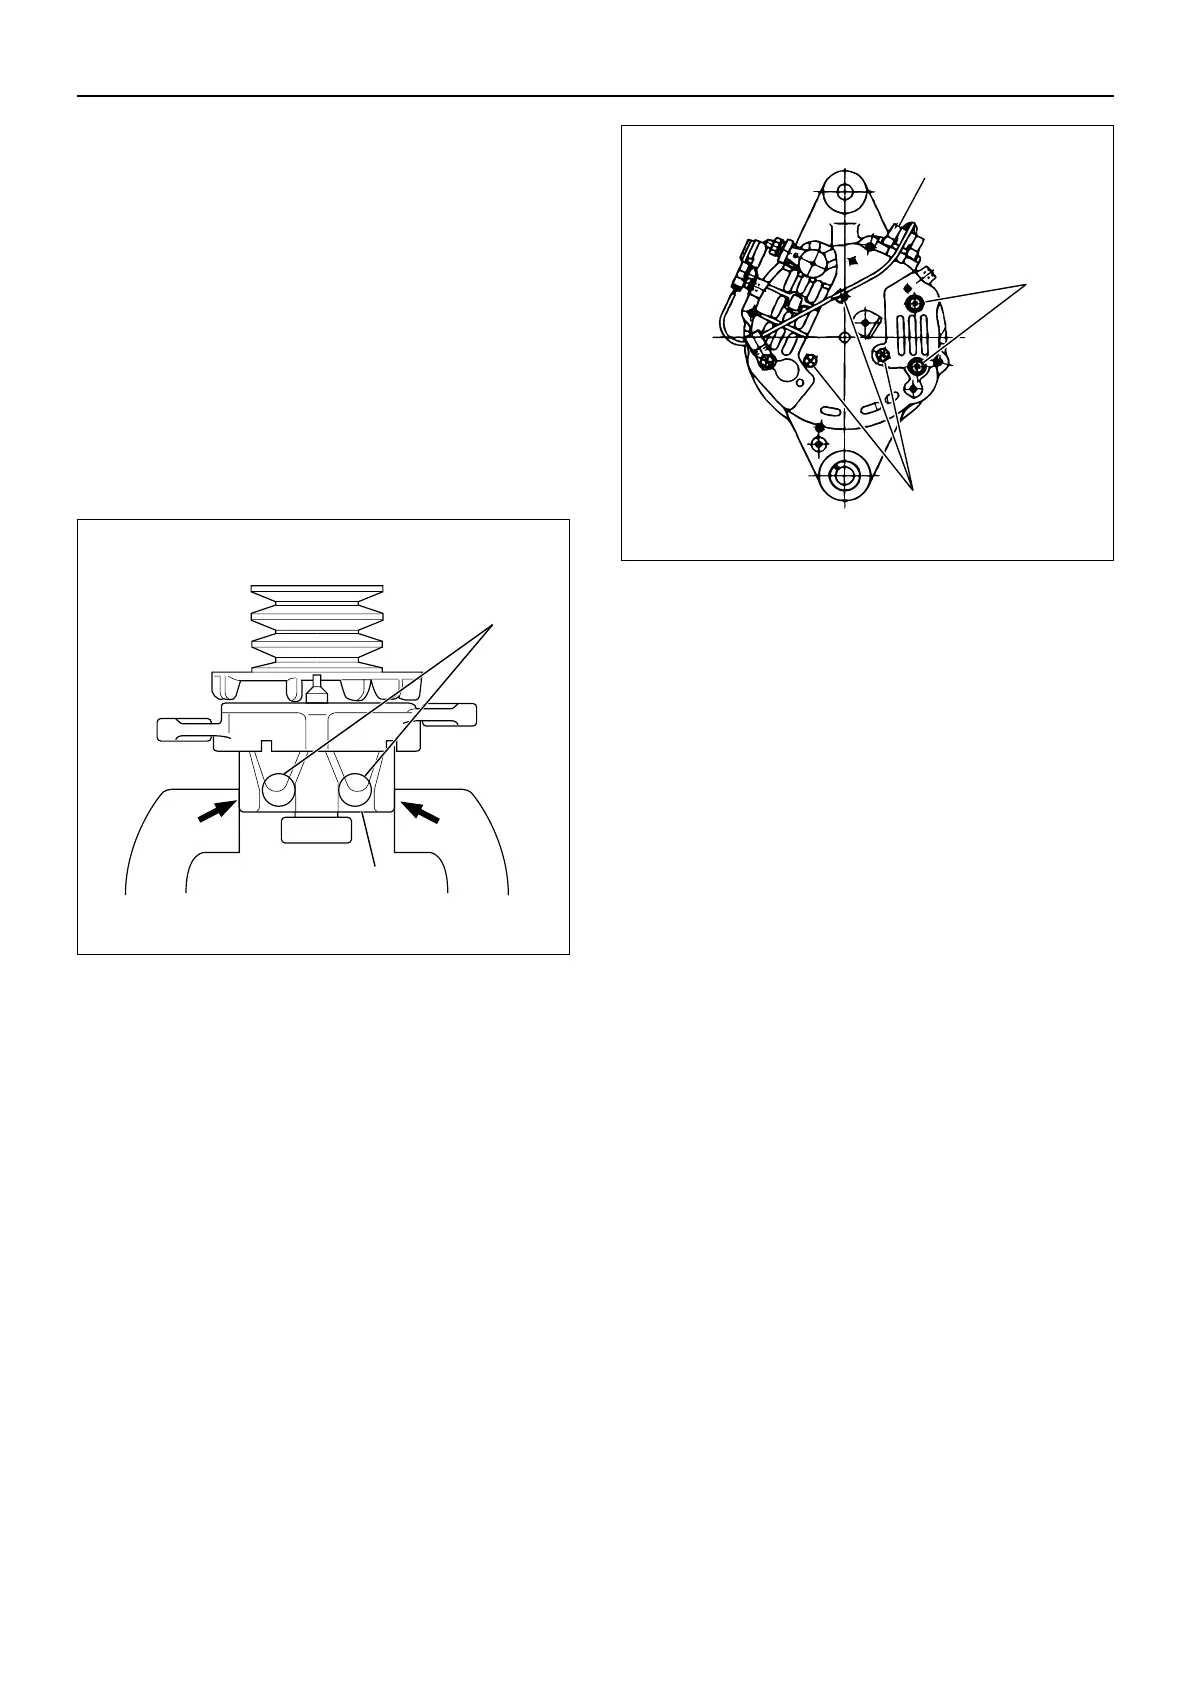
• A vise may be used to secure the rotor. Be sure to
clamp the vise at points A (see illustration below). Do
not clamp the vise at points B. Damage to the rotor
will result.
5. Remove the 2 screws (2) attaching the coil terminal
plate to the IC regulator.
6. Hold the coil assembly in your hand. Be careful not to
damage the terminal plate.
7. Remove the 3 screws (3) and the coil assembly.
8. Disconnect the connector (1).
NOTE: It is very important that Steps 5, 6 and 7 be
performed in that order. If Step 6 is performed before
Step 5, terminal damage will result.
9. Remove the cap and nut from the rectifier terminal
stud.
10.Use a screwdriver to pry the rear bracket and the
side entry terminal apart.
11.Remove the side entry terminal.
NOTE: The tube will remain in the rear bracket. Take
care not to lose it.
12.Remove the rectifier retaining screw and the 2 IC
regulator retaining screws.
13.Remove the stator and rectifier assembly (as a
single unit) from the rear bracket.
14.Remove the IC regulator.
15.Unsolder the 4 stator coil leads from the rectifier
terminals.
16.Remove the stator from the rectifier.
NOTE: High temperature solder with a melting point of
230°C connects the stator coil leads to the rectifier. Use
a 180~280 watt soldering iron to free the leads as
quickly as possible. Do not apply the soldering iron for
more than 5 seconds. Diode damage will result.
Bearing removal
NOTE: Bearings are not normally removed. If they are
removed, they must be replaced with new ones.
• Front bracket bearing
Remove the 4 retainer screws. Press out the bearing
with a suitable tool.
• Rotor bearing
Use an ordinary bearing puller.
 Loading...