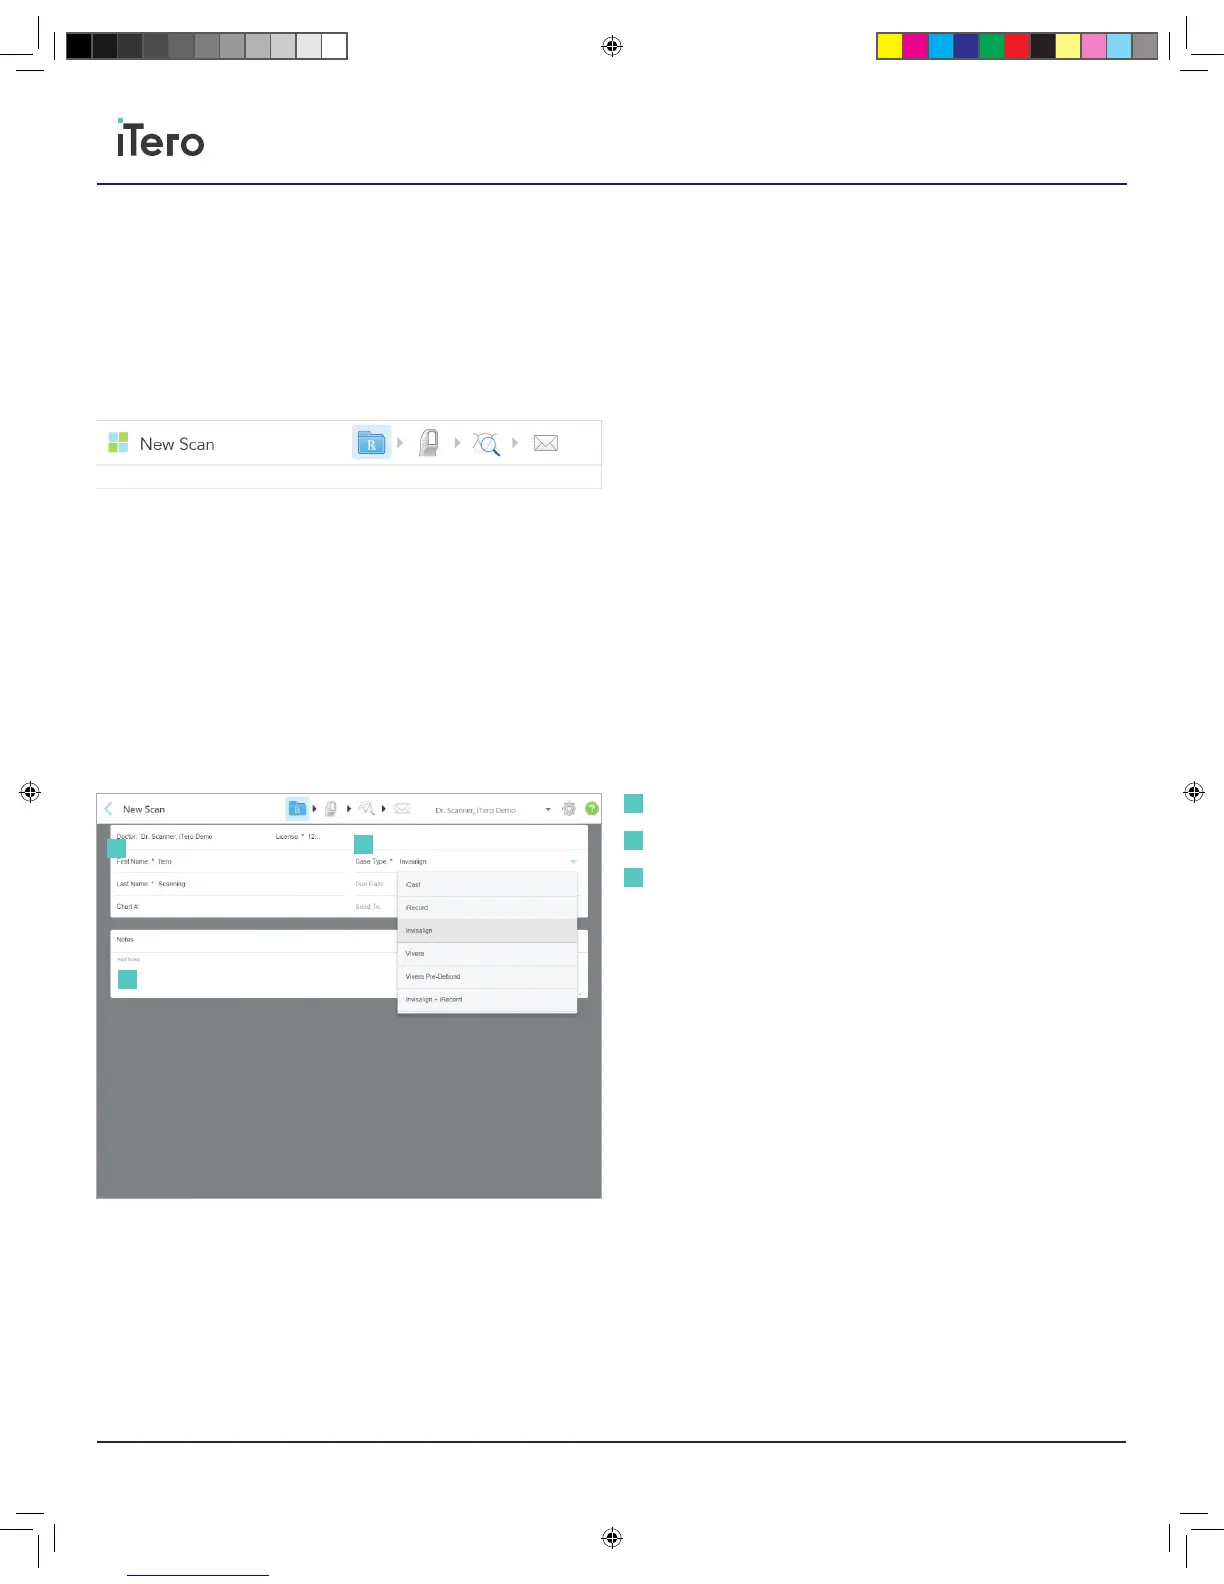
Start a new scan
To start a new scan, press the New Scan icon from the home screen or
press the new scan button from the Patient page.
Prescription icon: The first step in the New Scan workflow. Fill out the
prescription form with patient information, case type, and any notes
to include.
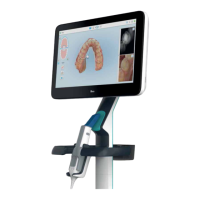
Scan icon: The second step in the New Scan workflow. Scan the patient
for a new scan to be captured.
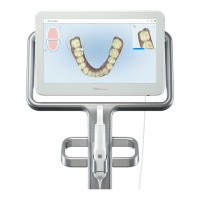
View and Review icon: The third step in the New Scan workflow. Inspect
the scan and examine that all adequate data has been captured.
Send Case icon: The final step in the New Scan workflow. Sign the
confirmation form and send the case to its destination for storage or
additional work needed.
For Restorative cases, select the case type and restoration needs for
the appropriate indication. For Orthodontic cases, such as Invisalign or
iRecord, select the case type and enter in patient information.
Chapter 6:
Scan
Patient information
Case Type
Notes
1
1
2
2
3
3
206721RevC_iTeroElement5D_IFU.indd 14 1/9/19 3:12 PM