Note: It the reading is not higher than the previous reading, the remote module is not working
properly. Repeat steps 4 and 5. If the module count is not incrementing, replace the 100G remote
ERT module and perform steps 4 and 5.
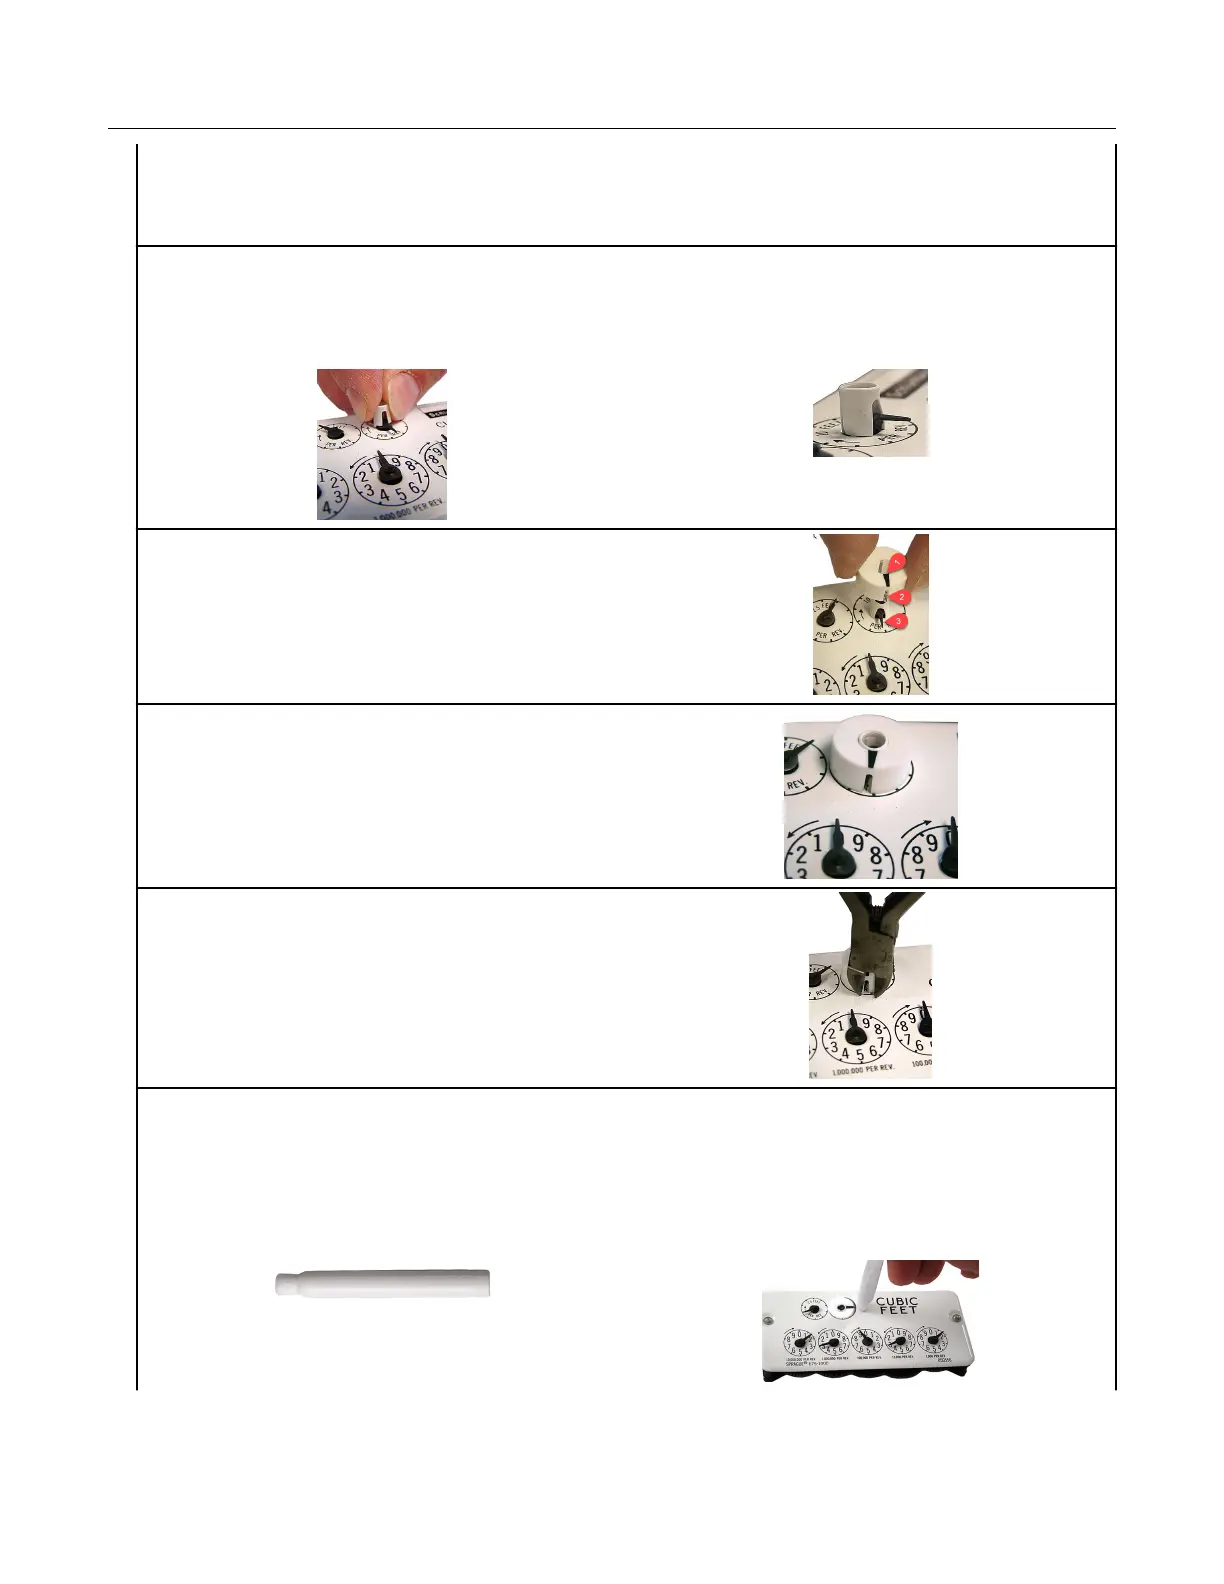
6. Align the large notch in the magnet hub spacer with the needle of the index meter drive rate dial
(1- or 2-foot for residential diaphragm meters; 5-, 10-, or 100-foot for commercial diaphragm
meters). Press the magnet hub spacer down over the dial needle as far as possible. The tip on the
bottom of the spacer may touch the index face. Turn the dial in the direction noted on the index
after the hub is in place to verify the index dial functions with a smooth, easy rotation.
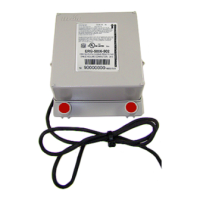
7. Align the pointer (1) on the top of the magnet
hub and the notch (2) in the side of the magnet
hub with the needle (3) of the meter drive rate
dial.
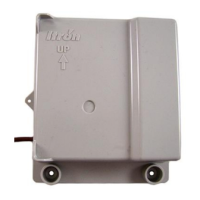
8. Press the magnet hub down over the hub
spacer as far as possible. The bottom of the hub
spacer may touch the index face. Turn the dial
after magnet hub installation to verify that the
index dial functions with a smooth, easy rotation.
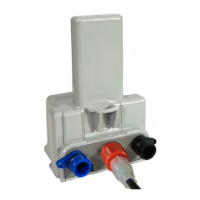
9. If the dial needle tip sticks out past the edge of
the magnet hub, cut off the end of the dial needle
as close as possible to the magnet hub with
sharp, side-cutting pliers.
10. Remove the acetone stick applicator from the remote encoder installation kit (Itron part number
CFG-0081-001). Select a location on the index face next to the magnet hub for the encoder
installation. After installation, the encoder cable must not interfere with the index dials.
Note: If a TEMP COMP sticker is attached to the index where the encoder cable will mount,
remove it before cleaning with the acetone stick. If the sticker (or replacement sticker) must be put
back on the register face, place it in a new location on the index face after the encoder is attached.
Diaphragm Meter Installation
100G Series Gas ERT Module Installation Guide, Remote Mount TDC-0824-017 68
Proprietary and Confidential