B
en 55
MAINTENANCE 7
7.6 ENGINE COOLANT ___________________________________________________ _
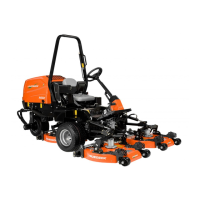
Check Engine Coolant Level
1 To prevent injury from the hot engine coolant or steam,
never remove the radiator cap with the engine in
operation. Stop the engine and wait until the radiator is
cool. When radiator is cool, use caution to remove the
radiator cap.
2 If water change is needed, remove the drain plug
located at the bottom right side of the radiator.
3. The level of coolant in the expansion tank (C) should
be between the MAX and MIN level indicators
when cold.
4. If topping up is required, remove the plastic cap and top up using the correct anti-freeze mixture.
5. Replace the plastic cap when finished.
Changing Coolant
1. To drain coolant, remove hose from radiator.
2. Replace hose back on to radiator. Ensure all hose clips are tight.
3. Refill the cooling system with the correct anti-freeze mixture. Fill system through expansion tank.
4. The level of coolant in the expansion tank should be between the MAX and MIN level indicators when cold.
5. Run the engine for approximately 5 minutes or until the thermostat opens.
6. Check level of coolant in expansion tank and top up if necessary
7.7 AIR CLEANER _______________________________________________________
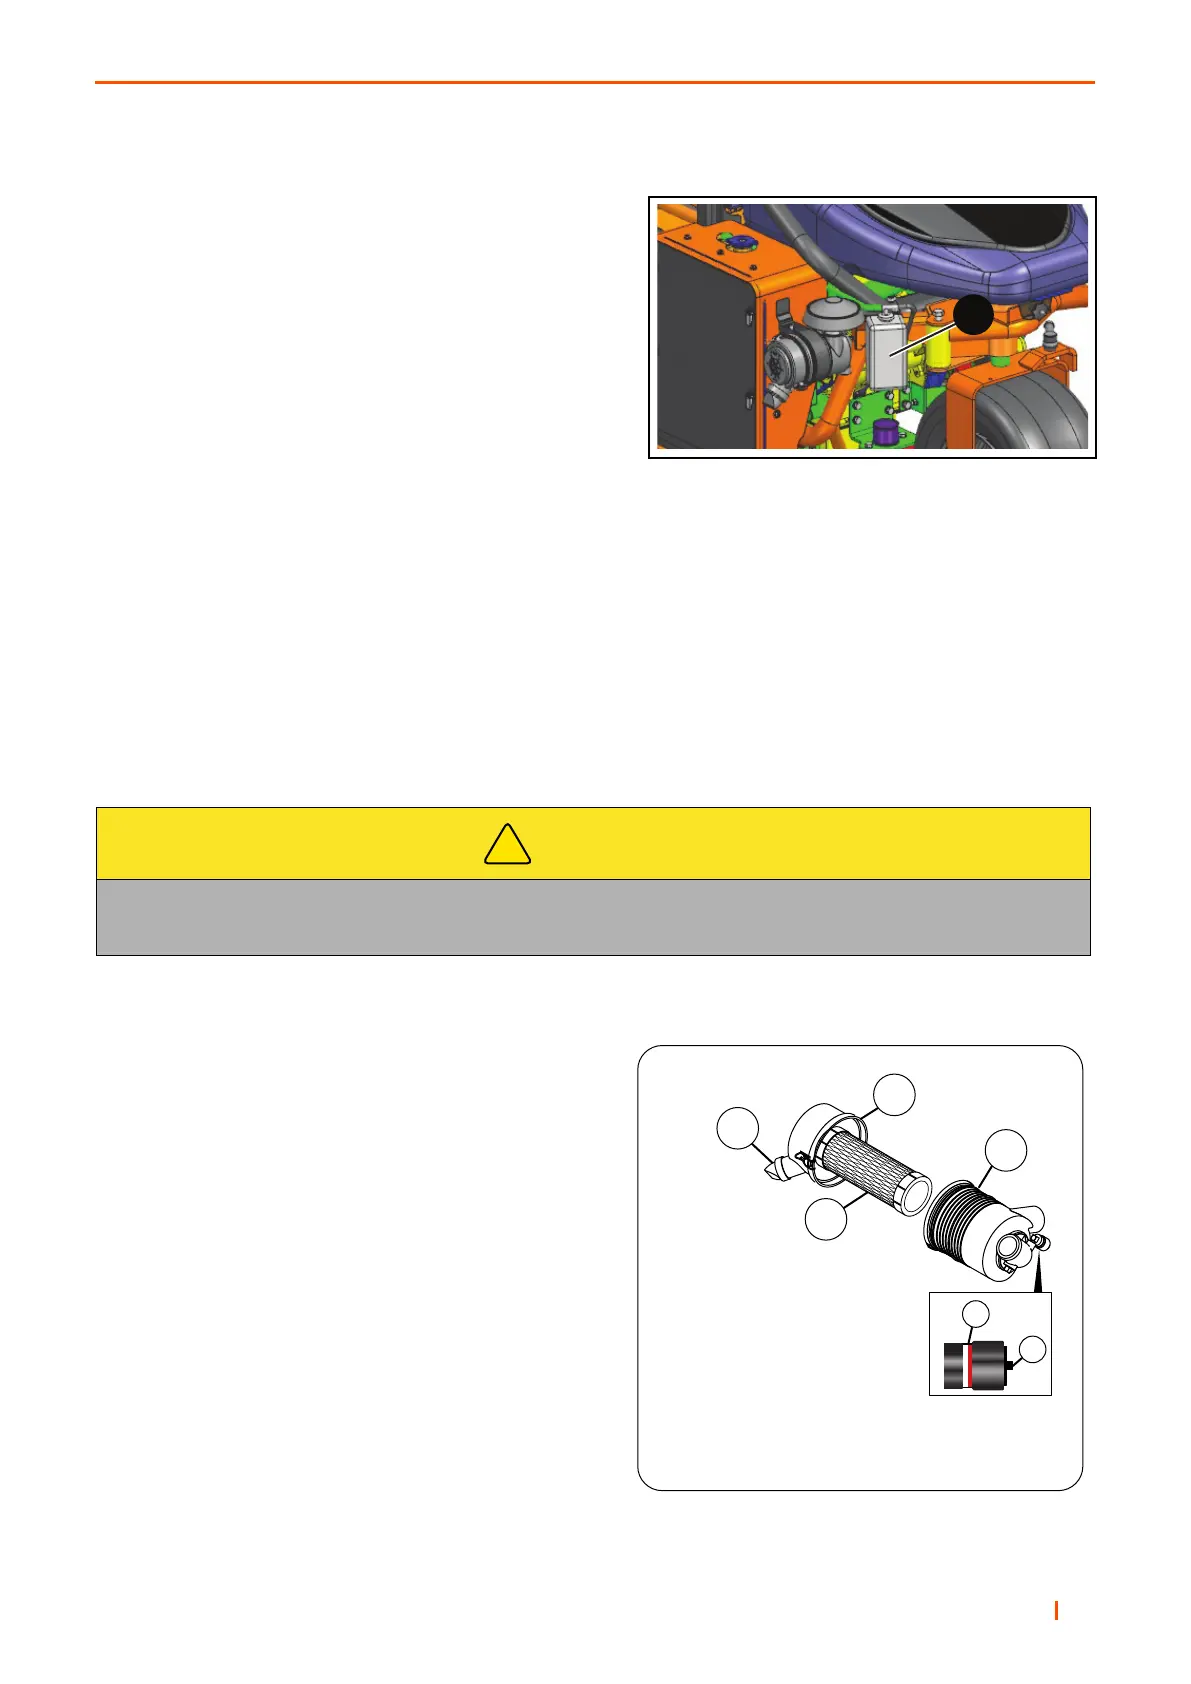
Check the service indicator (F) each day. If the red band
become visible in the window, replace the filter elements.
Check the dust valve (A) each day by pressing the valve
together allowing any dust particles to fall out of the air
cleaner cover.
Unnecessary removal of the elements to inspect or clean
increases the risk of dust and other particles to enter the
engine.
When service is needed, first clean the outside of the filter
housing, then remove the old primary (C).
Clean the inside of the filter housing. Make sure dust and
other particles do not get into the engine inlet hose.
Inspect the new elements. Do not use a damaged element
and never use an incorrect element.
Make sure the element is seated correctly. Press the button
to set the service indicator.
Assemble the cap (B) to the filter housing (E). Make sure
the cap seals around the filter housing. The dust valve on
the cap must be at the bottom of the filter. Fasten the cap
with the two clips.
Check the air filter hoses for wear or damage. Make sure the hose clamps are tight and hold the hoses in position.
CAUTION
Contact with Anti-freeze can damage your skin. Use gloves when working with Anti-freeze.
If you come in contact with Anti-freeze, wash it off immediately.
!
B
D
F
G
A
C
A – Dust Valve
B – Air Filter Cap
C – Primary Filter Element
D – Air Filter Housing
F – Service Indicator
G – Service Indicator Reset Button
C