B
en 79
ADJUSTMENTS 8
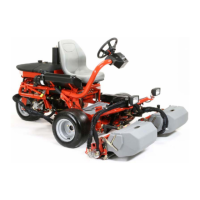
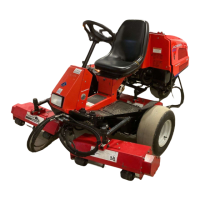
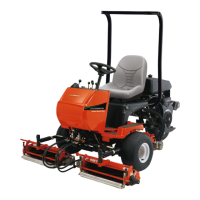
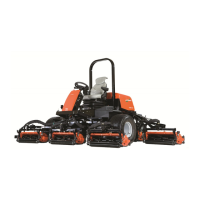
8.15 HEIGHT OF CUT CLASSIC XP™ REELS _________________________________
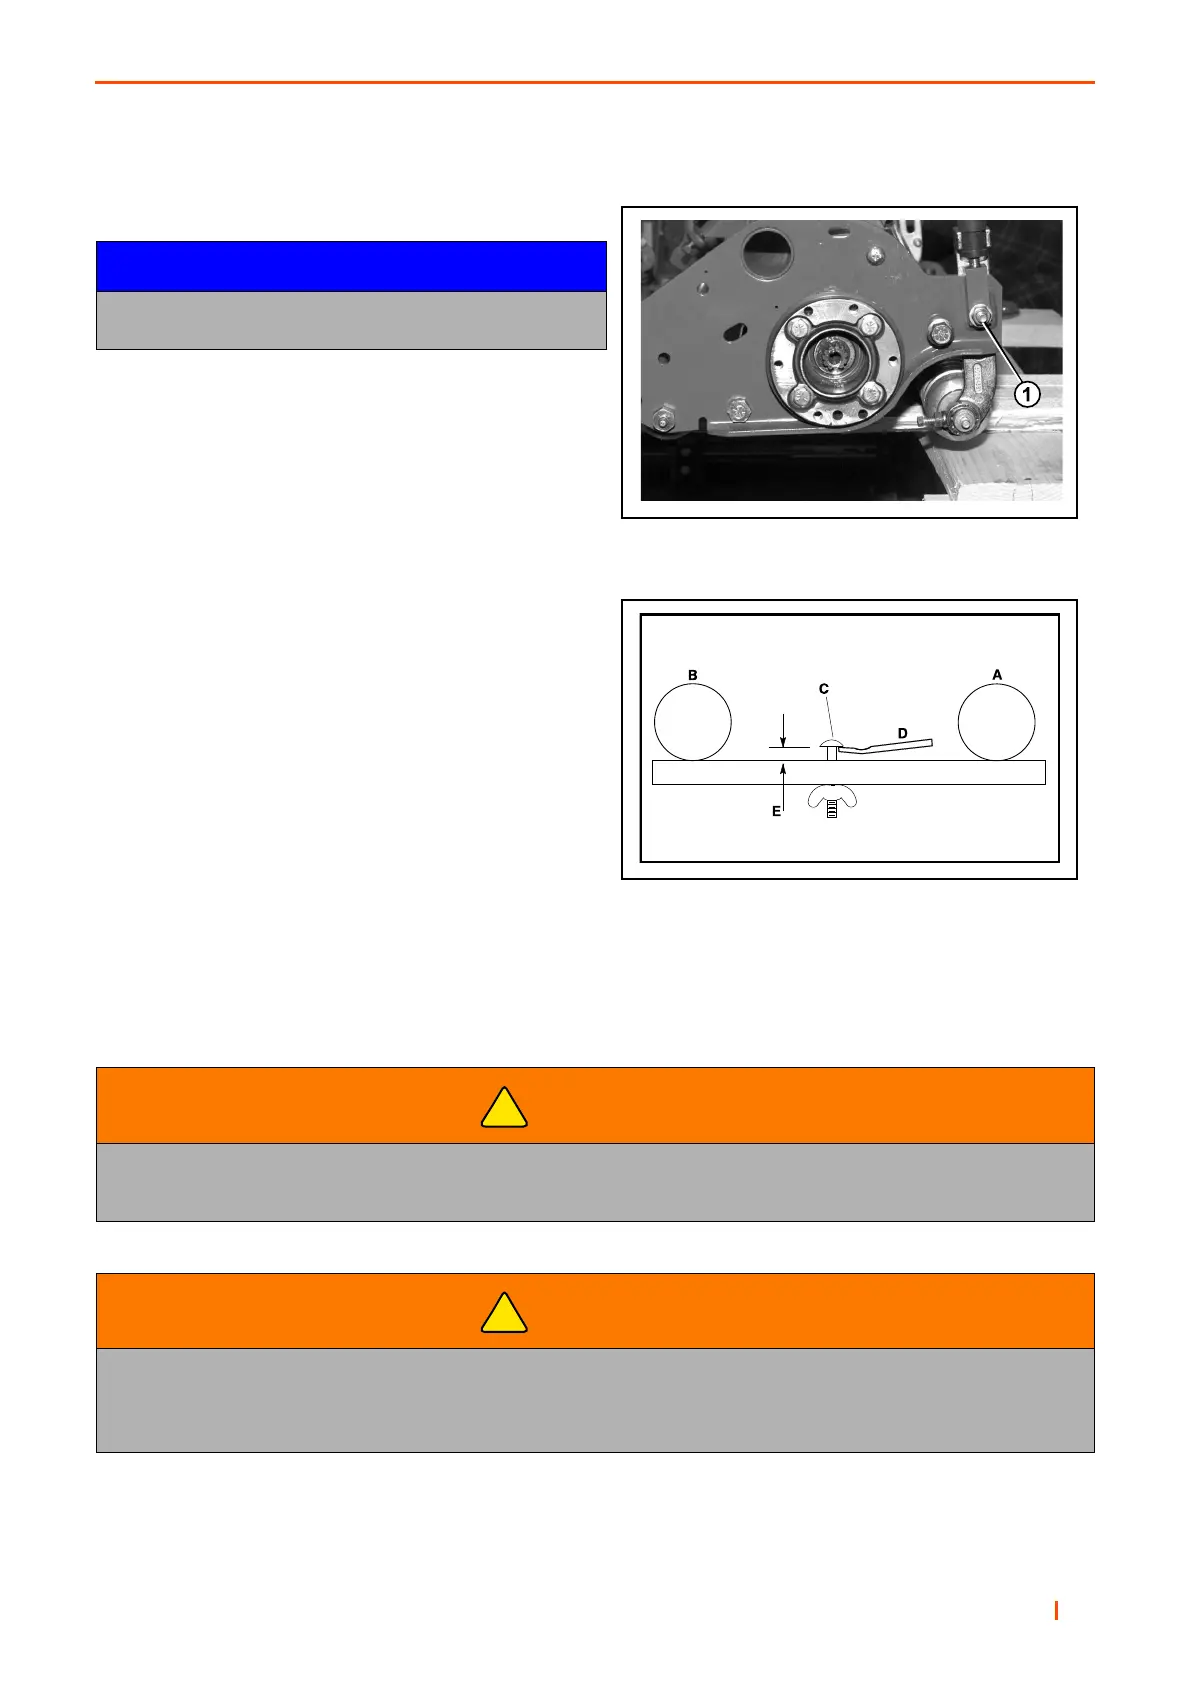
Work Bench Setting.
1. Set the height of cut on the gauge block (Part No.
892010) by turning the wing nut until the distance
between the bottom of the screw head and the top
of the gauge block equals the desired height of cut.
2. Loosen the locking nut on one of the front roller
adjusting brackets just enough to allow adjustment.
3. Hold the gauge block (Part No. 892010) across the
bottom of both the front and rear rollers near the
roller adjustment bracket and adjust the front roller
until the cutting edge of the bedknife comes up to
touch the bottom of the gauge screw head.
4. Tighten the locking nut and repeat the procedure at
the other end. After adjustment has been made at
both ends, go back and recheck both ends.
5. Make sure all three cutting heads are set without
changing the height of the gauge screw.
NOTICE
All three cutting heads MUST be accurately set at the
same height of cut to ensure an even cut.
WARNING
To avoid the possibility of serious injury, NEVER attempt any cutting head adjustments while
the engine is running.
WARNING
NEVER rotate the cutting reel by pushing it with your hands or fingers.
Fingers can become caught between the reel and the frame resulting in serious injury.
Use a ratchet with a 9/16” socket on the end of the reel shaft to rotate it during adjustments and testing.
!
!
1. Loosen Locking Nut
Height of Cut Adjustment
A = Rear Roll
B = Front Roll
C = Gauge Screw Head
D = Bedknife
E = Height of Cut