%DVH2I6XSSRUW®/RDG6SHFL¼FDWLRQV
4.1 Preparation
Installation of a level concrete pad is mandatory; If there is a possibility that the pad could shift by freezing / thawing
ground movement (such as in clay regions, and / or areas with high water tables) concrete footings extending below the
frost line are recommended.
You must enlist professionals to complete this preparation work.
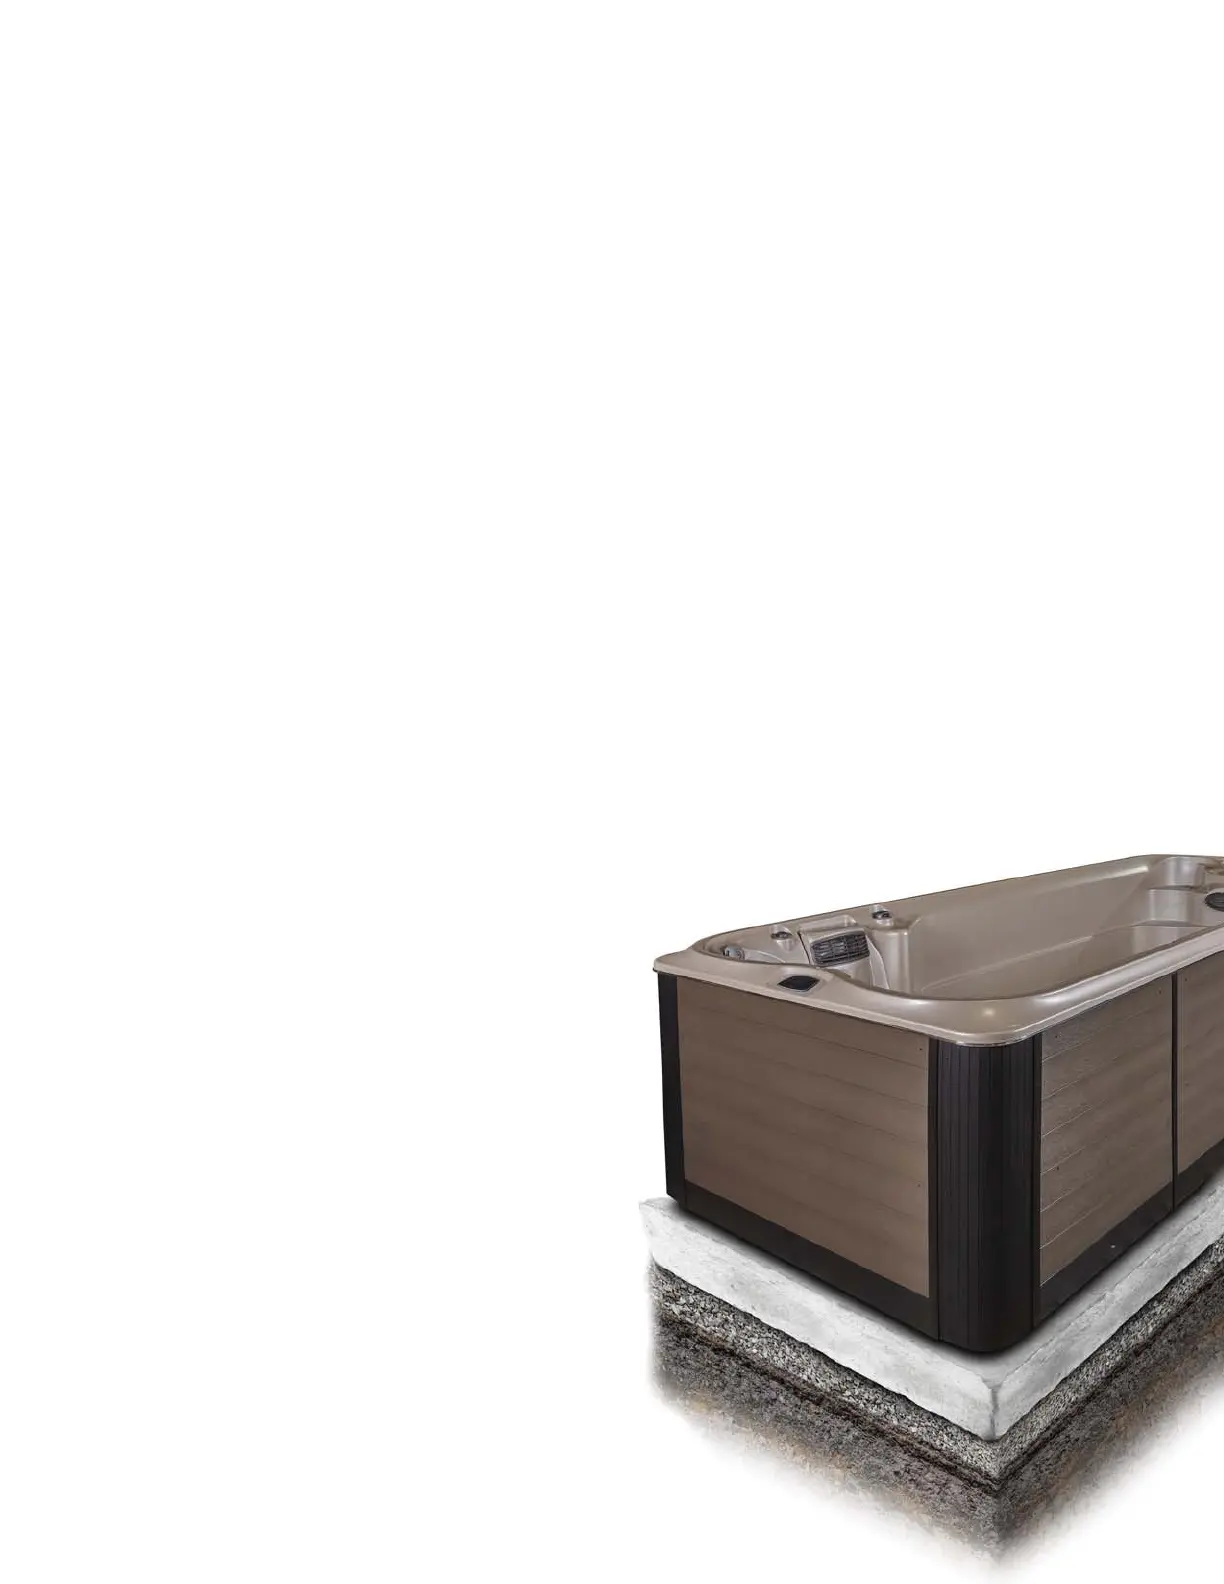
4.2 Concrete
)RWYVIXLEX]SYVGSRGVIXITEHMWGETEFPISJWYTTSVXMRKOKQPFWJXERH¾EXPIZIPMRSVHIVXSTVSTIVP]
level the swim spa during installation. The concrete pad should be slightly larger than the dimensions for the swim spa,
but it may be expanded even further for esthetic purposes or to allow more space for walking around the swim spa.
4.3 Second Level / Balcony Installation
=SYQYWXORS[XLIPSEHXSPIVERGIERHGSQTEVIMXXSXLI[IMKLXSJXLIW[MQWTE½PPIH[MXL[EXIVERHTISTPI;LIRMR
doubt, a load distribution assessment carried out by an engineer should be consulted, who can guarantee the best loca-
XMSRGLSMGI;LMPIW[MQQMRKXLIQSXSVWERH[EXIV¾S[MREPPW[MQWTEWKIRIVEXIZMFVEXMSRWXLEXEVIHMVIGXP]XVERWJIVVIH
to the base on which the swim spa is installed. These can therefore be felt in lower levels. In this case, the support area
QYWXFITVSTIVP]IRKMRIIVIH-RWXEPPE¾SSVHVEMRMRXLIIZIRXXLIVIEVIER]TVSFPIQW[MXLXLITPYQFMRKXSWYVIXLEXXLMW
water has a place to drain.
4.4 IMPORTANT: Swim Spa Frame Shim Installation (Applies to All Installations)
It is mandatory to have full support on all the gussets that are located on side of the swim spa to keep it level and pre-
ZIRXFS[MRKSJXLIW[MQWTEWLIPP%P[E]WQEOIWYVIXLEXXLIWPEFMWTIVJIGXP]¾EXFIJSVILEZMRKXLIW[MQWTEMRWXEPPIH
(you can use a garden hose and spray water on the slab and look for water puddles).
When the swim spa is installed on the slab locate the stickers or white lines on bottom of the swim spa frame to de-
termine where to install the shim. The shims must be installed right under the gussets (the sticker or white line will
appear in the center of the gusset, so it can be used as a guide to align the shim.
Note: There are 2 to 4 gussets per side depending on the model.
Simply attempt to insert the shim under the frame by hand
and then gently tap on it with a hammer to make sure that it is
secure under the frame. If the shim will not slide under by hand
then no shim is need under that gusset.
Proceed to the next gusset and repeat this process. Then with
EYXMPMX]ORMJIGYXXLIWLMQ¾YWLXSXLIIRHSJXLIJVEQI;LIR
all the gussets are sitting properly on the ground, you can start
½PPMRKXLIW[MQWTE
Every swim spa will be delivered with a package of shims in case
they are needed.
PLEASE NOTE: You may not require any shim, if your slab
MWTIVJIGXP]¾EX-JXLIJVEQIQEOITIVJIGXGSRXEGX[MXLXLI
ground, you don’t need to add the shim.
11
 Loading...