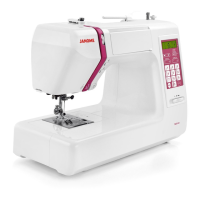
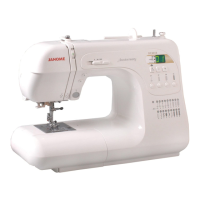
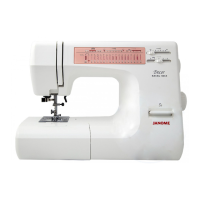
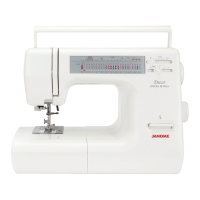
7
SelectingPatterns
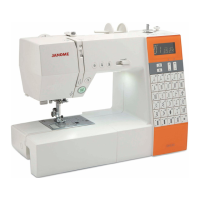
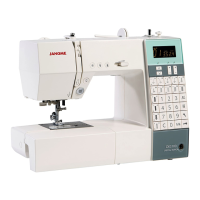
FunctionkeysandLCDDisplay
q Directstitchpatternselectionkeys
You can select stitch patterns from 01 to 14 directly by
pressing the corresponding direct stitch pattern selection
key.
A pattern number and pattern image along with an
identification letter of the recommended foot are indicated
on each key.
When the pattern is selected, a green light on the key will
turn on.
w Green light
e Stitch image
r Pattern number
t Identification letter of recommended foot
y Numerickeys
Enter the number of the desired stitch pattern to select the
stitch pattern. To refer to the available stitch patterns and
pattern numbers, check the stitch chart.
If you want to cancel the input, press the cancel key while
the pattern number on the LCD display is blinking.
u Cancel key
i Arrowkeys
To select the desired stitch pattern with the arrow keys,
press the keys until pattern number of the desired
stitch is indicated.
o Elongationkey
Satin stitches, patterns from 71 to 79 can be elongated up
to five times their normal length by pressing the elongation
key. Refer to page 51.
!0 Twinneedlekey
Press this key when using a twin needle.
The twin needle key will appear and the maximum stitch
width will be limited to 3.0.
To cancel or finish the twin needle sewing, press the twin
needle key twice.
NOTE:
When the twin needle mark is blinking, all the other
buttons and keys will not respond. Press the twin
needle key again.
For twin needle sewing, refer to pages 52 and 53.
!1 Settingmodekey
Press this key to enter the machine setting mode.
In the setting mode, the buzzer sound and needle position
can be set to your preference. Refer to page 54.
!2 Lockoutkey
Press this key to lock out the machine when threading the
machine, replacing the accessories etc.
The LCD display shows “SAFE”, and all the buttons and
keys except for the lockout key are deactivated.
To unlock the machine, press the lockout key again.
!3Threadcutmemorykey
To cut the threads automatically after locking stitches,
press the thread cutter memory key (Refer to page 20).
!5
!6
!7
!8
!9
@0
i !4
w
t
q
y
o
!0
!1
!2
!3u
r
e
!4 Stitchwidthadjustingkey
Press “+” or “–” to change the stitch width !9. Refer to
pages 22, 25 and 32
!5 Stitchlengthadjustingkey
Press “+” or “–” to change the stitch length @0. Refer to
pages 22, 25 and 32.
!6 LCDDisplay
The LCD display shows the following information when
the machine is turned on:
!7 Pattern number
!8 Identification letter of recommended foot
!9 Stitch width
@0 Stitch length
 Loading...