17
INSTALLATION
Input Power Connecon connued
1. Test with mul-meter to ensure the input voltage value is within the specied input voltage range.
2. Ensure that the power switch of the welder is turned o.
3. Wire the input mains cable wires to the correct sized mains plug, ensuring that the live, neutral and
earth (ground) wires are connected correctly.
4. Carry out an electrical test of the machine if required (i.e. PAT test).
5. Ensure that the input fuse is correctly rated for the machine.
6. Connect the machine mains power plug rmly to the corresponding supply socket.
Please Note!
If the machine needs to be operated on long extension leads, then please use an extension
lead where the cable has a larger cross-seconal area to reduce the voltage drop.
Please consult your electrician or electrical supplier for the recommended size.
Gas Connecons
The gas regulator is designed to reduce and control the high pressure gas from a
cylinder or pipeline to the working pressure required for the Jasic TIG machine.
Before ng the regulator, clean the cylinder valve outlet.
Match the regulator to cylinder and before connecng, ensure
the regulator and the regulator inlet and cylinder outlet
match. Connect the regulator inlet connecon to cylinder
and ghten it rmly (do not overghten) with a suitable
spanner. If using a owmeter, connect to the regulator
outlet. Connect the gas hose to the regulator/owmeter
which is now located on the shield gas cylinder and
connect the other end to the Jasic machine.
With the regulator connected to cylinder, always stand
to one side of regulator and only then slowly open the
cylinder valve. Slowly turn adjusng knob in (clockwise)
direcon unl the outlet gauge indicates that you have set the required ow rate.
To reduce ow rate, turn the adjusng screw an-clockwise, unl the required ow rate is indicated on
the gauge/ow meter.
Output Power Connecons
When inserng the cable plug of the work return lead, MMA electrode holder or TIG torch adapter into
the dinse socket on the front panel of the welding machine, rotate it clockwise to ghten.
It is very important to check
these power connecons daily
to ensure they have not
become loose otherwise arcing
may occur when used under
load.
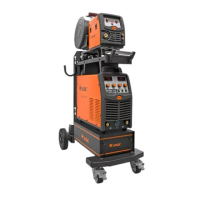
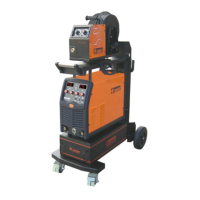
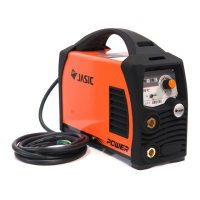
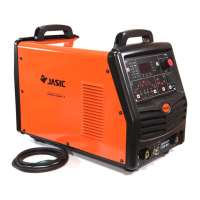
Generic library picture
 Loading...