TOPRESETCHANNELS
This unit isequipped with20 presetmemories forbothAM andFM (AM-10/
FM-10).
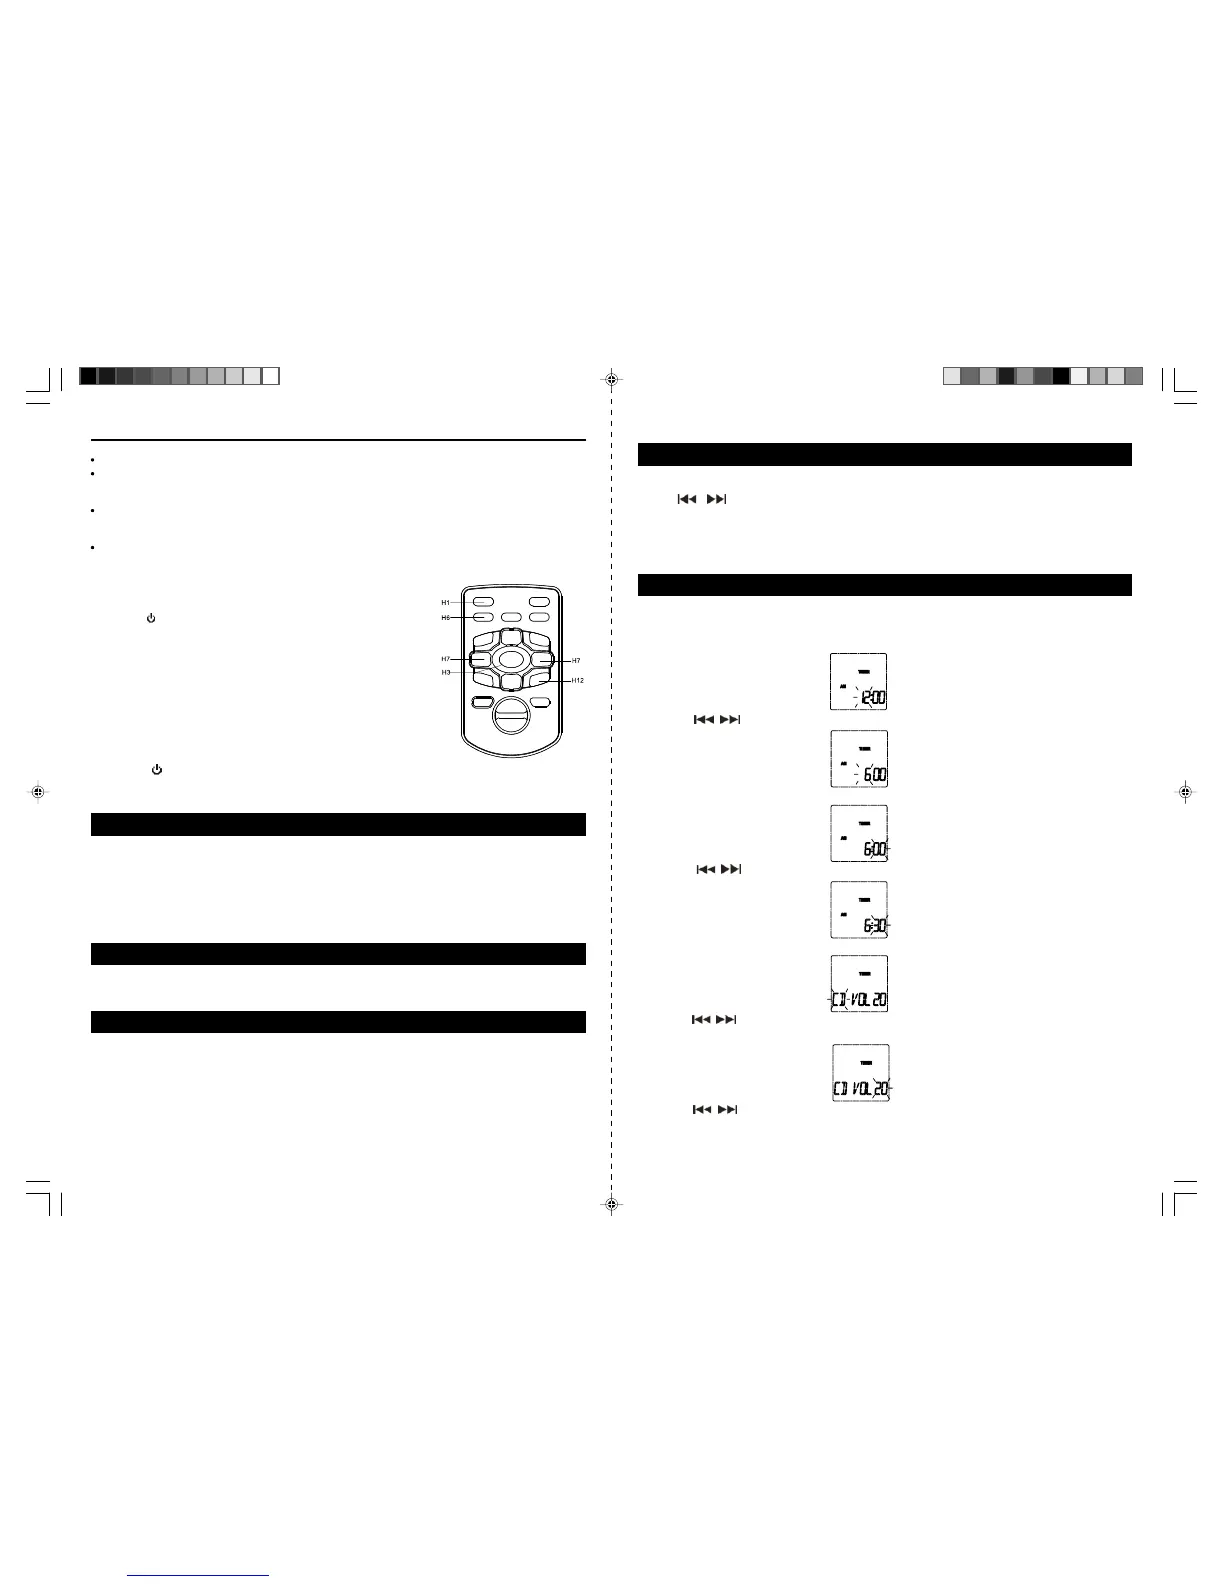
1.Press the
Button (10/H1)to turn on theunit.
2.Press theFunction Button (3/H3) tooperate the unit in radio modeand
desired band.
3.Tune toa desired station.
4.Press the MEMORYButton (7/H6),“MEMORY”(#D11) &number ofpre
set station appears.
5.Press the MEMO + Button (6/H12) toselect the desired preset channel.
6.Press MEMORY Button(7/H6) againto complete.
7.Tune to another stationand repeat steps 4 to 6to store the station in
another preset channel.
TORECEIVE PRESETSTATIONS
1. Press the Button (10/H1) to turnon the unit.
2. Pressthe Function Button (3/H3)to operate the unit in radiomode.
3. Press theMEMO + Button (6/H12) to selectthe preset channels.
You can connectleft and right audio outputs from a TV, VCR, DVD,MP3 player or other portable device to
theAUX IN Jacks (21)on therear of the system.To use this FrontLoading Dual CD System to amplifyyour
input audio signal:
1. Press the Function Button(3/H3) tooperate the unit inAUX mode. “AUX” Indicator(#D5) appears in the
display.
2.Turn on andstart playing the device thatis plugged into theAUX Jack.
3.Adjust theVolumeControl to obtain the desired soundlevel.
The soundequalization can be adjustedfor optimum sound reproductiondepending on style ofmusic you
are playing. By pressing the EQButton (14/H13), you canswitch between FLAT, CLASS ROCK, POP.
USING HEADPHONES (NOT INCLUDED)
Inserting the plug of your headphones into the Headphone Jack (16) will enable you to listen in private.
When using headphones, thespeakers will be disconnected.
NOTE: READ THIS IMPORTANT INFORMATION BEFORE USING YOUR HEADPHONES
1. Avoid extendedplay at very high volume asit may impair your hearing.
2. If you experience ringing in your ears, reduce the volumeor shut off your unit.
3. Keep the volume at areasonable level even ifyour headset is anopen-air type designed toallow you to
hear outside sounds. Pleasenote that excessively highvolume may still block outside sounds.
SLEEPOPERATIONS
1.When the unitin ON, pressthe TIMER/SLEEP Button(13) to programthe sleep time,SLEEP indicatorwill
appears and 90 wil blinks on display.
2.Press
& button (9/H11) toselect the sleeptime between90-60-30-15 minntes, thenpress SLEEP
button (13)again to store your desired sleep time.
3.The displayshows the chosen sleepingtime momentarily and thenreturns to the current function mode.
4.The unit will automaticallyturn off after the set time has elapsed.
5.To cancel the Sleep operation, press the SLEEP Button (13) again until SLEEPindicator disappear or
simply switch the unit to standby.
E-13 E-14
Note:
When listening to an FM station, fully extend the antenna to insure maximum reception.
Automatic tuning relies on the signal strength of the broadcasting station. Weaker stations are often
skipped when using automatic tuning. Manual tuning is suggested for locating and programming
weaker stations and also for fine tuning stations found during automatic scan.
For FM stereo reception, the unit provides FM MONO/STEREO selection. In stereo mode, the unit will
automatically switch to stereo when a FM stereo broadcast is received and the Stereo indicator
(#D15) will light.
To receive a weak (noisy) FM station, press the ST/MO Button (H5) to switch to MONO mode. The
reception may be improved, but the sound is monaural (MONO).
AUX OPERATION
PRESET EQ (EQUALIZATIONSYSTEM)
TIMER OPERATIONS
Your unit canbe set toturn onat predeterminedtime inRadio/CD function modefor running60 minutesunless
turn off theunit manually. This settingcan onlybe donein standbymode. To setthe TIMER asfollows :
1.Press theTIMER/SLEEPButton (13/H14) once the ‘TIMER’icon appear andthe hour digitwill blinkto setthe
timer on time during standby mode in the display.
2.Press the
/ Button (11/H7) to adjust thehour.
3.Press the TIMER/SLEEPButton to (13/H14)confirm hoursetting, minuteposition flashes.
4.Press the / Button (11/H7) to adjust the minute.
5.Press the TIMERSLEEP Button (13/H14)to completesetting. The‘TU’blinks and volume level will show.
6.Press the
/ button (11/H7) to select the turn on function on volume level, press TIMER/SLEEP (13/
H14)button again to store the timer on function and the volume level will blink.
7.Press the
/ button (11/H7)to select the volume level, pressTIMER/SLEEP button(13/H14) again
to complete timer setting, the ‘TIMER’icon and current time will appear on display, the unit will turn on
running 60 minutes once reach the time you set.
JMC-670 INSTRUCTION MANUAL
HX-1056M3 IB JENS 001 REV0.P65 7/20/2005, 2:55 PM8
JMC-670 INSTRUCTION MANUAL