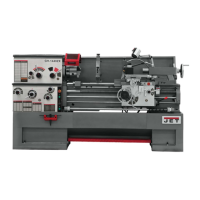
21
5. Using a micrometer, measure the bar stock
next to the chuck and at the end. The
measurement should be the same.
6. If the measurements are not the same and
adjustment is required, loosen the four bolts
that hold the headstock to the bed. Do not
loosen completely; some drag should
remain.
7. Loosen two hex nuts found on the two
adjusting bolts located on the backside of
headstock just above the motor mount
bracket. Adjust the bolts for alignment and
tighten hex nuts. Tighten the headstock
bolts and make another cut. Keep adjusting
screws after each cut until the bar stock
measurements are the same. Tighten all
headstock bolts and jam nuts on adjusting
screws.
Removing Gap Bridge
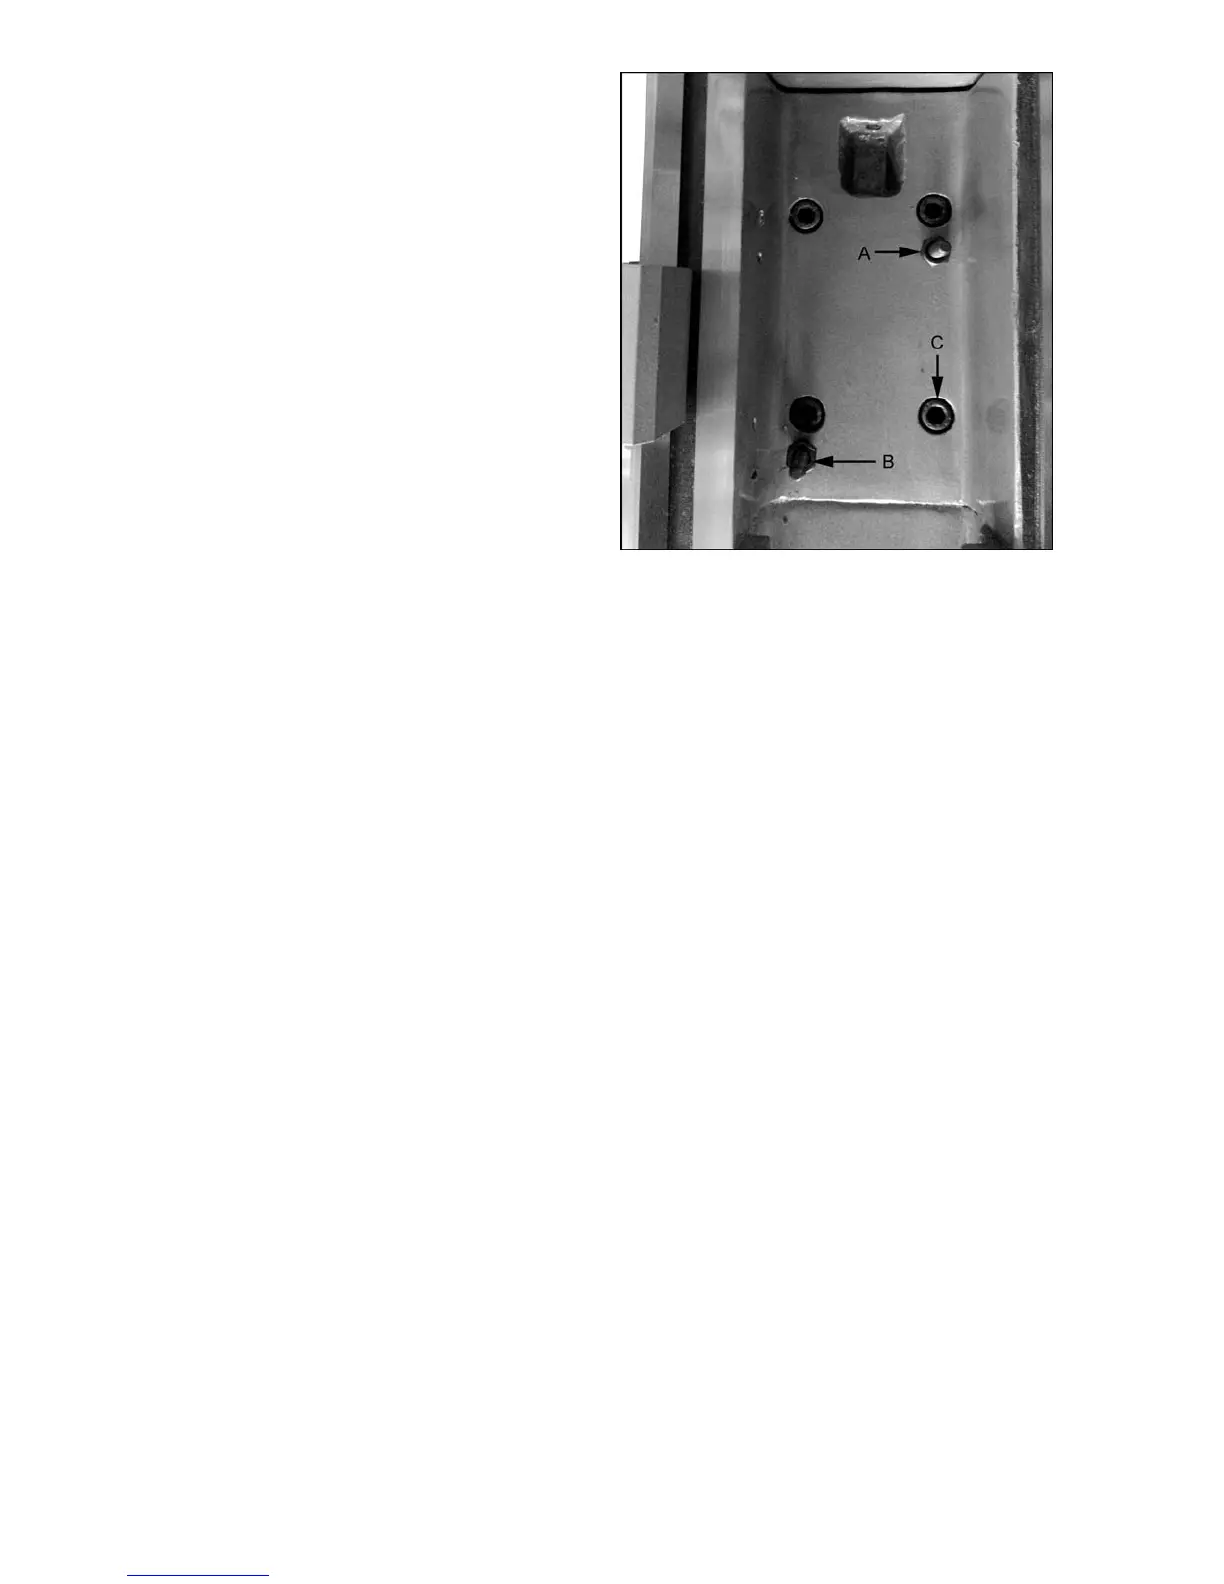
1. Using an open end wrench, tighten the two
hex nuts (A, Fig. 29). This will cause the
taper pins (B, Fig. 29) to release. Remove
the taper pins.
2. Remove the four hex socket cap screws (C,
Fig. 29) with a hex key wrench.
3. Gap bridge can now be removed.
Installing Gap Bridge
1. Clean the bottom and the ends of the gap
bridge thoroughly.
2. Set gap bridge in place and align.
3. Remove nuts (A, Fig. 29) from the taper
pins (B, Fig. 29).
4. Slide taper pins in their respective holes and
seat using a mallet. Install nuts on the taper
pins finger tight.
5. Install four socket head cap screws (C, Fig.
29) and tighten securely.
Figure 29