Wired Controller DWUNI User Manual
7KLV TLPHU FXQFWLRQ ZLOO EH FDUULHG RXW RQO\ RQFH DQG WKHQ LW ZLOO EH FDQFHOOHG
DXWRPDWLFDOO\
1RWH,IWKLVTLPHUFXQFWLRQLVWXUQHGONZKHQWKHXQLWLVWXUQHGRQRUWXUQHGRII
WKLV T
LPHUFXQFWLRQisFDQFHOOHGDXWRPDWLFDOO\
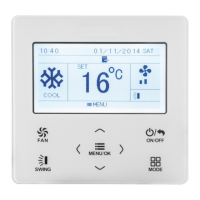
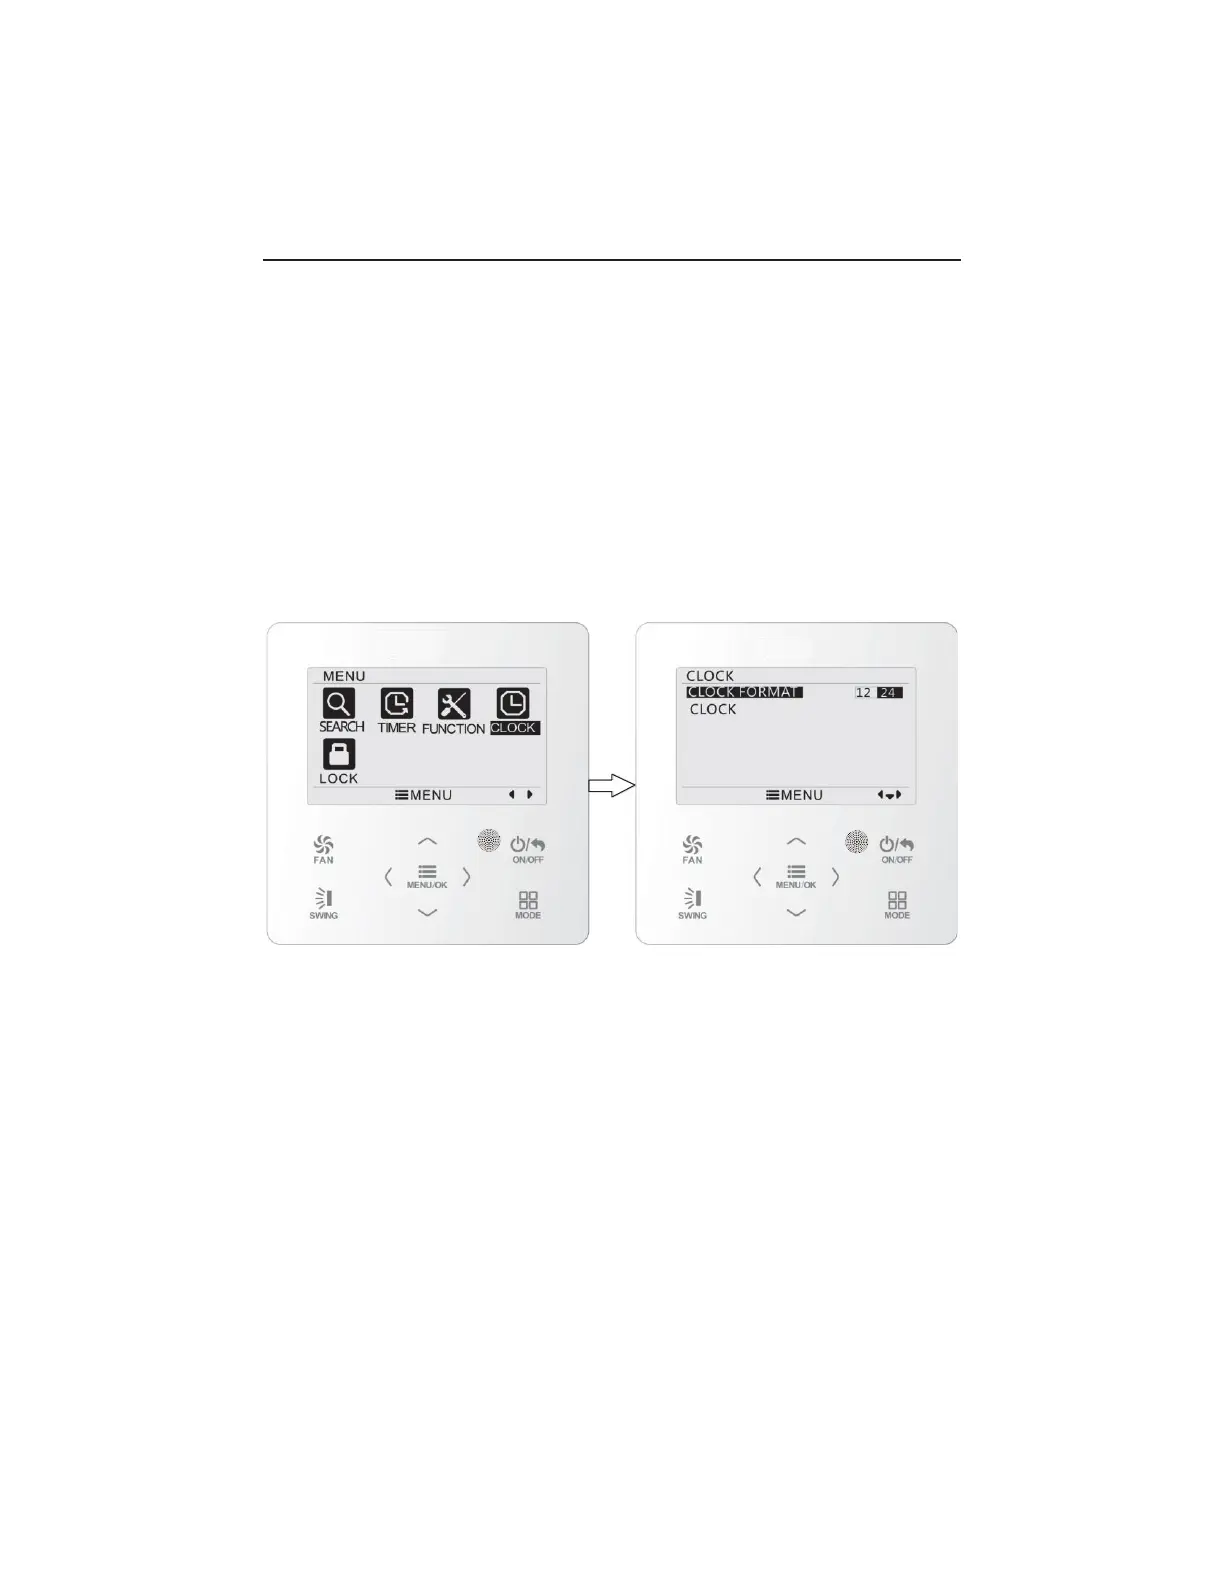
&ORFN6HWWLQJ
7LPH)RUPDW6HWWLQJ
7KH XVHU FDQ VHW WKH WLPH IRUPDW for a KRXU RU KRXU V\VWHP 6HOHFW
FORFNV\PEROLQPHQXSDJHDQGWKHQSUHVV0(18EXWWRQWRHQWHUFORFNVHWWLQJSDJH
3UHVV ³
ġ
´RU ³
Ģ
´ EXWWRQWR VHOHFW WLPH IRUPDW DQGWKHQ SUHVV ³
ψ
´RU ³
ϊ
´
EXWWRQWR VHOHFWKRXUV\VWHPRUKRXUV\VWHP3OHDVHUHIHUWR)LJ
Fig. 18 Time format selection
3.11.2 Clock Setting
Select clock symbol in menu page and then press MENU button to enter clock
setting page. Press “
ġ
” or “
Ģ
” button to select time set and then press MENU
button to enter time setting.
Press “
<
” or “>” button to select setting items: hour, minute, year, month, day;
press "Ʌ" or "V" button to set the value and then press MENU button to save setting.
Please refer to Fig. 19.
Note: If you need to use both the wired controller and remote controller,
please set the same time on both.
20