33 - 40
cube
32
33
CLICK!
CLICK!
CLICK!
CLICK!
34
ON
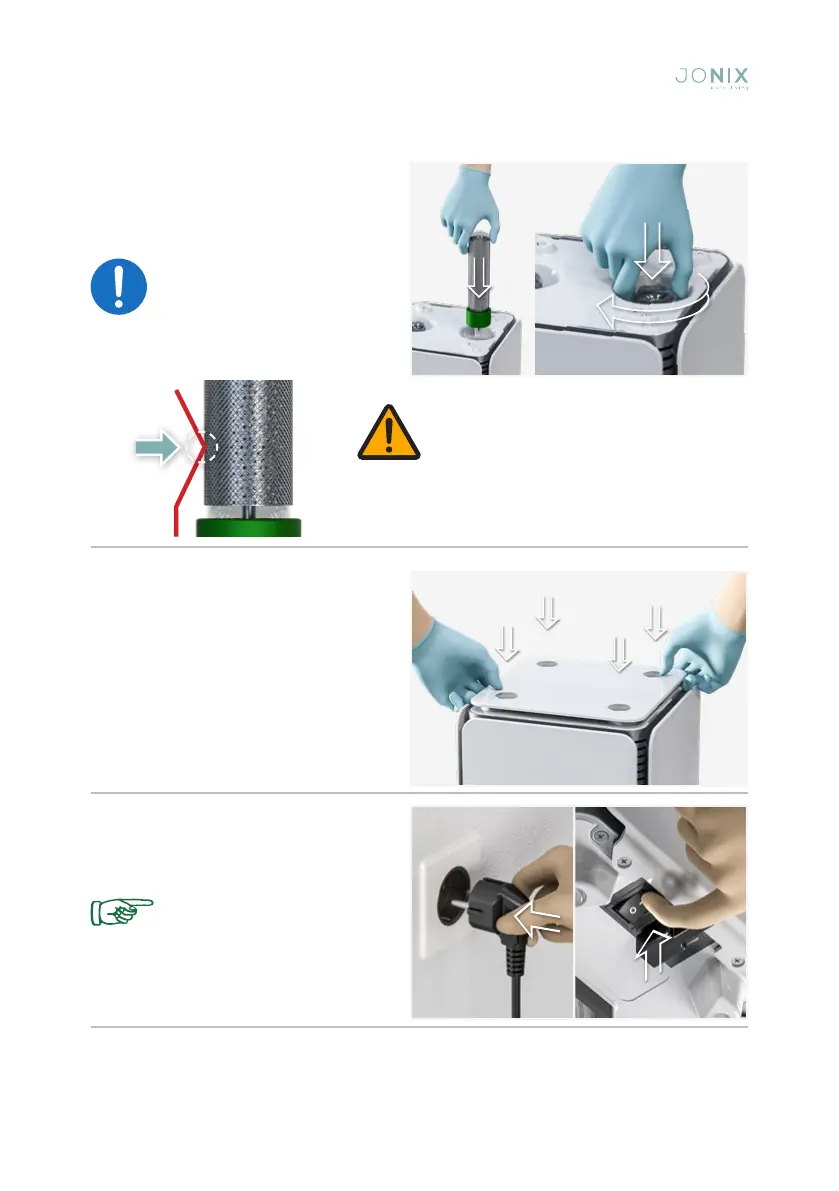
Fig. 32: Screw the new ionizing tubes
back into place by acting again on the
glass surface that can be reached by hand
through the special slots.
Once the ionising tubes have been screwed
back into place, the earthing spring is in
contact with the outer mesh. Otherwise
contact the manufacturer.
ATTENTION: do not
overtighten the screw after
reaching its end stop.
Fig. 33: Put the lid back on the device
by pushing it until the parts are locked in
place.
Fig. 34: Reconnect the plug. Switch the
ionising device on by switching the On/Off
button to I.
The presence of high voltage
inside the device is indicated
by the relevant light, located
on the front panel, when the
device is switched on.