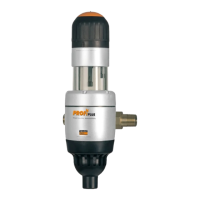
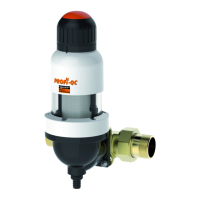
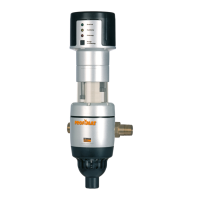
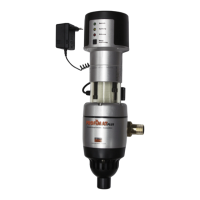
10 JUDO PROFI-PLUS
Installation
4.1.2 Installed position
ATTENTION
(see chapter “Safety information and dan-
gers due to non-compliance”)
Always install the filter in a vertical position
(± 5°)!
Failure to observe this can cause uncon-
trolled backwashing water to escape and
can result in damage caused by water.
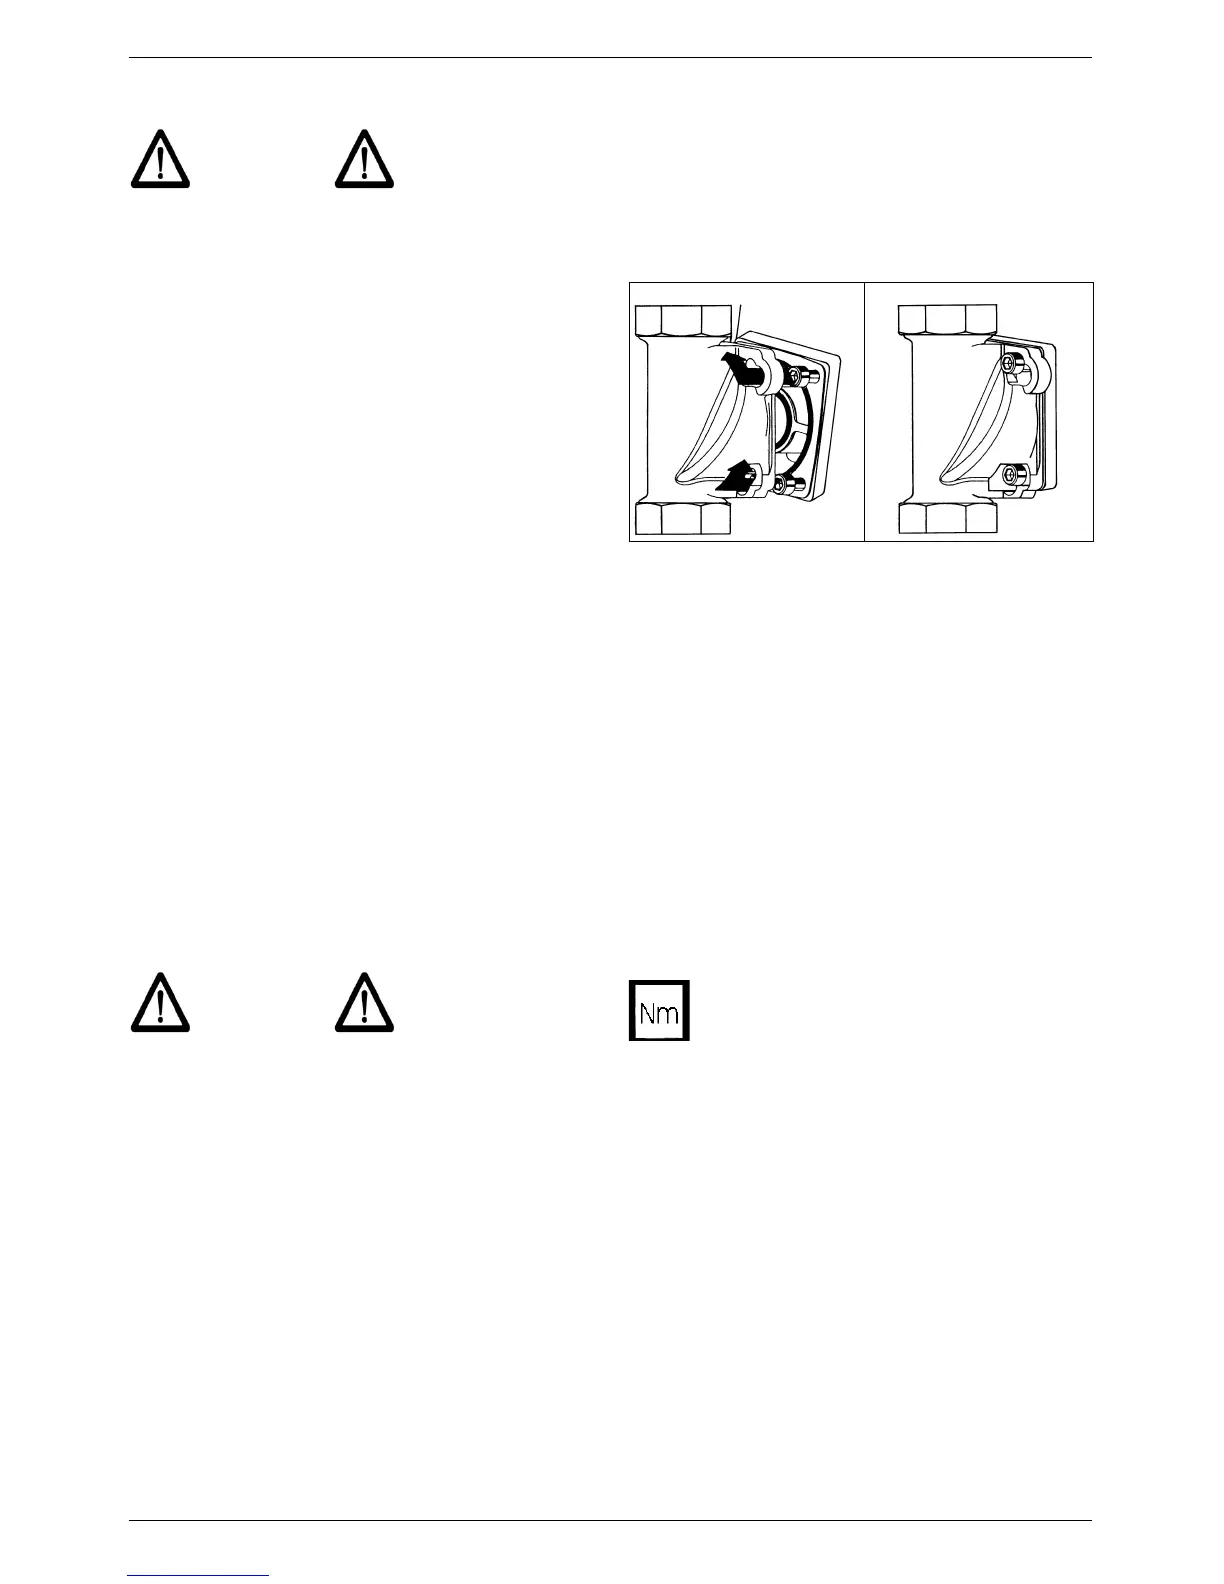
4.1.3 Mounting the built-in rotary
flanges
Install using the supplied built-in rotary
flange. The built-in rotary flange is used as a
connecting element between the pipe and
the filter.
It is suitable for both horizontal and vertical
pipes.
The built-in rotary flange must be in-
stalled in the direction of flow. This is
marked by a cast in arrow.
(see Fig. 5)
Failure to comply with this means the filter
cannot work.
ATTENTION
(see chapter “Safety information and dan-
gers due to non-compliance”)
The flange surface of the built-in rotary
flange must be in a horizontal position! The
built-in rotary flange must be fitted so that
mechanical stresses cannot occur! Other-
wise mechanical damage can result in the
built-in rotary flange. Otherwise mechanical
damage can result, the pipe may burst or the
built-in rotary flange can break. This can re-
sult in major water damage.
In this case, people close to the filter are ex-
posed to a health risk due to the large quan-
tities of water.
Therefore, during installation, ensure that no
large forces act on the pipe, built-in rotary
flange and filter.
4.1.4 Installing the filter
JPF
+
¾" - 1¼"
The built-in rotary flange for the filter is sup-
plied with bayonet drill holes. The necessary
seals and screws for this filter have already
been mounted.
Do not unscrew the screws!
– insert the four flange screws in the bayo-
net drill holes on the built-in rotary flange
(see Fig. 5I).
– turn the filter in a clockwise direction as
far as it will go (see Fig. 5II).
– Tighten the four flange screws.
Fig. 5: Built-in rotary flange with Bayonet Fixture
Select the torque (approx. 4 Nm)
so that the gasket closes and the
filter is not damaged or strained.
I II