−32 −
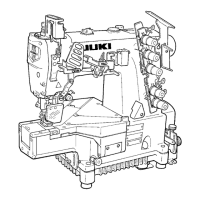
™ Remove top cover, feed cover, gasket and cloth plate.
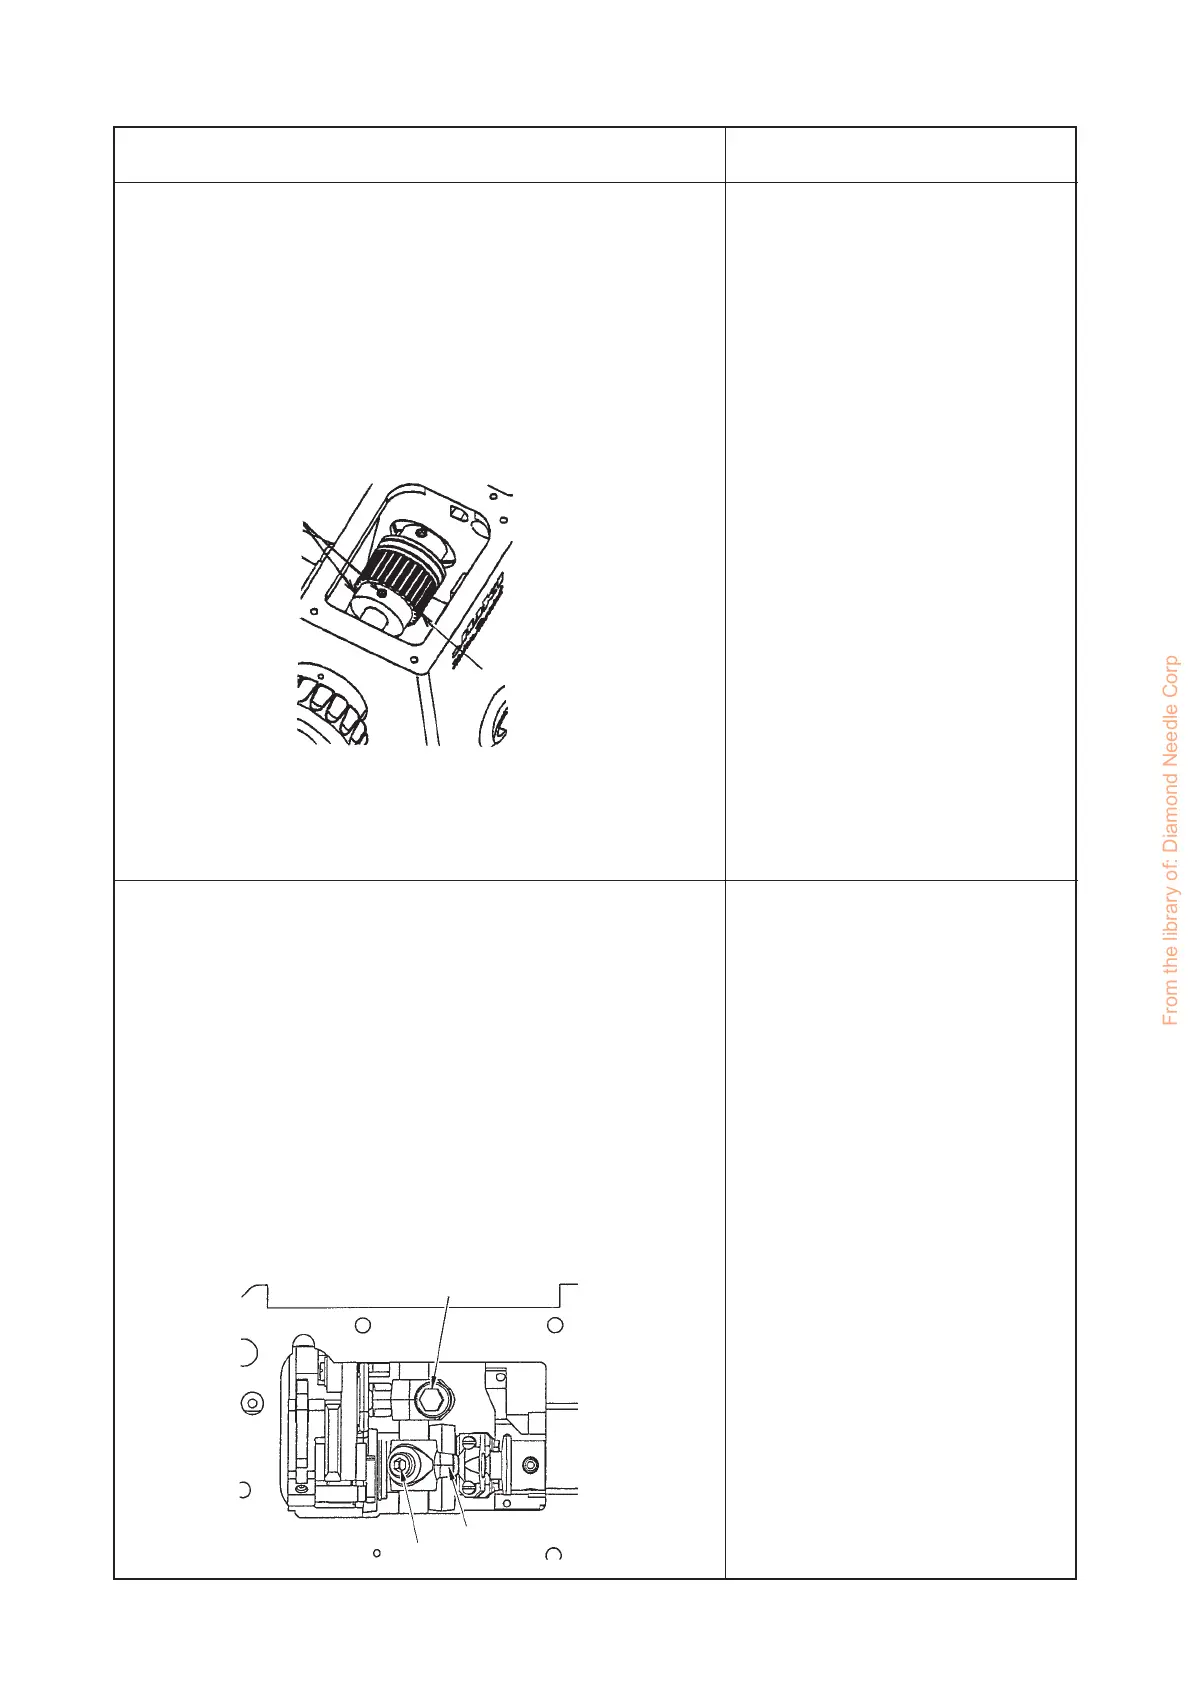
™ Loosen screws B of sprocket 2.
™ Rotate lower main shaft in operating direction clockwise, until
the first screw A on double eccentric 1 is straight up.
™ Holding pulley to prevent it from turning, rotate handwheel of
upper main shaft until needles are at top of their stroke.
™ Adjust the torque of screws B to 5.2 to 5.4 Nm and tighten the
screws.
™ Replace top cover, feed cover, gasket and cloth plate.
Note : Earlier machines have 4 screws.
™ Dimension A : Turn handwheel in operating direction until
bottom of looper is even with top of needle eye.
™ Dimension B : Continue turning handwheel in operating
direction until bottom of looper is even with top of needle eye
when looper is in front of needle.
™ If dimension A is greater than dimension B
1) Loosen C in connector 3.
2) Move connector 3 away from connector D.
Tighten C.
Repeat above steps until dimension A = dimension B.
™ If dimension A less than dimension B
1) Loosen screw C in connector 3.
2) Move connector 3 toward D.
Tighten C.
Repeat above steps until dimension A = dimension B.
B
2
C
3
D
c
d
A < B
A > B
Adjustment Procedures Results of Improper Adjustment
™ Needle breakage
™ Looper fails to catch needle
thread.
™ If the timing is not set right, it is
likely to occur skipping and
tangling stitches.
From the library of: Diamond Needle Corp
 Loading...