– 10 –
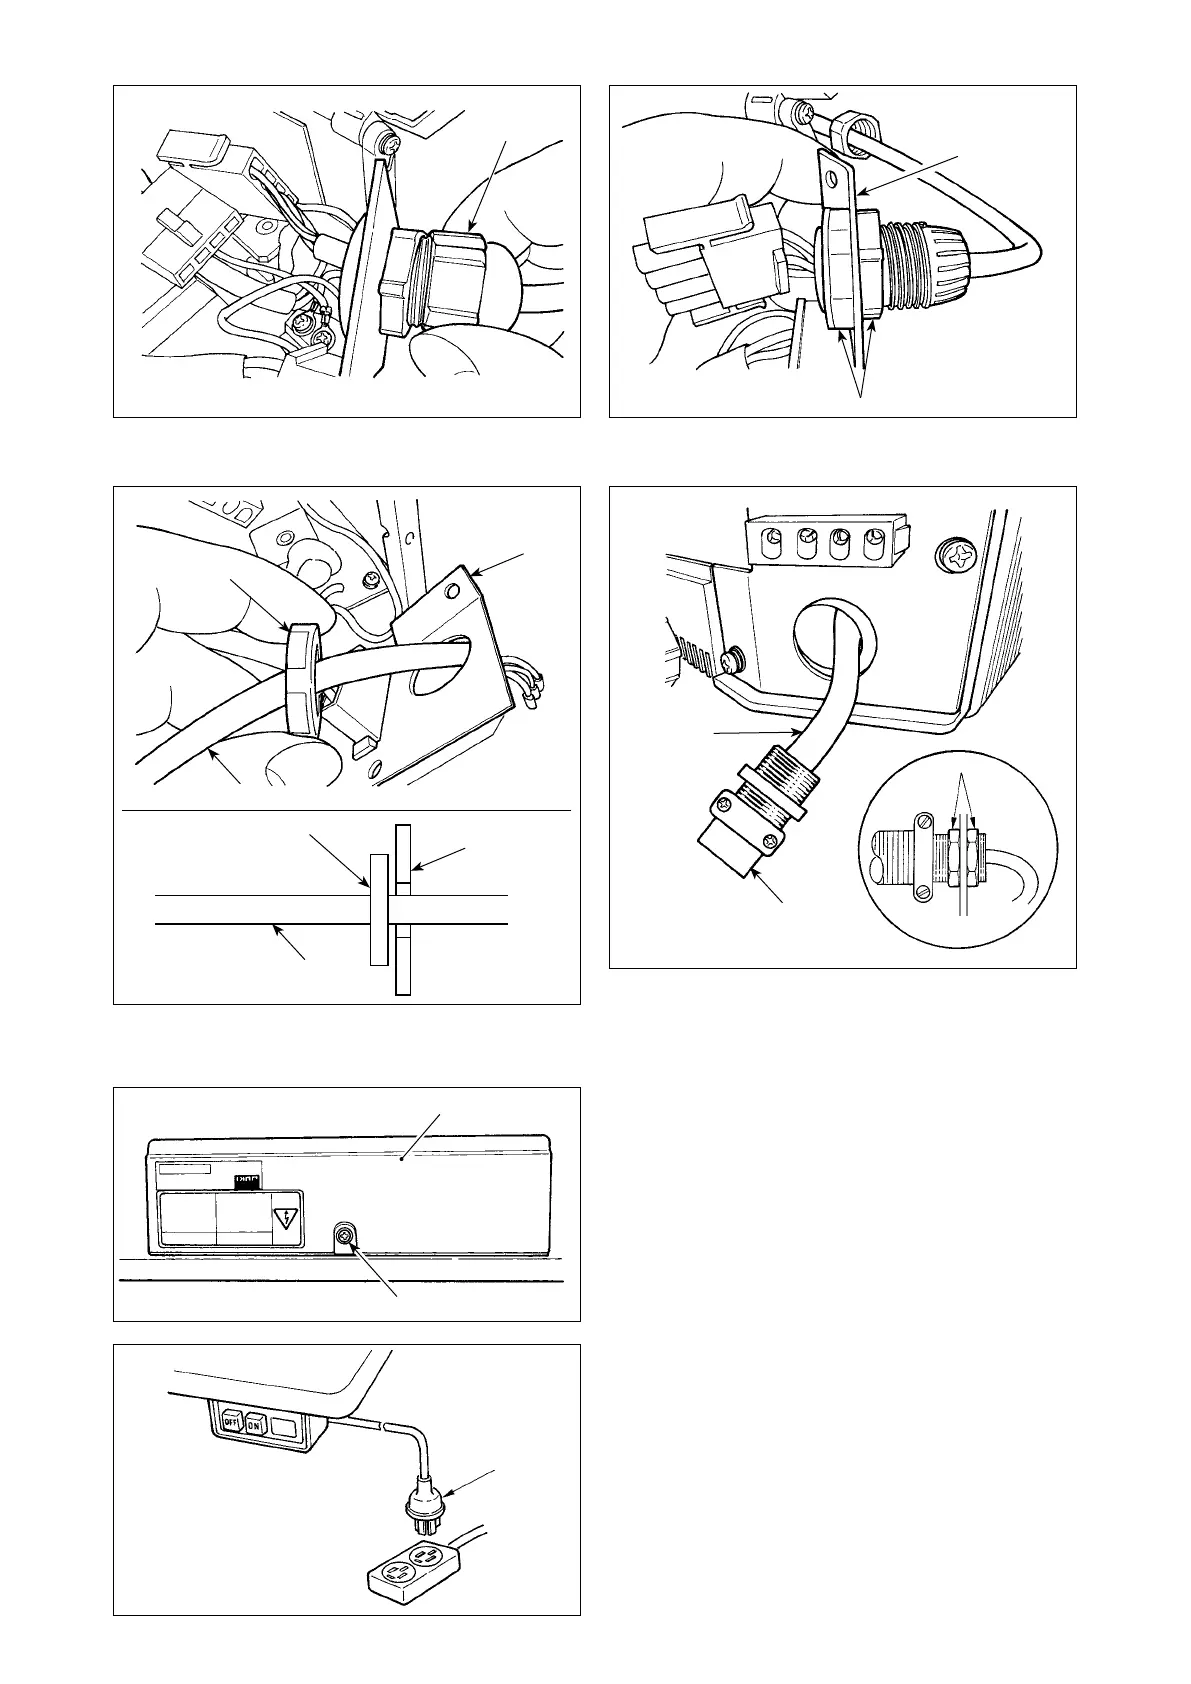
⑥
Turn connector
G
to remove the cord locking sec-
tion.
⑦
Loosen nut
H
to remove the connector from clamp-
ing plate
D
.
⑧
Put locknut
I
on the power cord and draw out the
cord
J
from inside clamping plate
D
.
G
H
D
I
D
J
K
I
I
D
J
J
⑨
Install clamping plate
D
back to the control box.
⑩
Pass power cord
J
through conduit
K
.
⑪
Fix conduit
K
with locknuts
I
with clamping plate
D
placed between the locknuts.
⑫
Close underside cover
A
and secure the cover with
screw
B
.
A
B
13) Make sure that the power switch is turned OFF and
insert power supply cord coming from the power
switch into the power plug socket.
(Caution) Top end of power supply cord
varies
in accordance with destination or supply
voltage. Check again the supply voltage
and the voltage designated on the con-
trol box when installing the switch.