33
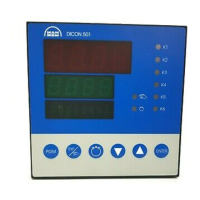
4 Operation
Example for changing a configuration parameter
Changing the linearization of the analog input
1. Press the "Menu/OK" button to move from the basic status to the main menu (menu).
2. Press the "Down" (or "Up") button repeatedly until the "Configuration" menu item appears.
3. Press the "Menu/OK" button to move to the "Configuration" sub-menu.
4. Press the "Down" (or "Up") button repeatedly until the "Analog input" menu item appears.
5. Press the "Menu/OK" button to move from to the analog input's configuration menu.
6. Press the "Down" (or "Up") button repeatedly until the "Linearization" menu item appears.
7. Press the "Menu/OK" button to switch to editing mode.
The current value "Pt100" flashes (default setting for "RTD temperature probe" signal type).
8. Change the current value using the "Down" (or "Up") button until the new value "Pt1000" flashes.
9. Press the "Menu/OK" button to apply the new value and to exit editing mode (if "Auto save" = No).
Successful application of the new value is confirmed by "OK" being displayed.
10. Press the "Back" button several times to return to the basic status.
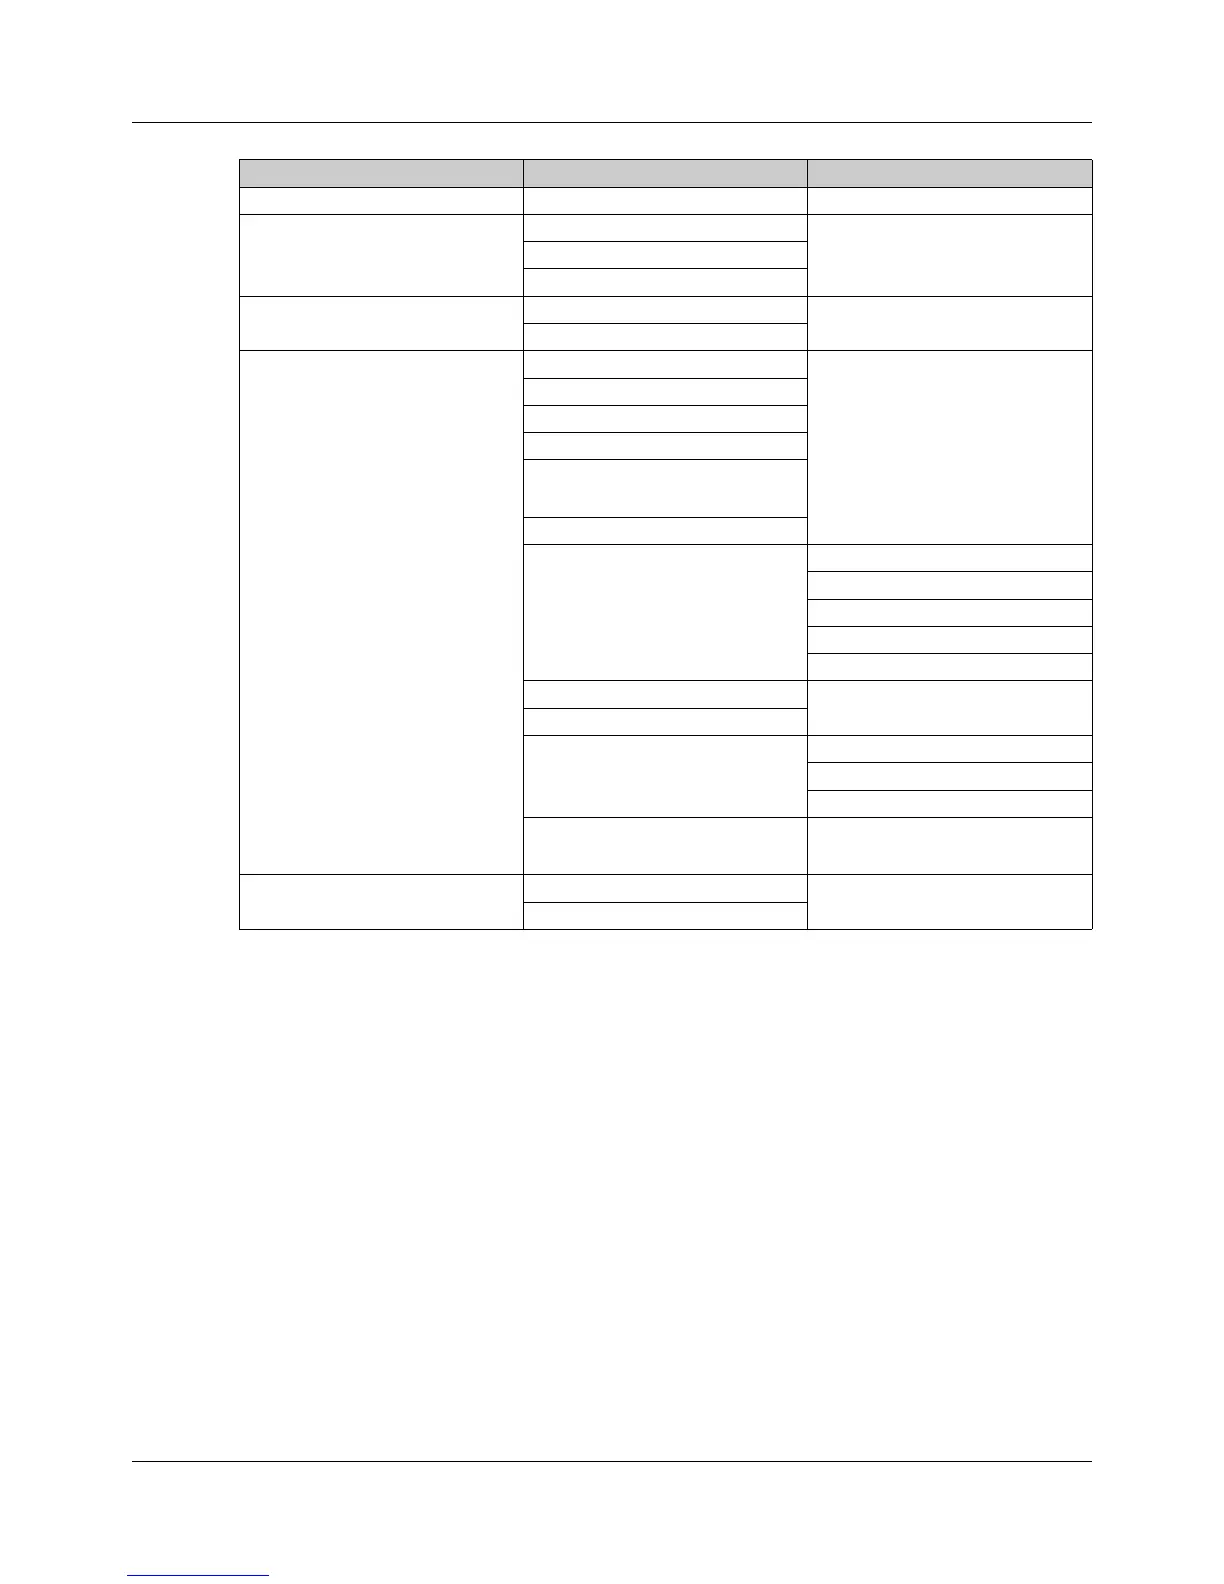
Operating level Sub-menu 1 Sub-menu 2
User level
Program editor
(only for program controller)
Section 1
...
Section 24
Parameterization Parameter block 1
Parameter block 2
Configuration System data
Display/operation
Analog input
Digital inputs
Analog output
(if available)
Digital outputs
Controller Controller configuration
Controller input
Autotuning
Setpoint values
Ramp function
Program controller
Timer
Limit value monitoring functions Limit value monitoring function 1
...
Limit value monitoring function 4
Serial interface
(if available)
Device information Versions
Service