10. Power on the source power supply.
11. Repeat Step 3 through Step 9 for the installing the remaining PSM.
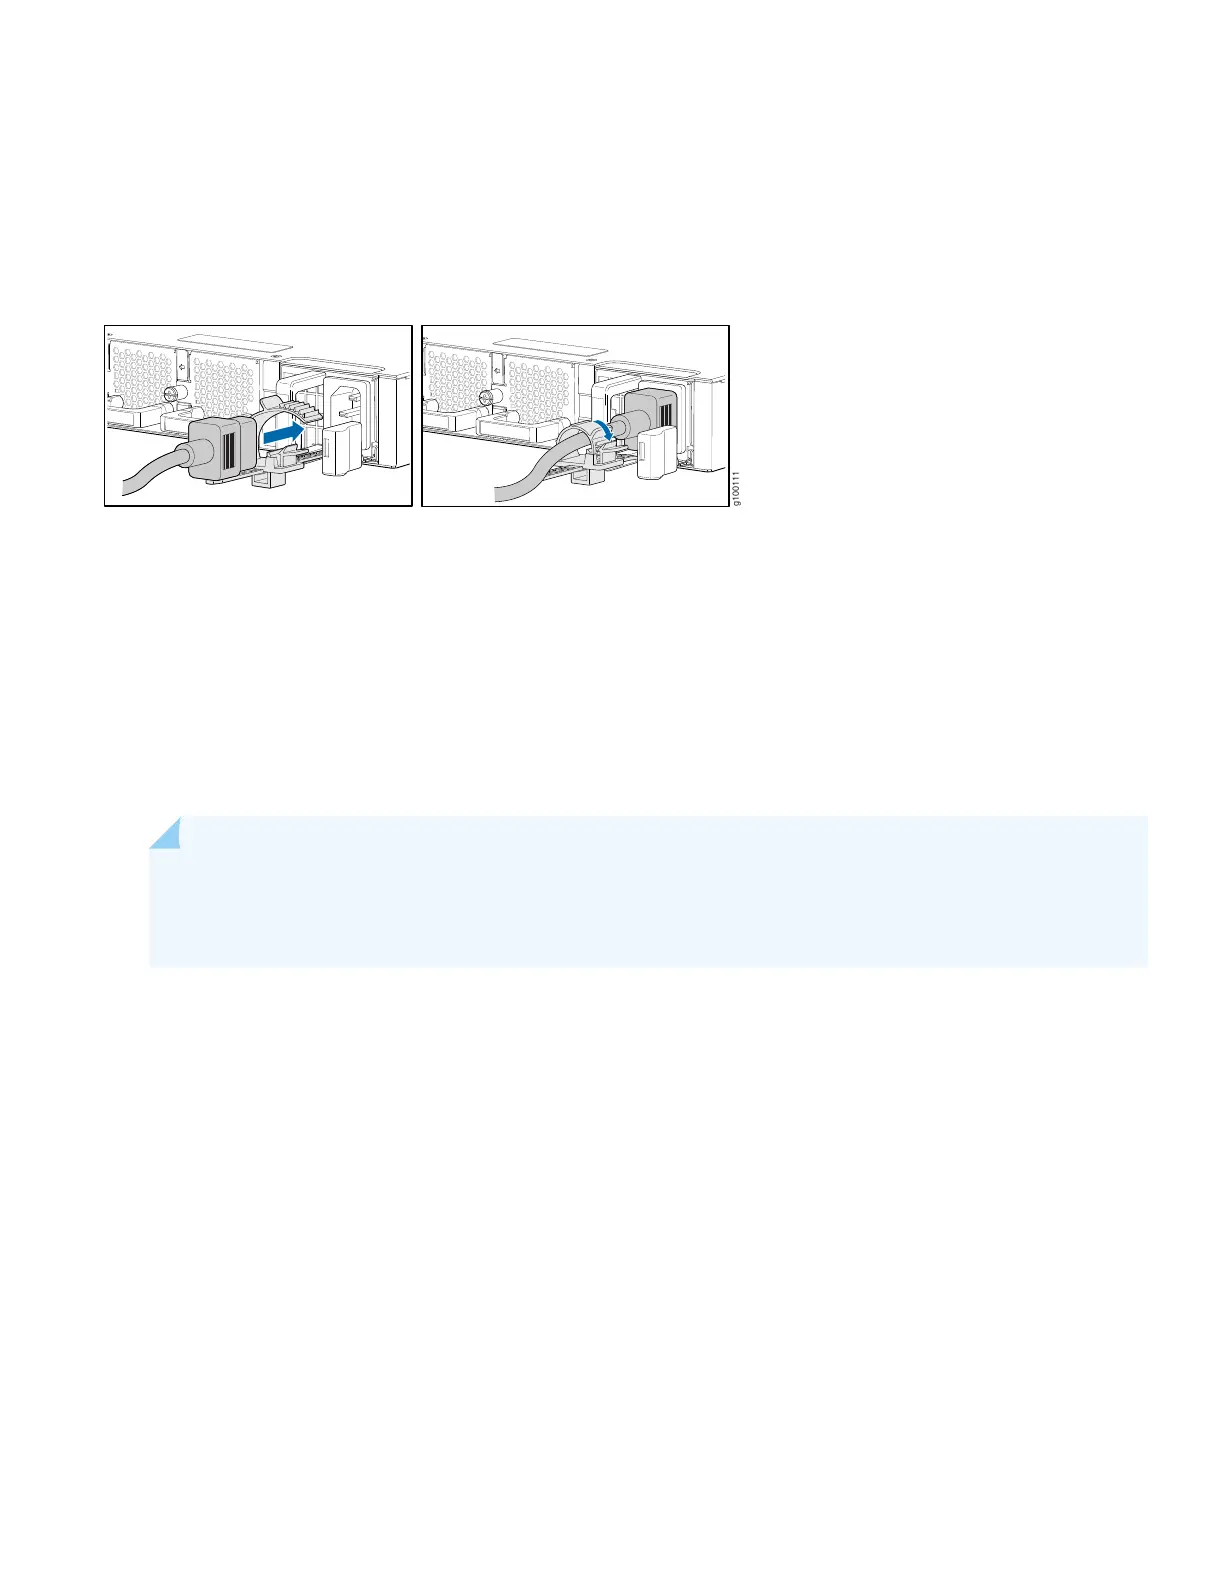
Figure 38: Connect an AC Power Cord to the ACX5448 Router
To connect AC power to an ACX5448-D or ACX5448-M router:
1. Wrap and fasten one end of the ESD grounding strap around your bare wrist, and connect the other end of the strap
to the ESD point on the chassis.
2. Power off the AC input appliance inlet on the source power supply.
3. Connect the power cord to the source power supply. Insert the coupler end of the power cord into the AC power cord
inlet on the AC power supply faceplate.
NOTE: Each PSM must be connected to a dedicated AC power feed and a dedicated customer-site 2-pole
circuit breaker. We recommend that you use a dedicated customer-site circuit breaker rated for 20 A (110 VAC)
or 16 A (220 VAC) minimum, or as required by local code.
4. Push the power cord retainer onto the power cord.
Figure 39 shows the power cord retainer installed on the AC PSM for the ACX5448-D router and Figure 40 shows
how to connect an AC power cord to an ACX5448-D router.
21