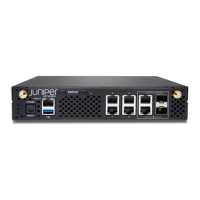
1. Connect the RJ-45 console port (labeled CON on the front panel) to a laptop or PC using the supplied RJ-45 cable and
RJ-45 to DB-9 adapter. The CLI displays a login prompt.
NOTE: Alternately, you can use a USB cable to connect to the mini-USB console port on the front panel. To
use the mini-USB console port, you’ll need to set it as the active console port. See Configuring the Console
Port Type (CLI Procedure).
2. Log in as root. You don’t need to enter a password. If the software boots before you connect the cable to the console
port, you might need to press the Enter key for the prompt to appear.
login: root
3. Start the CLI.
root% cli
4. Enter configuration mode.
root> configure
5. Add a password to the root administration user account. Enter a plain-text password.
[edit]
root# set system root-authentication plain-text-password
New password: password
Retype new password: password
6. Delete the DHCP configuration so that you can configure the IP address and prefix length for the management interface.
[edit]
root# delete interfaces fxp0 unit 0 family inet dhcp
7. Configure the IPv4 or IPv6 IP address and prefix length for the management interface.
For IPv4:
[edit]
root# set interfaces fxp0 unit 0 family inet address address/prefix-length
fxp0 is the management interface.
NOTE: fxp0 is on the front panel of the MX150.
For IPv6:
6
 Loading...


