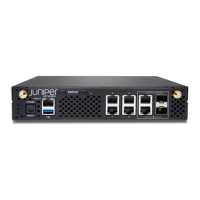
The MX150 powers on as soon as it receives power.
9. Verify that the power LED on the front panel is steady green.
Step 2: Up and Running
IN THIS SECTION
Connect and Configure | 5
Now that the MX150 is powered on, let’s do some initial configuration to get it up and running on the network. The MX150
already has factory-default settings configured right out of the box. These settings load as soon as you power it on. You
can easily customize the default configuration with just a few CLI commands. We walk you how to do that here.
The MX150 also supports zero-touch provisioning (ZTP), which autoinstalls a software image and device-specific
configuration file when you connect the MX150 and other devices on your network. To use ZTP, you’ll need to configure
settings on a DHCP server. For more information, see Zero Touch Provisioning Using DHCP Options.
Connect and Configure
Before you begin connecting and configuring your MX150, verify that your laptop or PC is set to these defaults:
•
Baud Rate—9600
•
Flow Control—None
•
Data—8
•
Parity—None
•
Stop Bits—1
•
DCD State—Disregard
If ZTP is not enabled, the MX150 boots with the preinstalled factory-default configuration. You’ll need to change a few
settings through the CLI to get the MX150 up and running on your network. Here’s how:
5
 Loading...


