CHAPTER 6
Adding a Node to the Fabric
•
Adding a Node to an Existing Fabric on page 41
Adding a Node to an Existing Fabric
You can install one or more Junos Space appliances to create a scalable fabric. A Junos
Space appliance can be either a JA1500 Junos Space Appliance or a Junos Space Virtual
Appliance. Each Junos Space appliance that you install is represented as a single node
in the fabric. As the number of devices on your network expands, you can add nodes to
the fabric to manage the increased workload. By default, the Junos Space fabric contains
a single node that provides complete Junos Space management functionality. When you
install and configure the first appliance, Junos Space automatically adds the first node
to the fabric and uses the logical node name that you assign to the appliance when you
configure the appliance in the command line interface. For each additional appliance
that you install and configure, you must add the node in Junos Space to represent the
appliance in the fabric.
To add a node to the Junos Space fabric:
1. From the task ribbon, select the Administration workspace.
2. From the task ribbon, select the Manage Fabric icon.
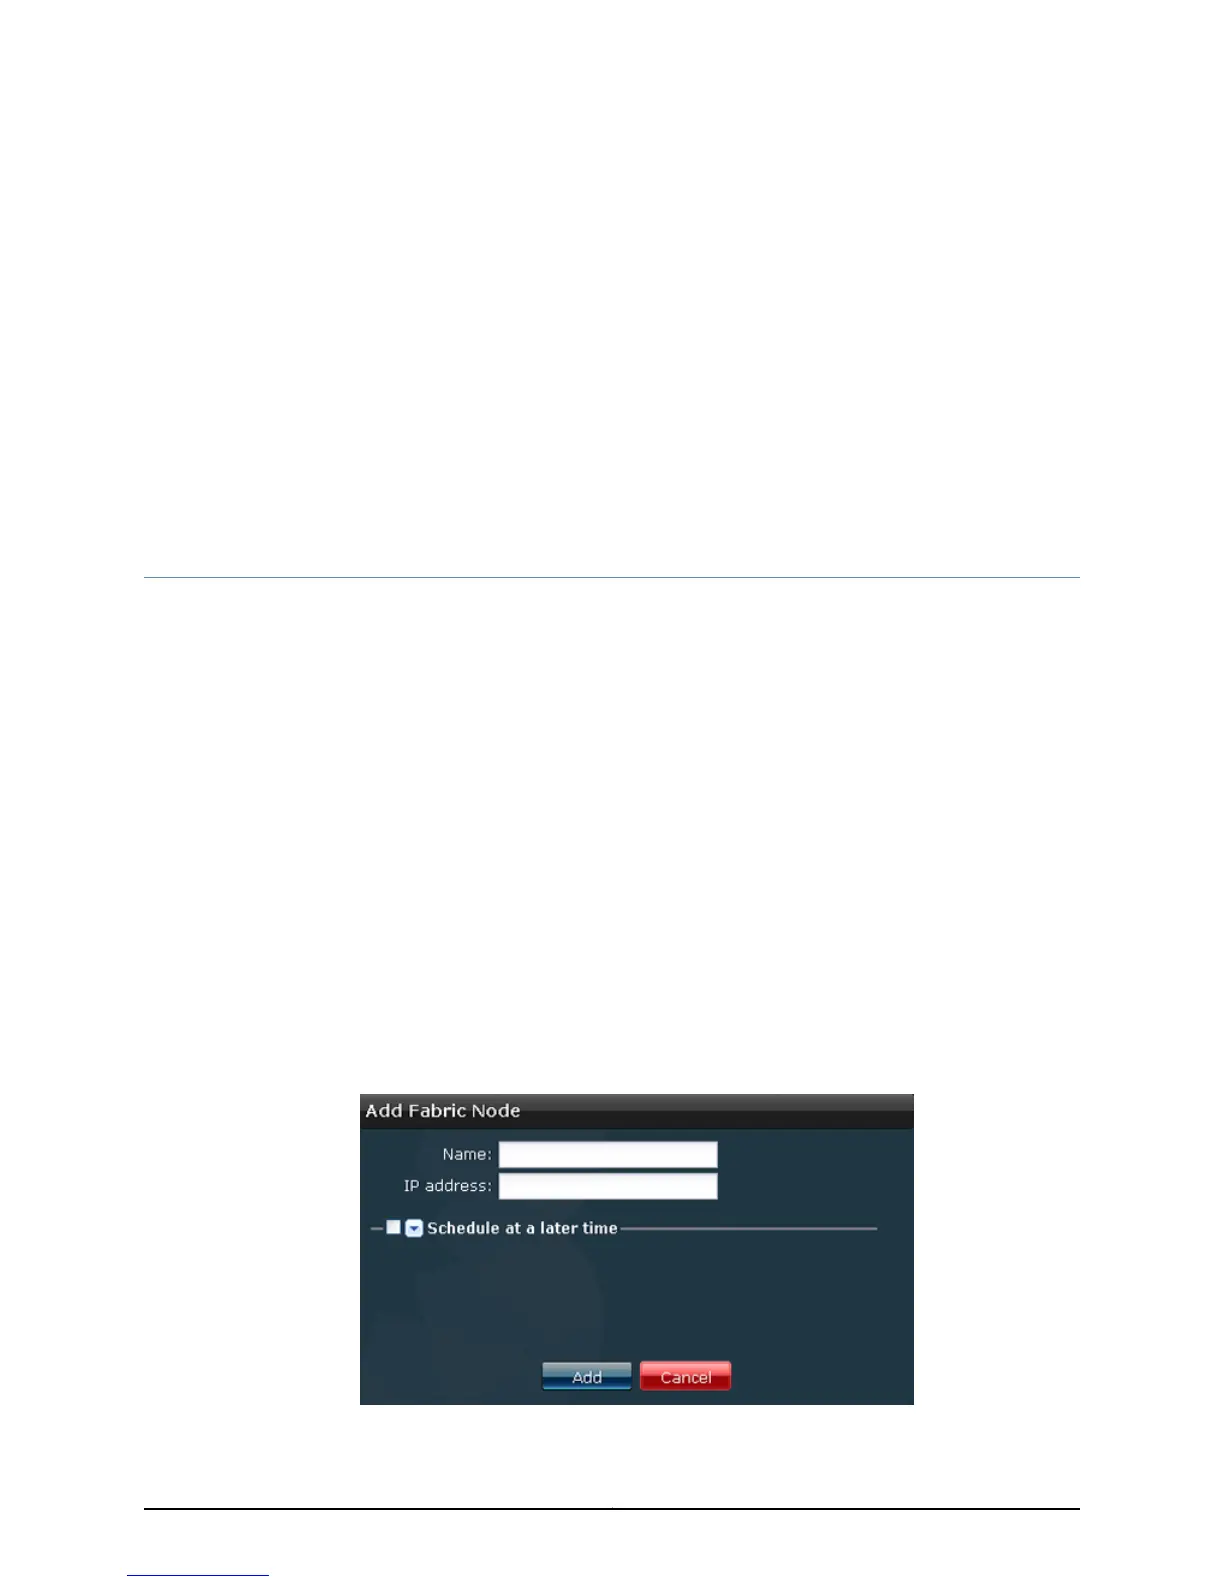
3. From the task ribbon, select the Add Fabric Node task.
The Add Fabric Node screen is displayed.
41Copyright © 2010, Juniper Networks, Inc.