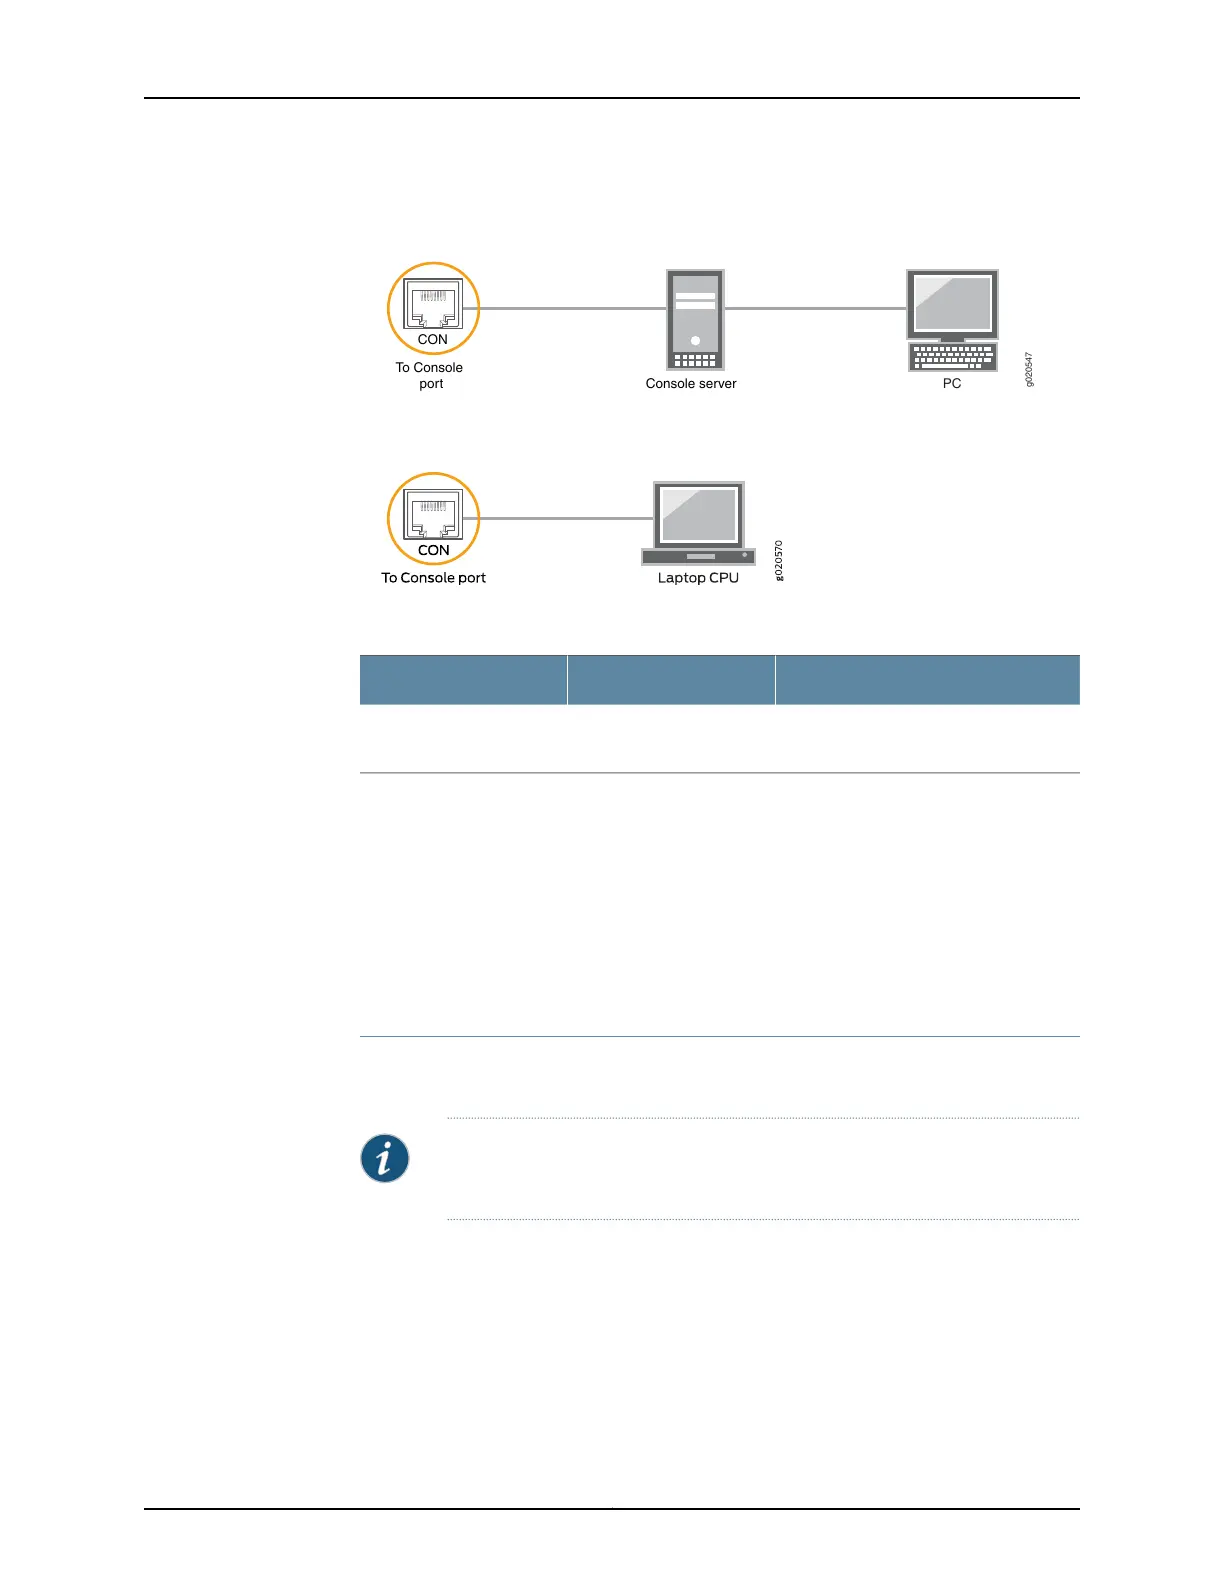
Figure 12: Connecting the MX10003 Router to a Management Console
Through a Console Server
g020547
CON
To Console
port Console server
PC
Figure 13: Connecting the MX10003 Router Directly to a Management
Console
Table 2: Console Port on the RCB
DescriptionLabelCallout (See Figure 9)
Connect a laptop or console terminal
to configure the router.
CON3
Connecting the Router to External Clocking and Timing Devices
The router supports external clock synchronization for Synchronous Ethernet, and external
inputs.
•
Connecting 1-PPS and 10-MHz Timing Devices to the Router on page 13
•
Connecting a Time-of-Day Device to the Router on page 14
•
Connecting a BITS External Clocking Device to the Router on page 14
Connecting 1-PPS and 10-MHz Timing Devices to the Router
The router has four SubMiniature B (SMB) connectors that support 1-PPS and 10-MHz
timing devices.
NOTE: Ensure that a cable of 3 m or less in length is used for the 10-MHz and
1-PPS connectors.
To connect the SMB coaxial cable to the external clocking input port:
1. Connect one end of the SMB coaxial cable to either the 1-PPS SMB connector or the
10-MHz SMB connector on the router.
2. Connect the other end of the SMB coaxial cable to the 10-MHz or 1-PPS source network
equipment.
13Copyright © 2017, Juniper Networks, Inc.
Connecting the Router to External Clocking and Timing Devices