• DHCP address assignment
• Connecvity to the Internet and Mist (see Firewall Requirements)
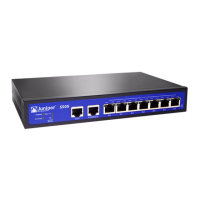
2. Connect SSR port 3 to your LAN devices, including:
• Mist-managed Juniper EX switches
• Mist APs
• User devices
Great job, your SSR130 is now connected to the Mist cloud! In just a few minutes, Mist will send the template-driven
conguraon down to your device. Once the conguraon has been applied, it will begin forwarding sessions from LAN
to WAN as described by your policy.
Head over to the WAN Edges menu on the Mist sidebar, select your device, and watch events as the device completes
ZTP.
As your client devices connected to the LAN are assigned addresses from the WAN Edge DHCP server and begin
sending sessions, telemetry will populate the insights page, and Marvis will start analyzing it on your behalf.
For conductor-managed devices, addional views for Cloud Telemetry are congurable in the SSR GUI and PCLI.
Step 3: Keep Going
IN THIS SECTION
What's Next? | 17
General Informaon | 17
16