EasyManua.ls Logo

JVC BM-H1900SU - Color Production Monitor User Manual

JVC BM-H1900SU - Color Production Monitor
24 pages
To Next Page IconTo Next Page
To Previous Page IconTo Previous Page
Page #19 background imageLoading...
Page #19 background image
19
15
15
00
q
ID NUMBER SET
r
q
IN I T IALIZE MENU
r
ID NUMBER SET
q
SET -UP MENU
r
RESET
NOTE
EACH REMOTE CONTROL OF PLURAL MONITORS
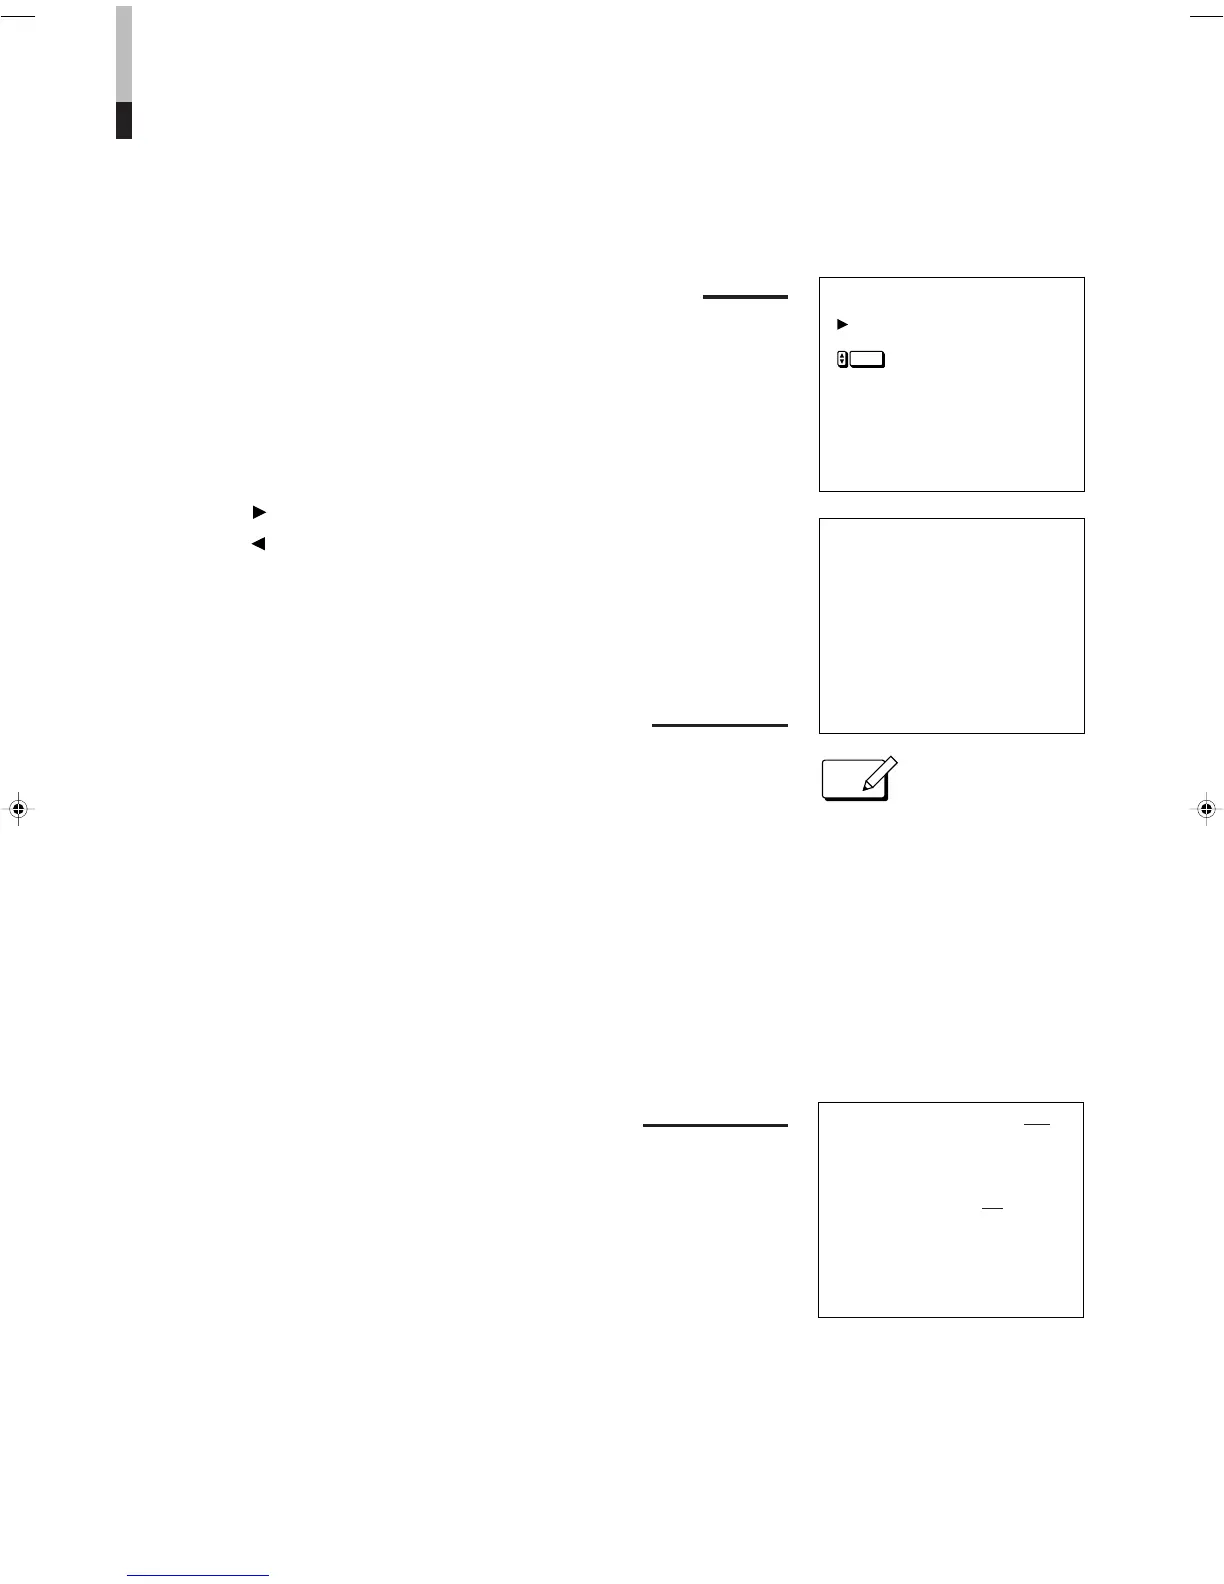
To program an ID number (use front controls):
1. Press the POWER switch to turn the power off.
2. With the and MENU buttons pressed, press the POWER switch to turn
the power on. Keep pressing the and MENU buttons until
11
11
1 appears.
3. Press the or button to select ID NUMBER SET. Then press the
ENTER button to display
22
22
2.
4. Select an ID number.
Press the button to increase.
Press the button to decrease.
5. Press the ENTER button to program.
To assign a monitor (use remote control):
1.
Press the DISPLAY key to display the monitor’s programmed ID number.
2. Press the numeric keys to enter the monitor’s ID number.
The entered ID number appears and blinks on screen center.
3. Press the ID SET key to complete.
The programmed ID number in the top right of the screen turns red to indicate
the monitor was assigned. Other monitors’ ID numbers are indicated in green.
4. After adjusting the monitor, repeat steps 2 to 4 to adjust each monitor if
necessary.
5. Press the DISPLAY key to clear on-screen ID numbers.
To call up an ID number (use remote unit):
1.
Press the DISPLAY key to indicate a programmed ID number at top right of the
screen.
Red-indicated ID number:
indicates the monitor can be remote-controlled.
Green-indicated ID number:
indicates the monitor cannot be remote-controlled.
2. Press the DISPLAY key to make the number disappear.
To operate or adjust plural units of monitors, by programming and assigning an ID
number (00 to 99) for each monitor, a specified monitor can be remote-controlled.
Programmed
ID number
Assigned
ID number
ID number 00 is always indicated in
red.
11
11
1
22
22
2
ENTER

Table of Contents

Question and Answer IconNeed help?

Do you have a question about the JVC BM-H1900SU - Color Production Monitor and is the answer not in the manual?

JVC BM-H1900SU - Color Production Monitor Specifications

General IconGeneral
BrandJVC
ModelBM-H1900SU - Color Production Monitor
CategoryMonitor
LanguageEnglish

Summary

Safety Precautions

General Safety Precautions

Covers handling, fire, shock, and environmental safety measures for the monitor.

Screen Burn Prevention

Advises against displaying static images or extremely bright images for extended periods to prevent screen burn-in.

Product Features

Key Monitor Capabilities

Highlights features like multi-system compatibility, high-definition picture tubes, auto white-balance, and remote control support.

Front Panel Controls and Features

Front Panel Controls Overview

Details the function of each button, switch, and indicator on the monitor's front panel for operation and adjustment.

Rear Panel Terminals and Features

Rear Panel Terminal Connections

Describes the various input/output terminals and their functions on the rear of the monitor for signal connectivity.

Connection Examples

External Sync and RGB/COMPO(SDI) Setup

Explains how to connect for external synchronization and configure RGB/COMPO(SDI) terminals for signal input.

Basic Operation Guide

Power Input and Audio Adjustments

Covers turning the monitor on/off, selecting video inputs, and adjusting audio levels.

Picture Tube Demagnetization

Instructions for removing color patches caused by magnetic fields using the DEGAUSS function.

Picture Adjustment Controls

Core Picture Adjustments

Details how to adjust Contrast, Brightness, Chroma, and Phase for optimal picture quality.

Adjustment Signal Compatibility

Explains which picture adjustments are effective for different video signal types.

Video Signal Controls

Picture Frame and Signal Analysis

Describes Under Scan, Pulse Cross, Color Off, and Blue Check functions for picture analysis and signal checking.

On-Screen Menu Controls

Menu Navigation and Aspect Ratio

Guides on accessing the menu, selecting items, and switching picture aspect ratios (4:3 and 16:9).

Built-in Filter Selection

Explains how to use the comb and trap filters for composite NTSC video signals to improve picture clarity.

Advanced On-Screen Menu Settings

Picture Quality and Signal Timing

Covers peaking, AFC, color temperature, and NTSC setup level adjustments for fine-tuning.

Chrominance Level Setting

Details how to set the chrominance level for component video signals from different recorders.

Memory Mode Operations

Recall and Lock Settings

Instructions for activating memory mode to recall and lock picture settings, preventing unauthorized changes.

Program and Revise Presets

Guides on saving and modifying picture settings in memory for quick recall.

Memory Mode Revisions

Adjusting Stored Picture Settings

Step-by-step process for revising programmed picture settings via the menu interface.

Monitor Installation Setup Menu

Setup Menu Navigation and RGB Adjustments

How to navigate the setup menu and adjust RGB signal picture size and position (centering).

Monitor Installation Setup (Continued)

White Balance and Remote Terminal Settings

Adjusting white balance and configuring Tally/Remote terminal functions for external control.

Monitor Installation Setup (Continued)

Status Display and Control Lock

Setting the status display on/off and deactivating front panel controls to prevent accidental changes.

Picture Setting Initialization

Resetting Menu and Setup Configurations

Procedures for resetting menu, setup, and picture adjustment settings to their default values.

Remote Control Functions

Operating Menus and Picture Adjustments

How to use the remote for on-screen menu navigation, picture adjustments, and sound controls.

Multi-Monitor Remote Control

ID Programming and Monitor Assignment

Guides on programming ID numbers and assigning monitors for remote control of multiple units.

Troubleshooting Guide

Menu Display Chart

Technical Specifications

Physical Dimensions

Related product manuals