(No.MB368)1-57
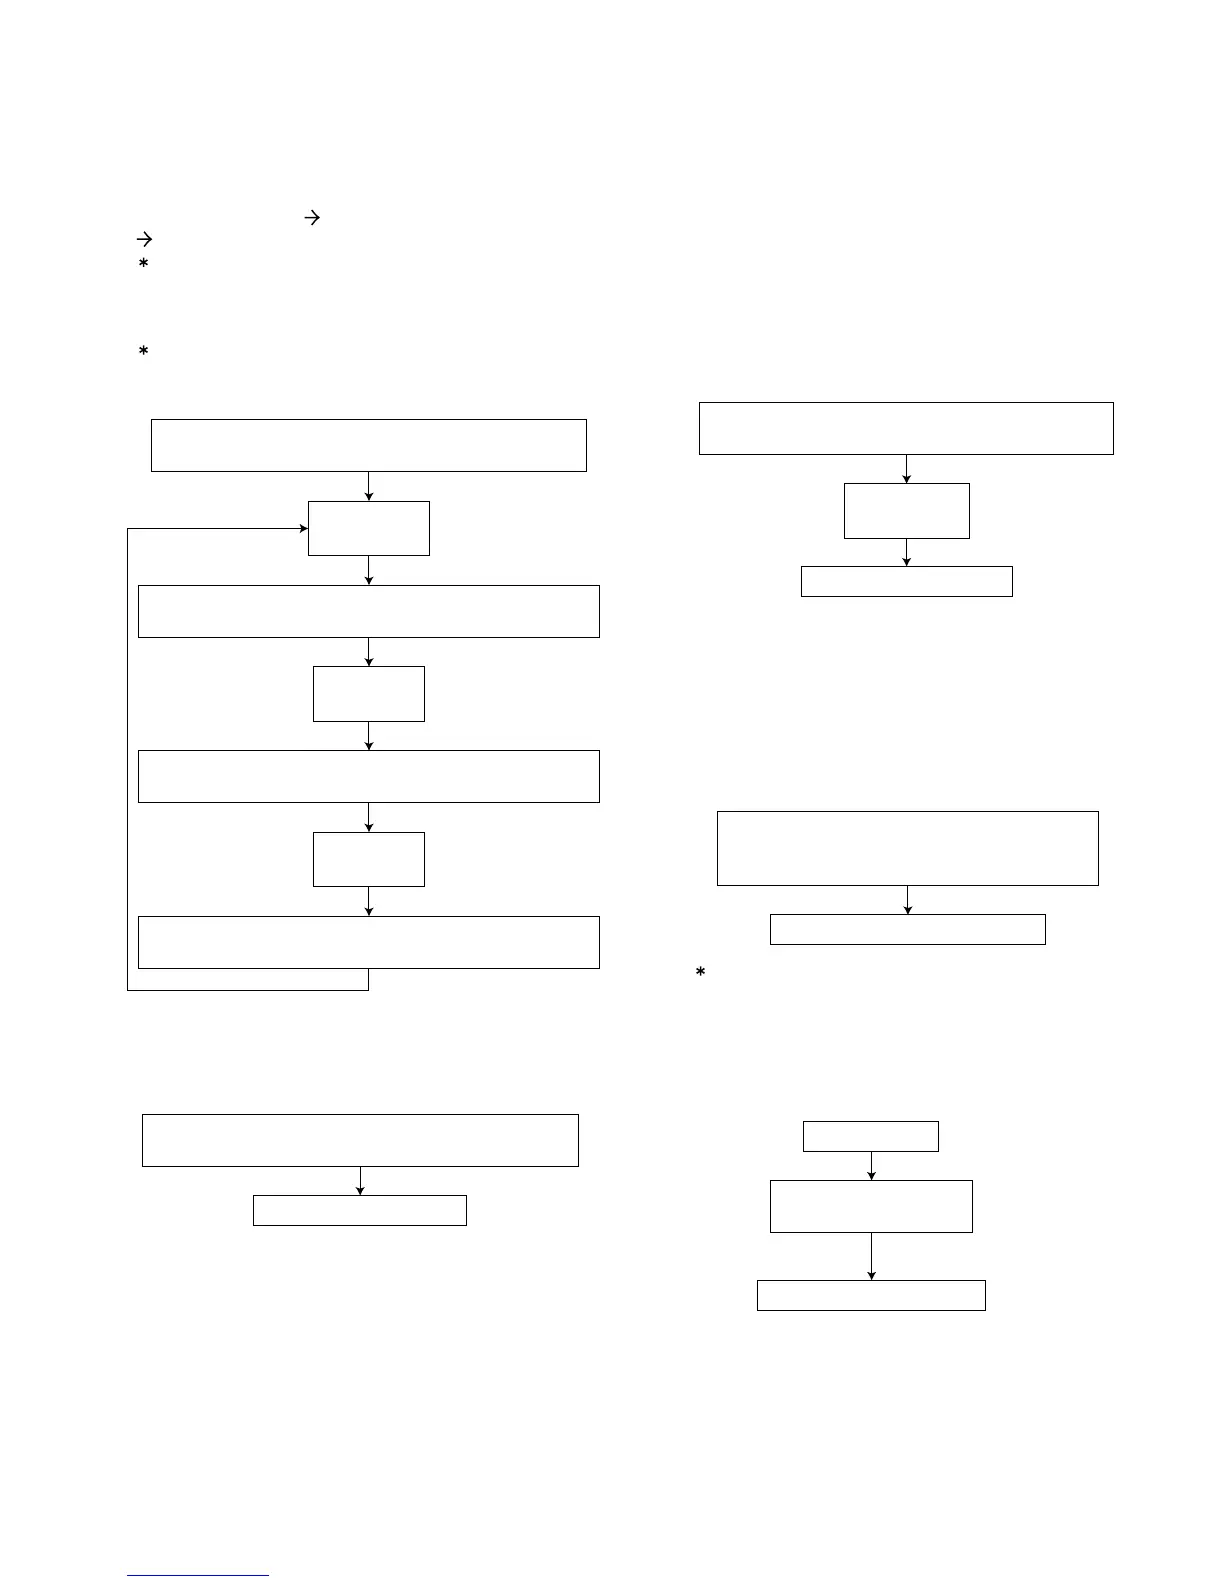
9. Micon version display
TEMPORARY DISPLAY FOR MICON VERSION (5SEC)
After 5 seconds, return to previous display.
Each key press will toggle temporary display for the
following:
SYSCON VERSION DVD LSI (BE) VERSION)
DVD MECHA VERSION
DVD LSI (BE & FE) VERSION CAN ONLY BEEN
DISPLAY DURING
SYSTEM POWER ON IN DVD MODE
(WHEN DVD LSI P.ON)
IF THERE IS NO INFORMATION FEEDBACK,
SYS-CON WILL DISPLAY
"WAIT" BLINKING 0.5SEC ON & OFF
Press the [
STANDBY],
[ENTER] and [SET] keys on the
remote controller simultaneously in power on state
.
" xxxxxx-xxx "
FL indication
SYSCON VERSION
Press the [
STANDBY],
[ENTER] and [SET] keys again on
the remote controller simultaneously in power on state
.
" xx xxxx "
FL indication
DVD LSI (BE) VERSION)
Press the [
STANDBY],
[ENTER] and [SET] keys again on
the remote controller simultaneously in power on state
.
" xx xxxx "
FL indication
DVD MECHA VERSION
Press the [
STANDBY],
[ENTER] and [SET] keys again on
the remote controller simultaneously in power on state
.
10. LCD all segment blinking
LCD ALL SEGMENT BLINKING (0.5sec:ON/0.5sec:OFF)
Each key press will toggle this TEST mode ON/OFF.
Press the [
STANDBY],
[ENTER] and [+10] keys on the
remote controller simultaneously in power on state
.
LCD all segment blinking.
11. Tuner version
Each Key pressed will display the current Sys-con
Tuner Version for 5 seconds and then changed back
to previous display.
U1 - 9KHz Display: " 0V USNE 9K "
U1 - 10KHz Display: " 0V USNE10K "
U2 - 9KHz Display: " 1V UW 9K "
U2 - 10KHz Display: " 1V UW 10K "
U3 - 9KHz Display: " 2V UX 9K "
U3 - 10KHz Display: " 2V UX 10K "
U4 - 9KHz Display: " 3V A 9K "
U5 - 9KHz Display: " 4V UY 9K "
U5 - 10KHz Display: " 4V UY 10K "
13. DVD initialize
DVD module initialized.
Display will return to DVD Test Mode Area display
(" T xxy vw "). Press Power key to exit this TEST mode.
DVD initialize is completed.
Press the [
PAUSE]
key
on the remote controller
.
Press the [
STANDBY],
[ENTER] and [1] keys on the
remote controller simultaneously in power on state
.
" xx xxxx xx "
FL indication
Example)
0V USNE 9K
This check is completed.
12. DVD test mode
Enters DVD-TEST mode.
DVD-TEST mode specification based on DVD-MODULE
specification. To exit DVD-TEST mode, AC OFF the system,
then AC ON again.
For Region Rewrite and DVD-AUDIO Device Key Writing,
refer to Region Rewrite and Device Key Writing section
below for exit procedure.
Insert a power cord in an outlet while pressing
the [
STOP]
and [DISC 5 EJECT] buttons on the
main unit simultaneously
.
This unit is set to DVD test mode.
The details refer to "4.3.3 DVD test mode".
DVD test mode.
Wait for 10 seconds.
 Loading...