Venkon
Assembly, installation and operating instructions
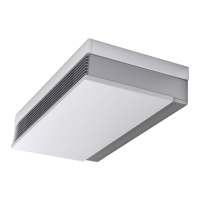
21
A (Width of basic unit)
B (Distance of suspen-
sion points)
C (Rear wall) D (Outlet opening)
Model 61
625 mm / 24,6 inch 560 mm / 22 inch 590 mm / 23,2 inch 431 mm / 17 inch
Model 63
925 mm / 36,4 inch 860 mm / 33,9 inch 890 mm / 35 inch 731 mm / 28,8 inch
Model 66
1375 mm / 54,1 inch 1310 mm / 51,6 inch 1340 mm / 52,8 inch 1181 mm / 46,5 inch
Model 67
1725 mm / 67,9 inch 1660 mm / 65,4 inch 1690 mm / 66,5 inch 1531 mm / 60,3 inch
Tab.5: Dimensions of basic unit
Note the Venkon minimum clearances when installing the basic units!
Highlight the dimensions and clearances of the key holes on the wall or ceiling as per the table, drill the holes and use
appropriate fixing materials to install the basic unit.
Align the basic unit for correct operation. Install the basic unit with a gradient on the condensation discharge side should
condensation be produced.
Once the basic unit has been aligned, prevent the fixing material from coming loose.