Venkon
Assembly, installation and operating instructions
47
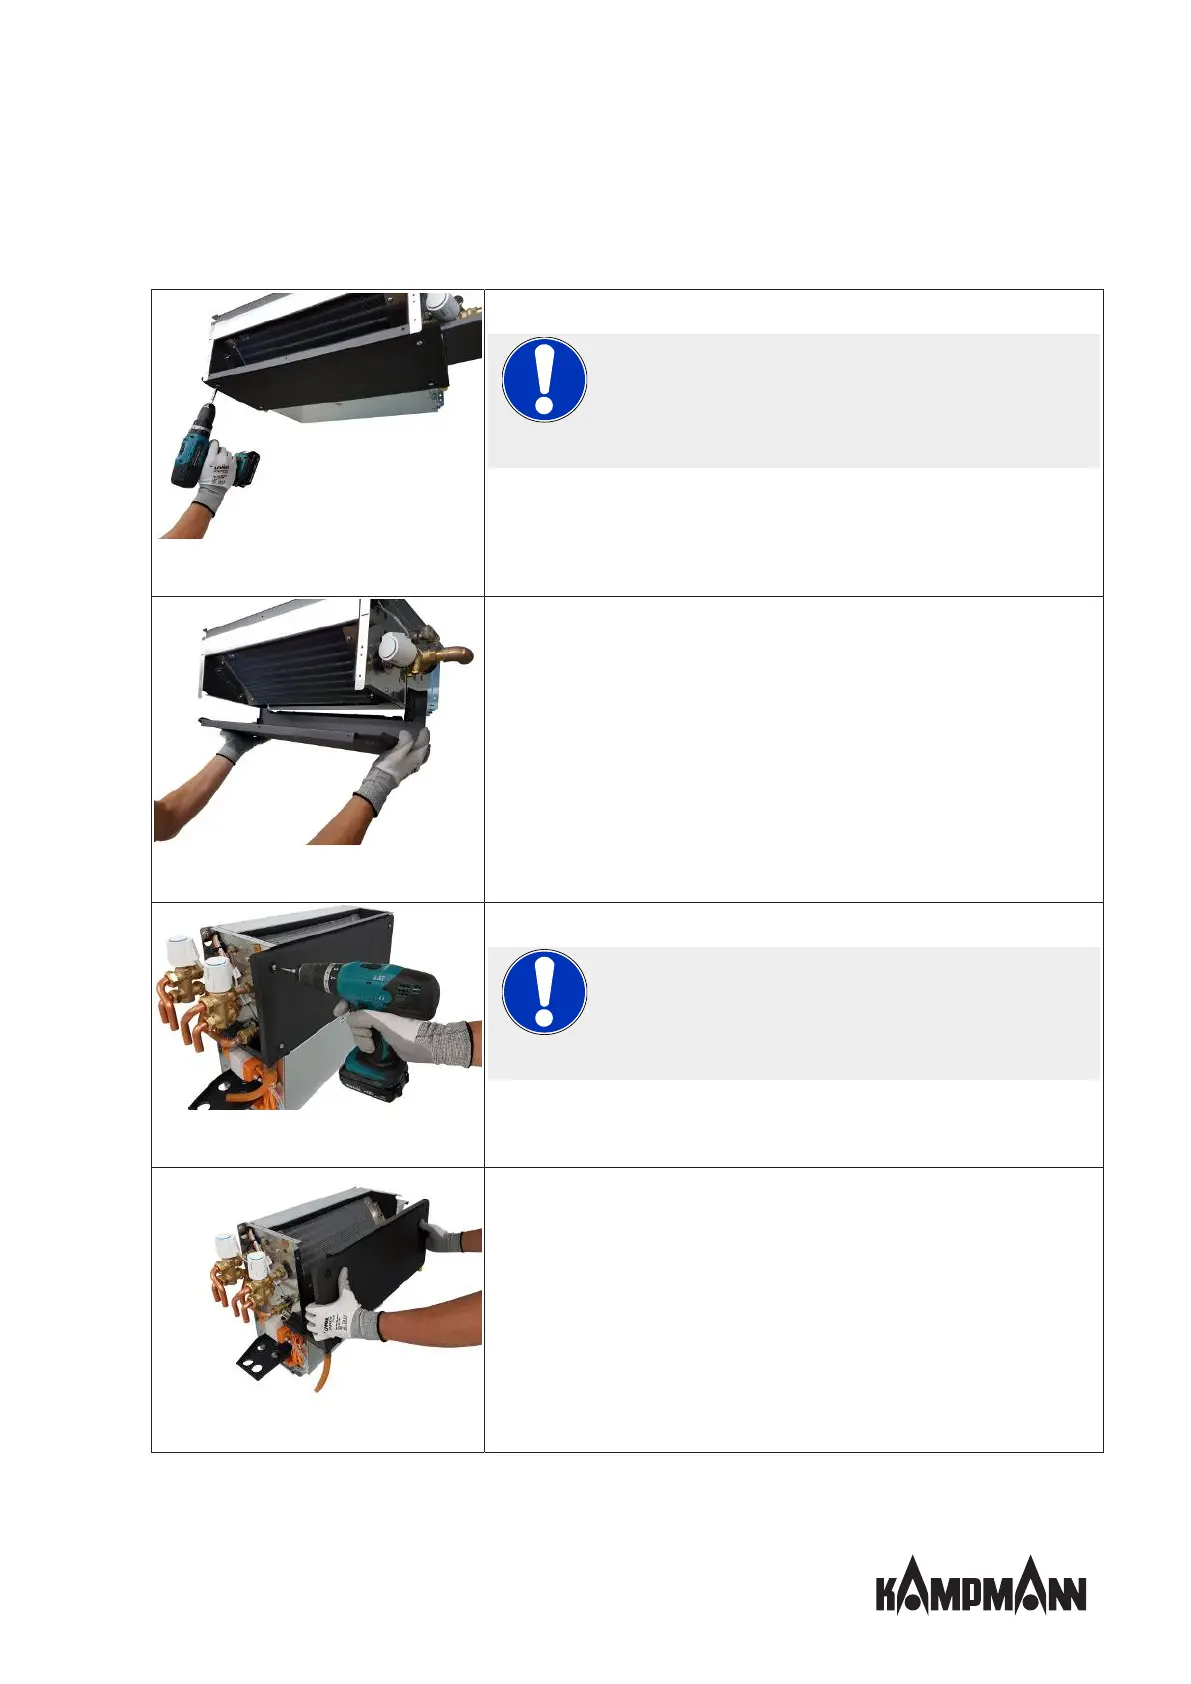
9.3.3 Cleaning the main condensation tray
Fig.36: Dismantling the main condensation
tray (ceiling model)
Remove 4 screws.
IMPORTANT NOTE!
Re-use rubber washers.
When screwing on the main condensation tray, it is essential
that you use the rubber washers to guarantee a good seal.
Fig.37: Removing the main condensation tray
(ceiling)
Remove the main condensation tray downwards and forwards.
Fig.38: Removing the main condensation tray
(wall)
Remove 4 screws.
IMPORTANT NOTE!
Re-use rubber washers.
When screwing on the main condensation tray, it is essential
that you use the rubber washers to guarantee a good seal.
Fig.39: Removing the main condensation tray
Remove the main condensation tray horizontally.