Venkon
Assembly, installation and operating instructions
31
* 2-pipe 4-pipe
Model Models 61 − 63 Models 66 − 67 Models 61 − 63 Models 66 − 67
Coil Heating/cooling Heating/cooling Heating Cooling
Connection (Rp) ½“ ¾“ ½“ ¾“ ½“
Tab.7: * Water connections
Fig.16: Inspection opening
6.5.2 Sealing the pipework to the valve condensation tray
Proceed as follows when using the valve condensation tray to collect condensation from the valves:
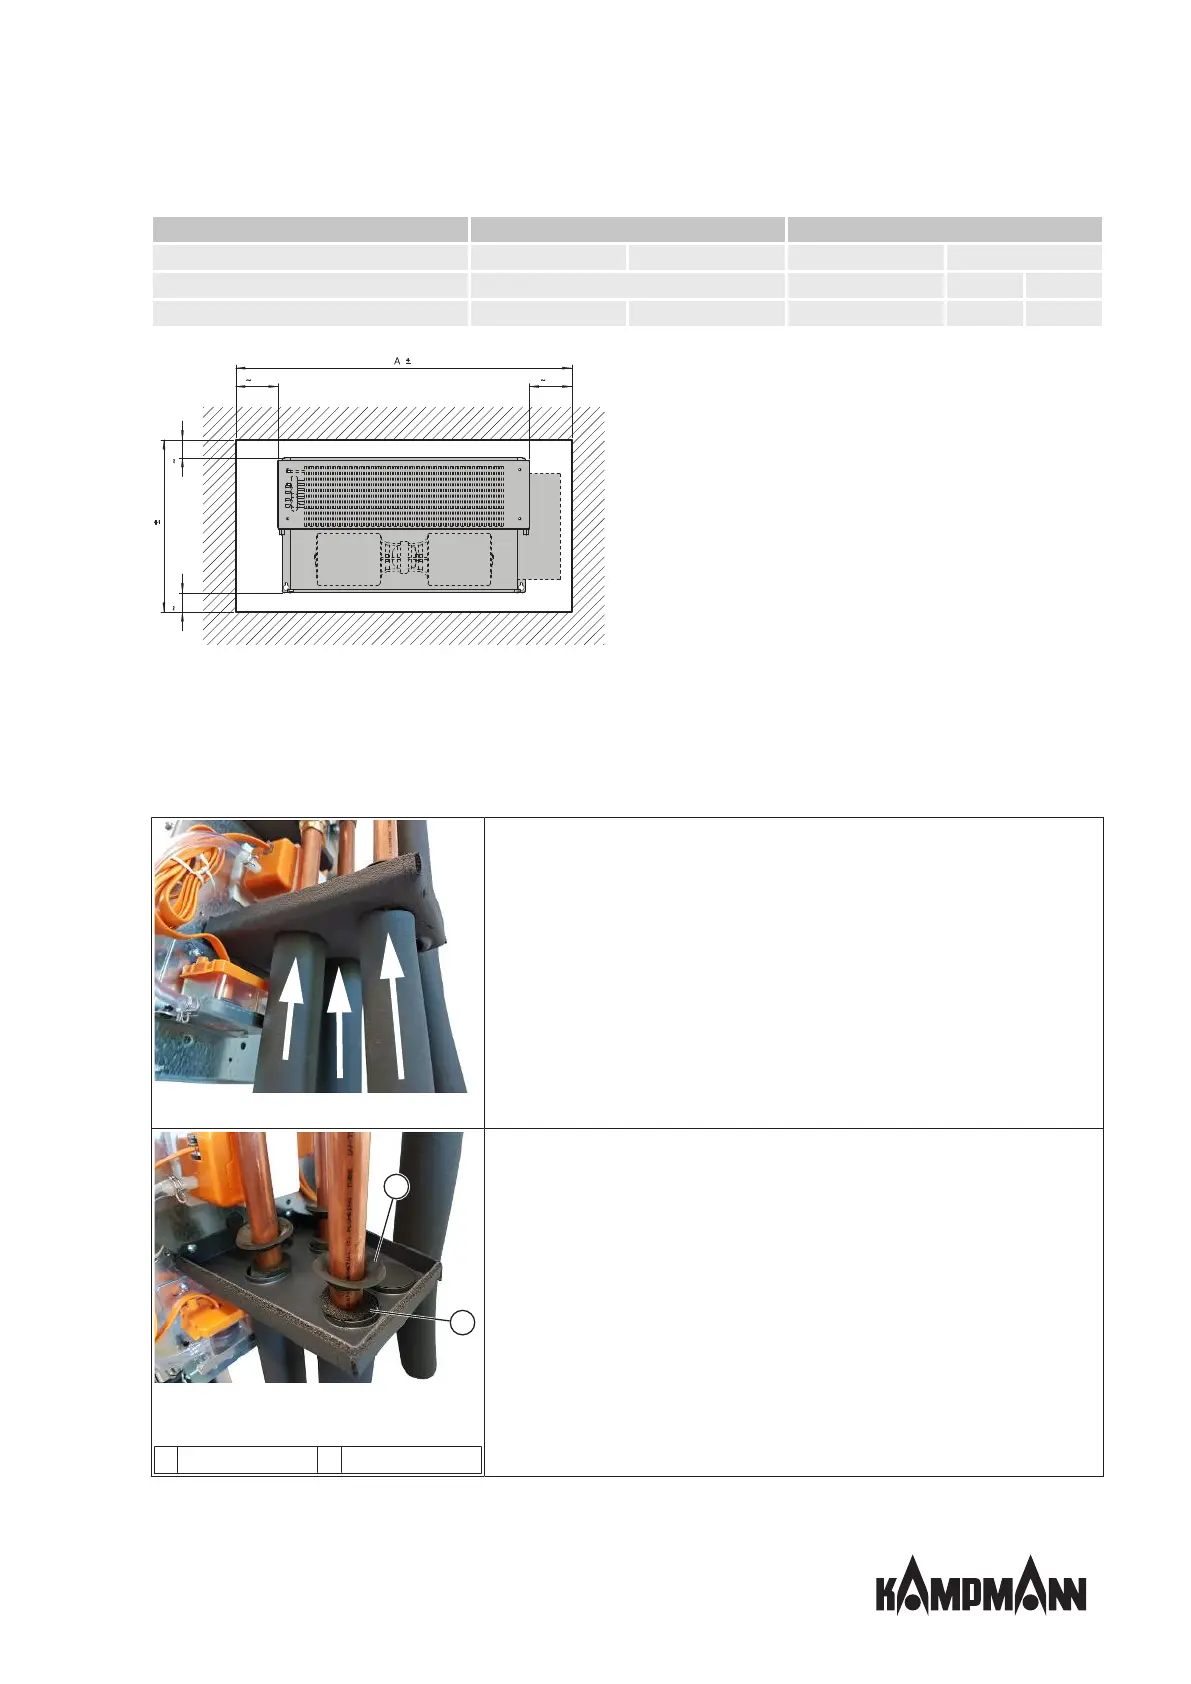
Fig.17: Insulation with wall-mounted units
Fit diffusion-tight insulation to the pipe from below through the opening of the
valve condensation tray to the top edge.
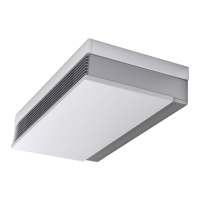
Fig.18: Gluing rubber pipe collars with insula-
tion
1
Rubber pipe collar
2
Insulation
Press the rubber pipe collar
1
to the insulation
2
and the neck of the valve
condensation tray and glue in place.
Important: There is a danger that condensation will escape if the insulation is
not leak-tight!